
How To Make Customized Chocolate-topped Brownies
Right now, I’m craving for something chocolaty, something fudgy and something sweet. I think, my tummy is looking for a brownies. Oh yes, brownies please. It’s so sad that no one’s granting my wish and answering my crave. Maybe, it’s time to make my own brownies. And since I’m quite artistic. I don’t know if artistic is the right term, but anyway, I would like to give my brownies some twist – a customized one! Why don’t you join me here?
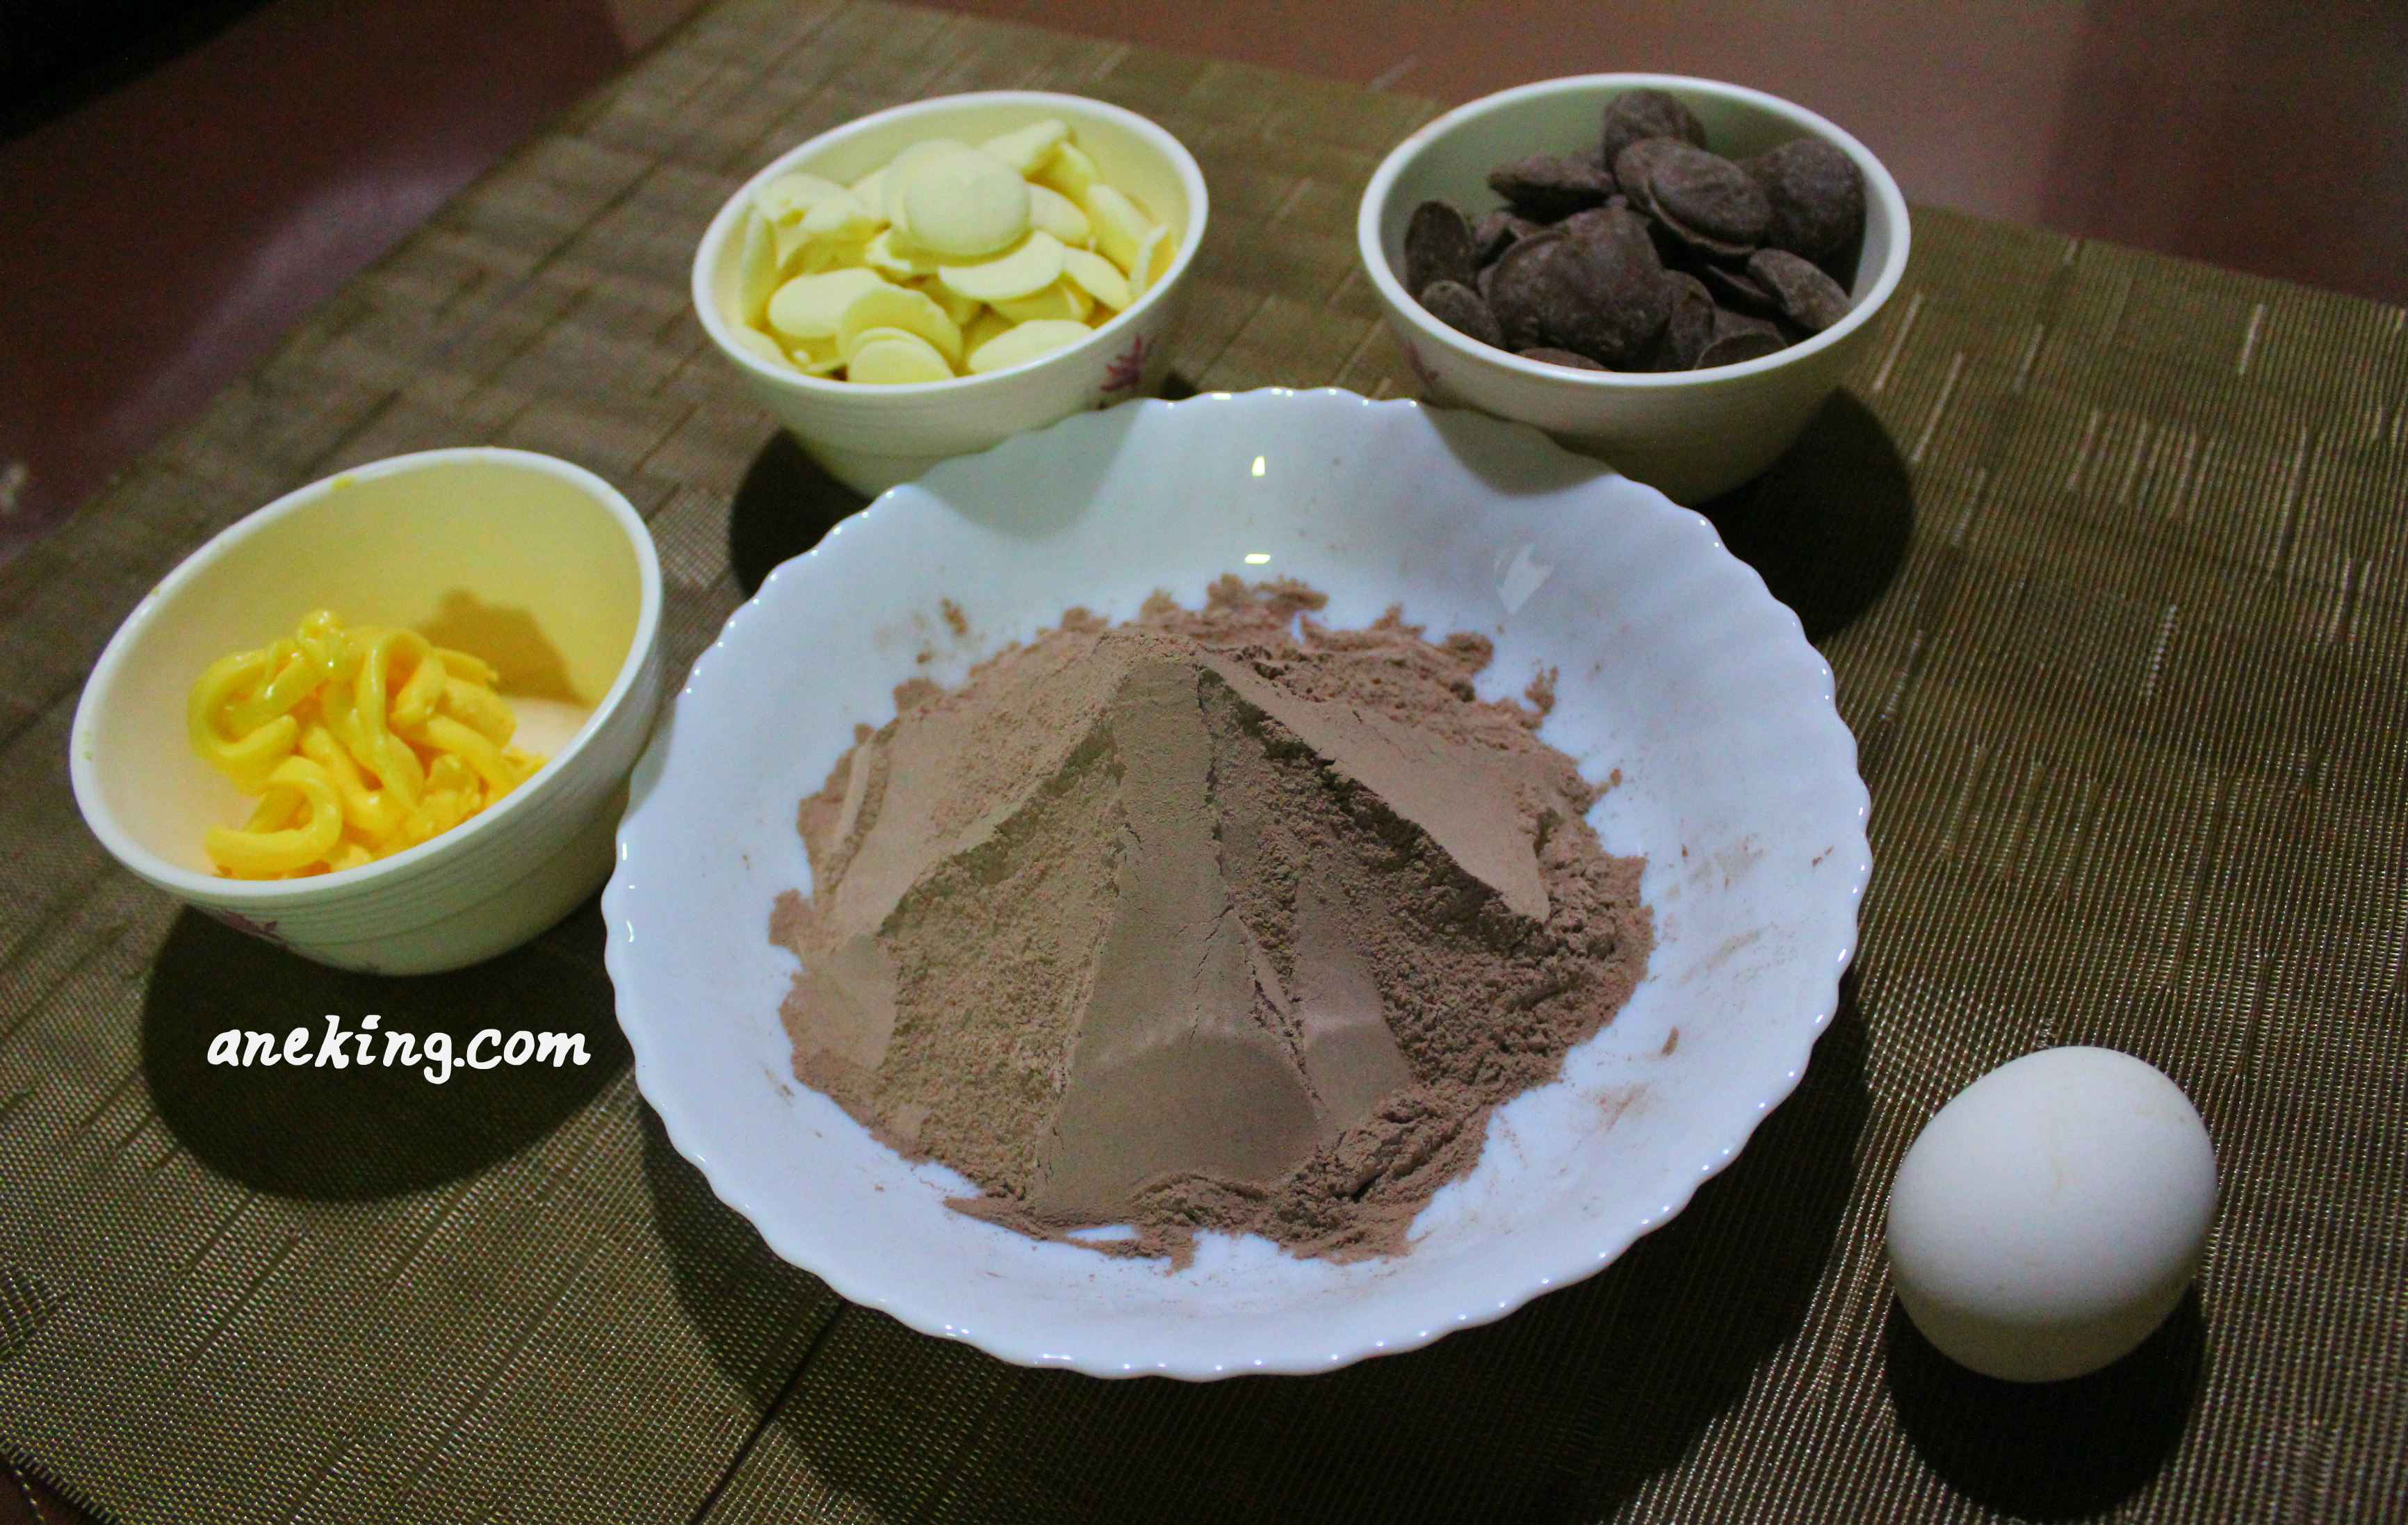
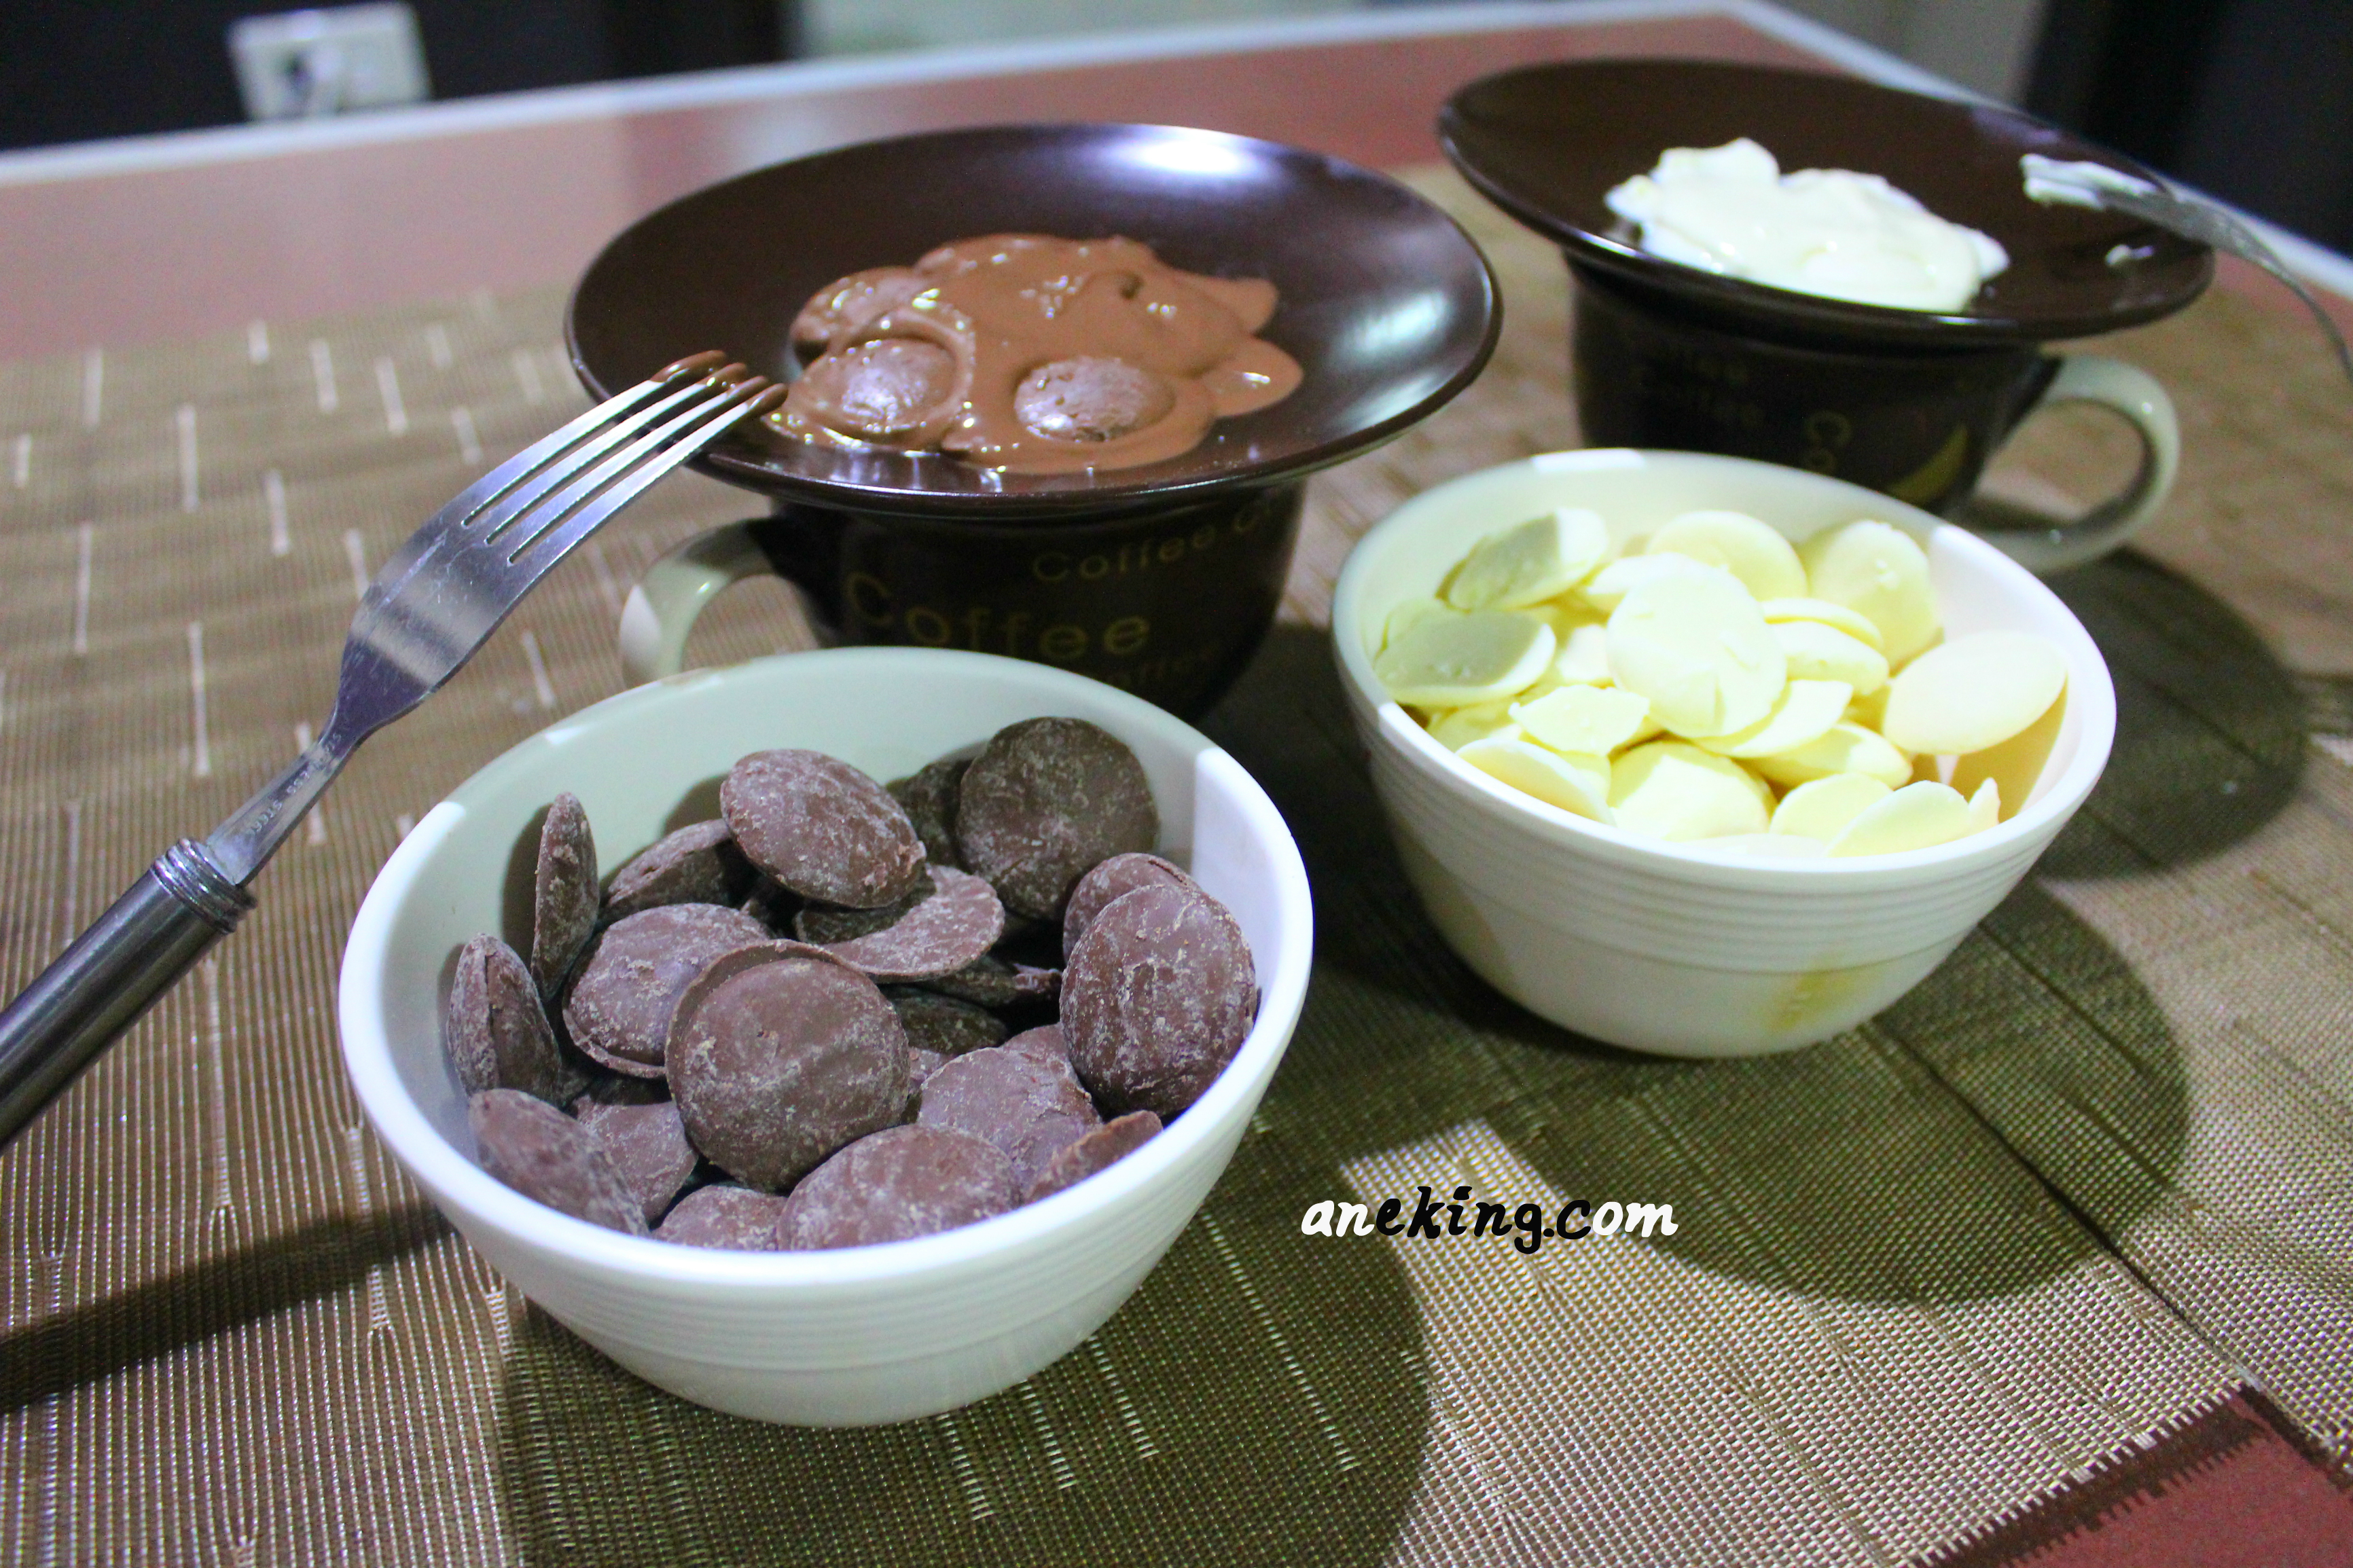
1. Prepare all the ingredients needed. This includes brownie mix, egg and butter for the brownie itself and white chocolate and milk chocolate for its toppings.
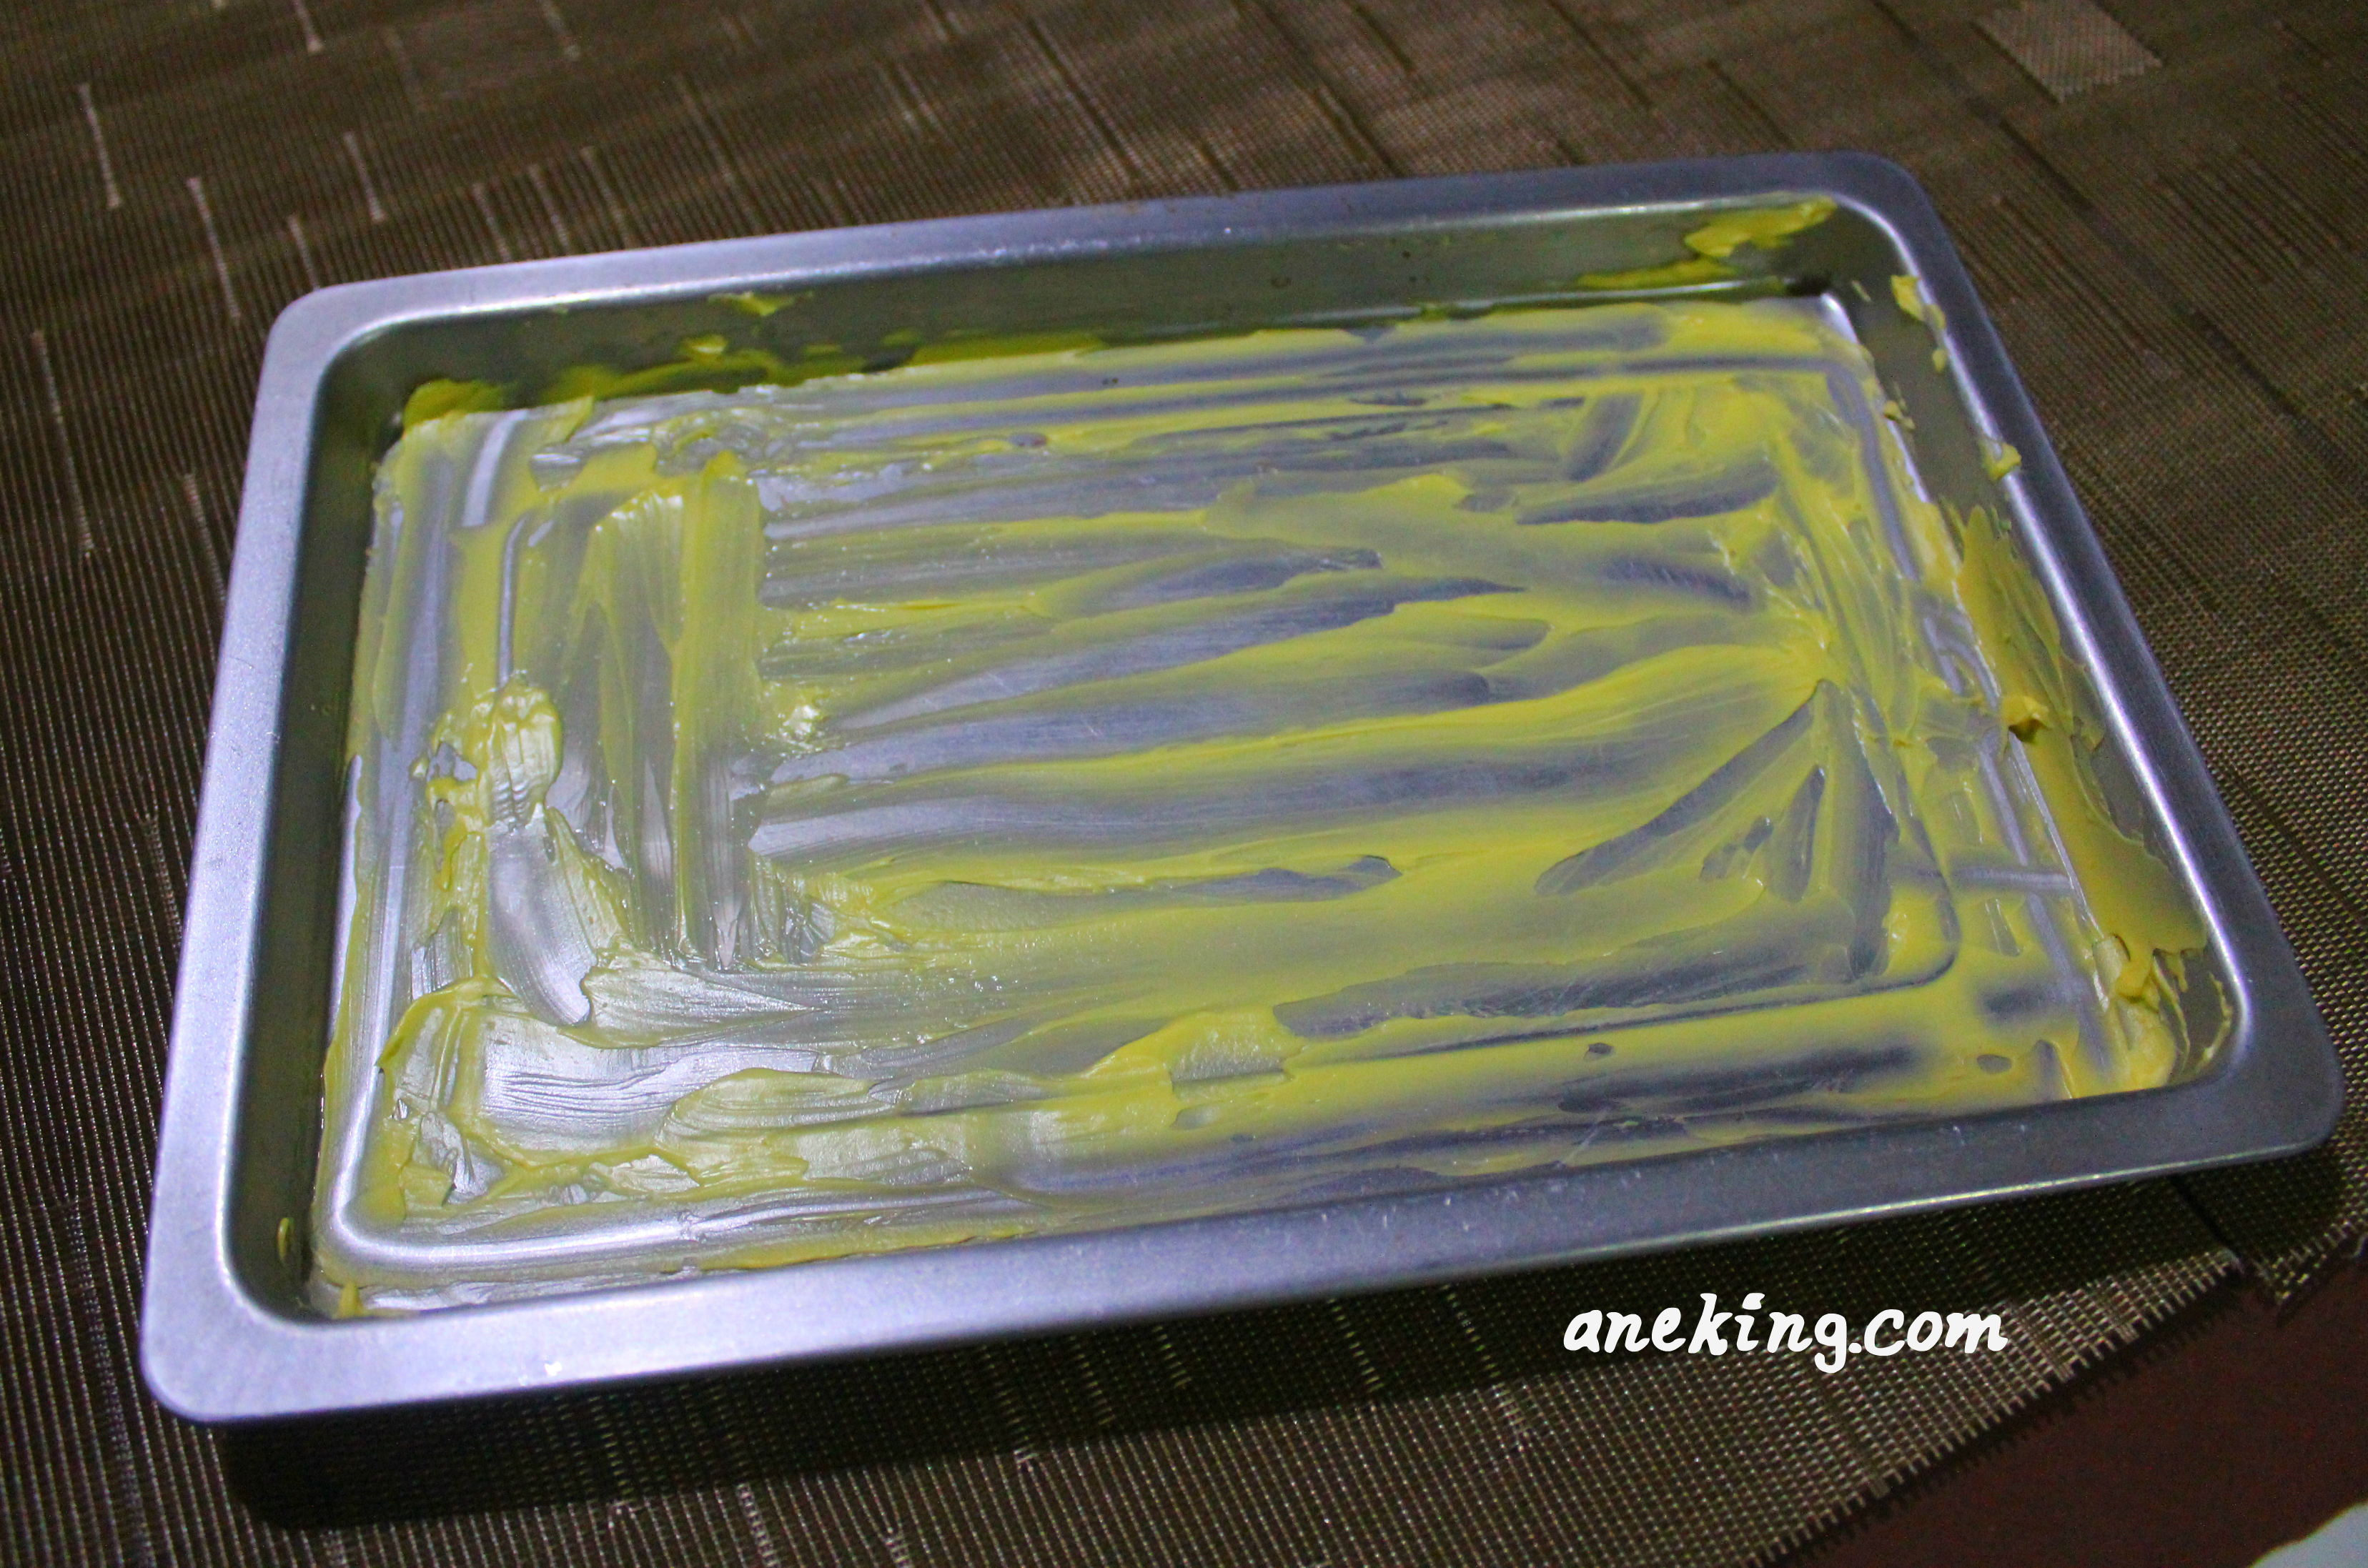
2. Grease the baking pan. Since I have no non-stick spray, I just used butter instead.
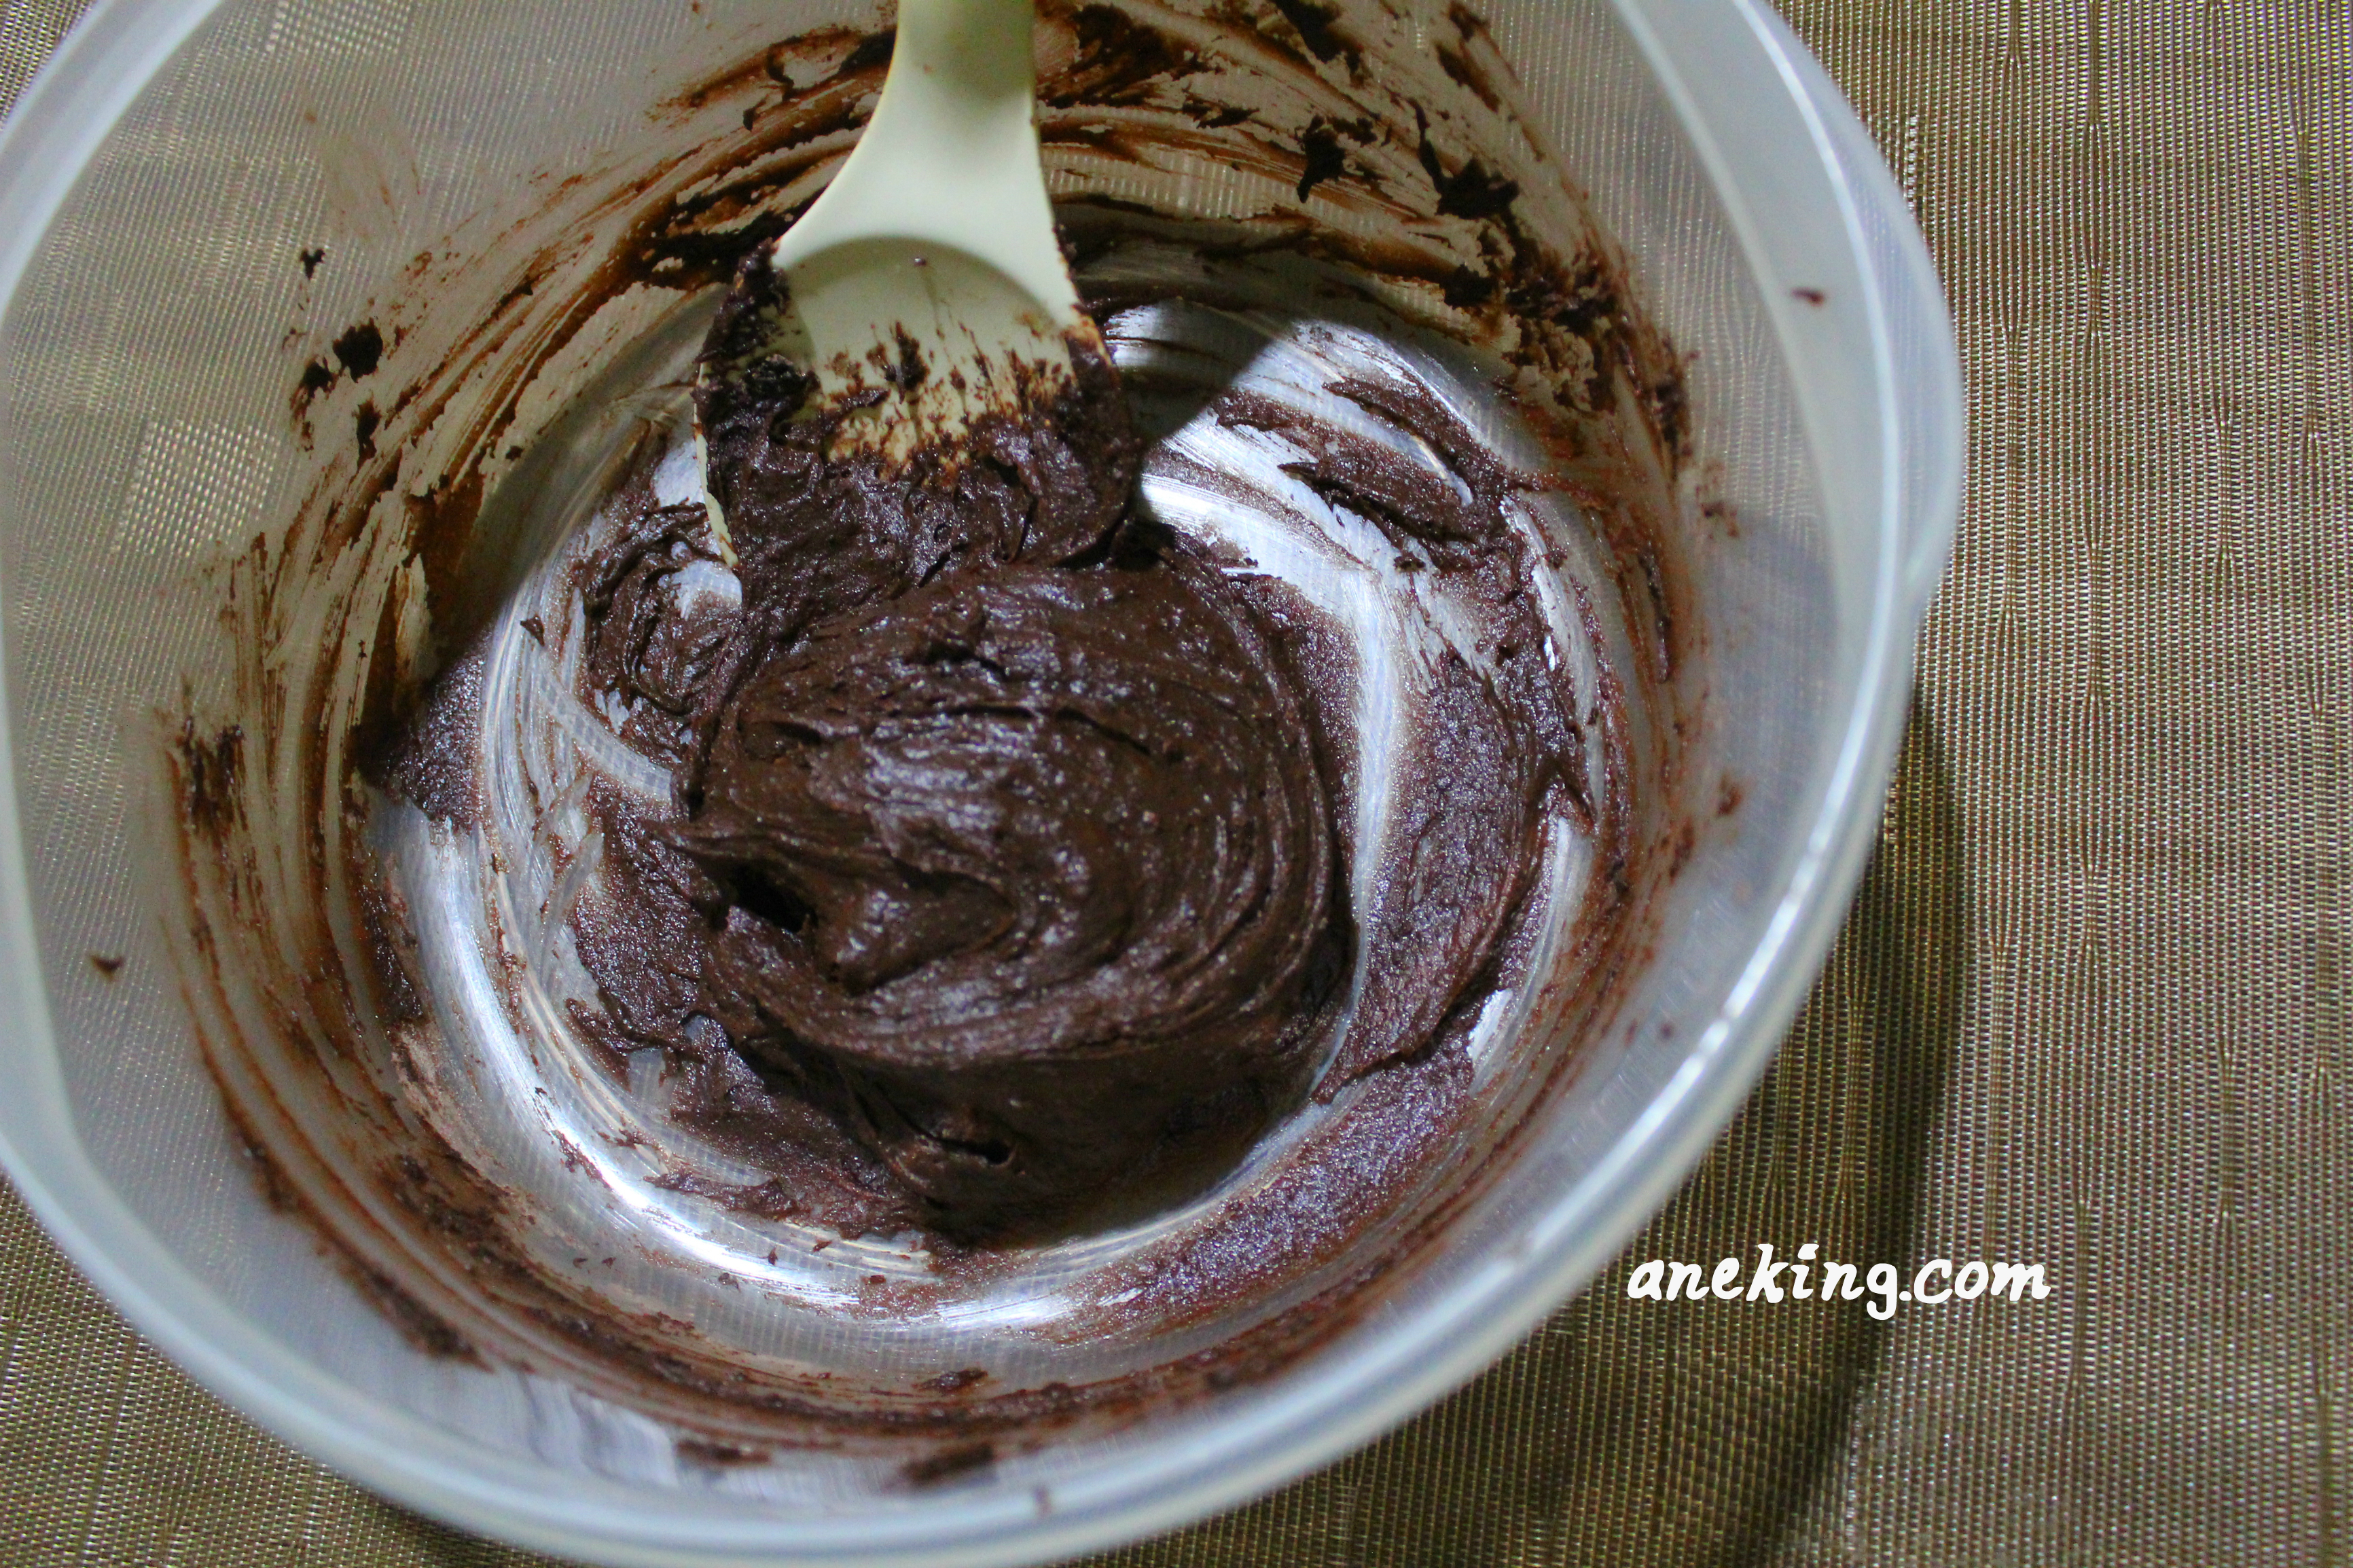
3. Mix 230 grams of brownie mix, an egg, a quarter cup of softened butter and a tablepoon of water in a bowl.
4. Spread the mixture into the pan.
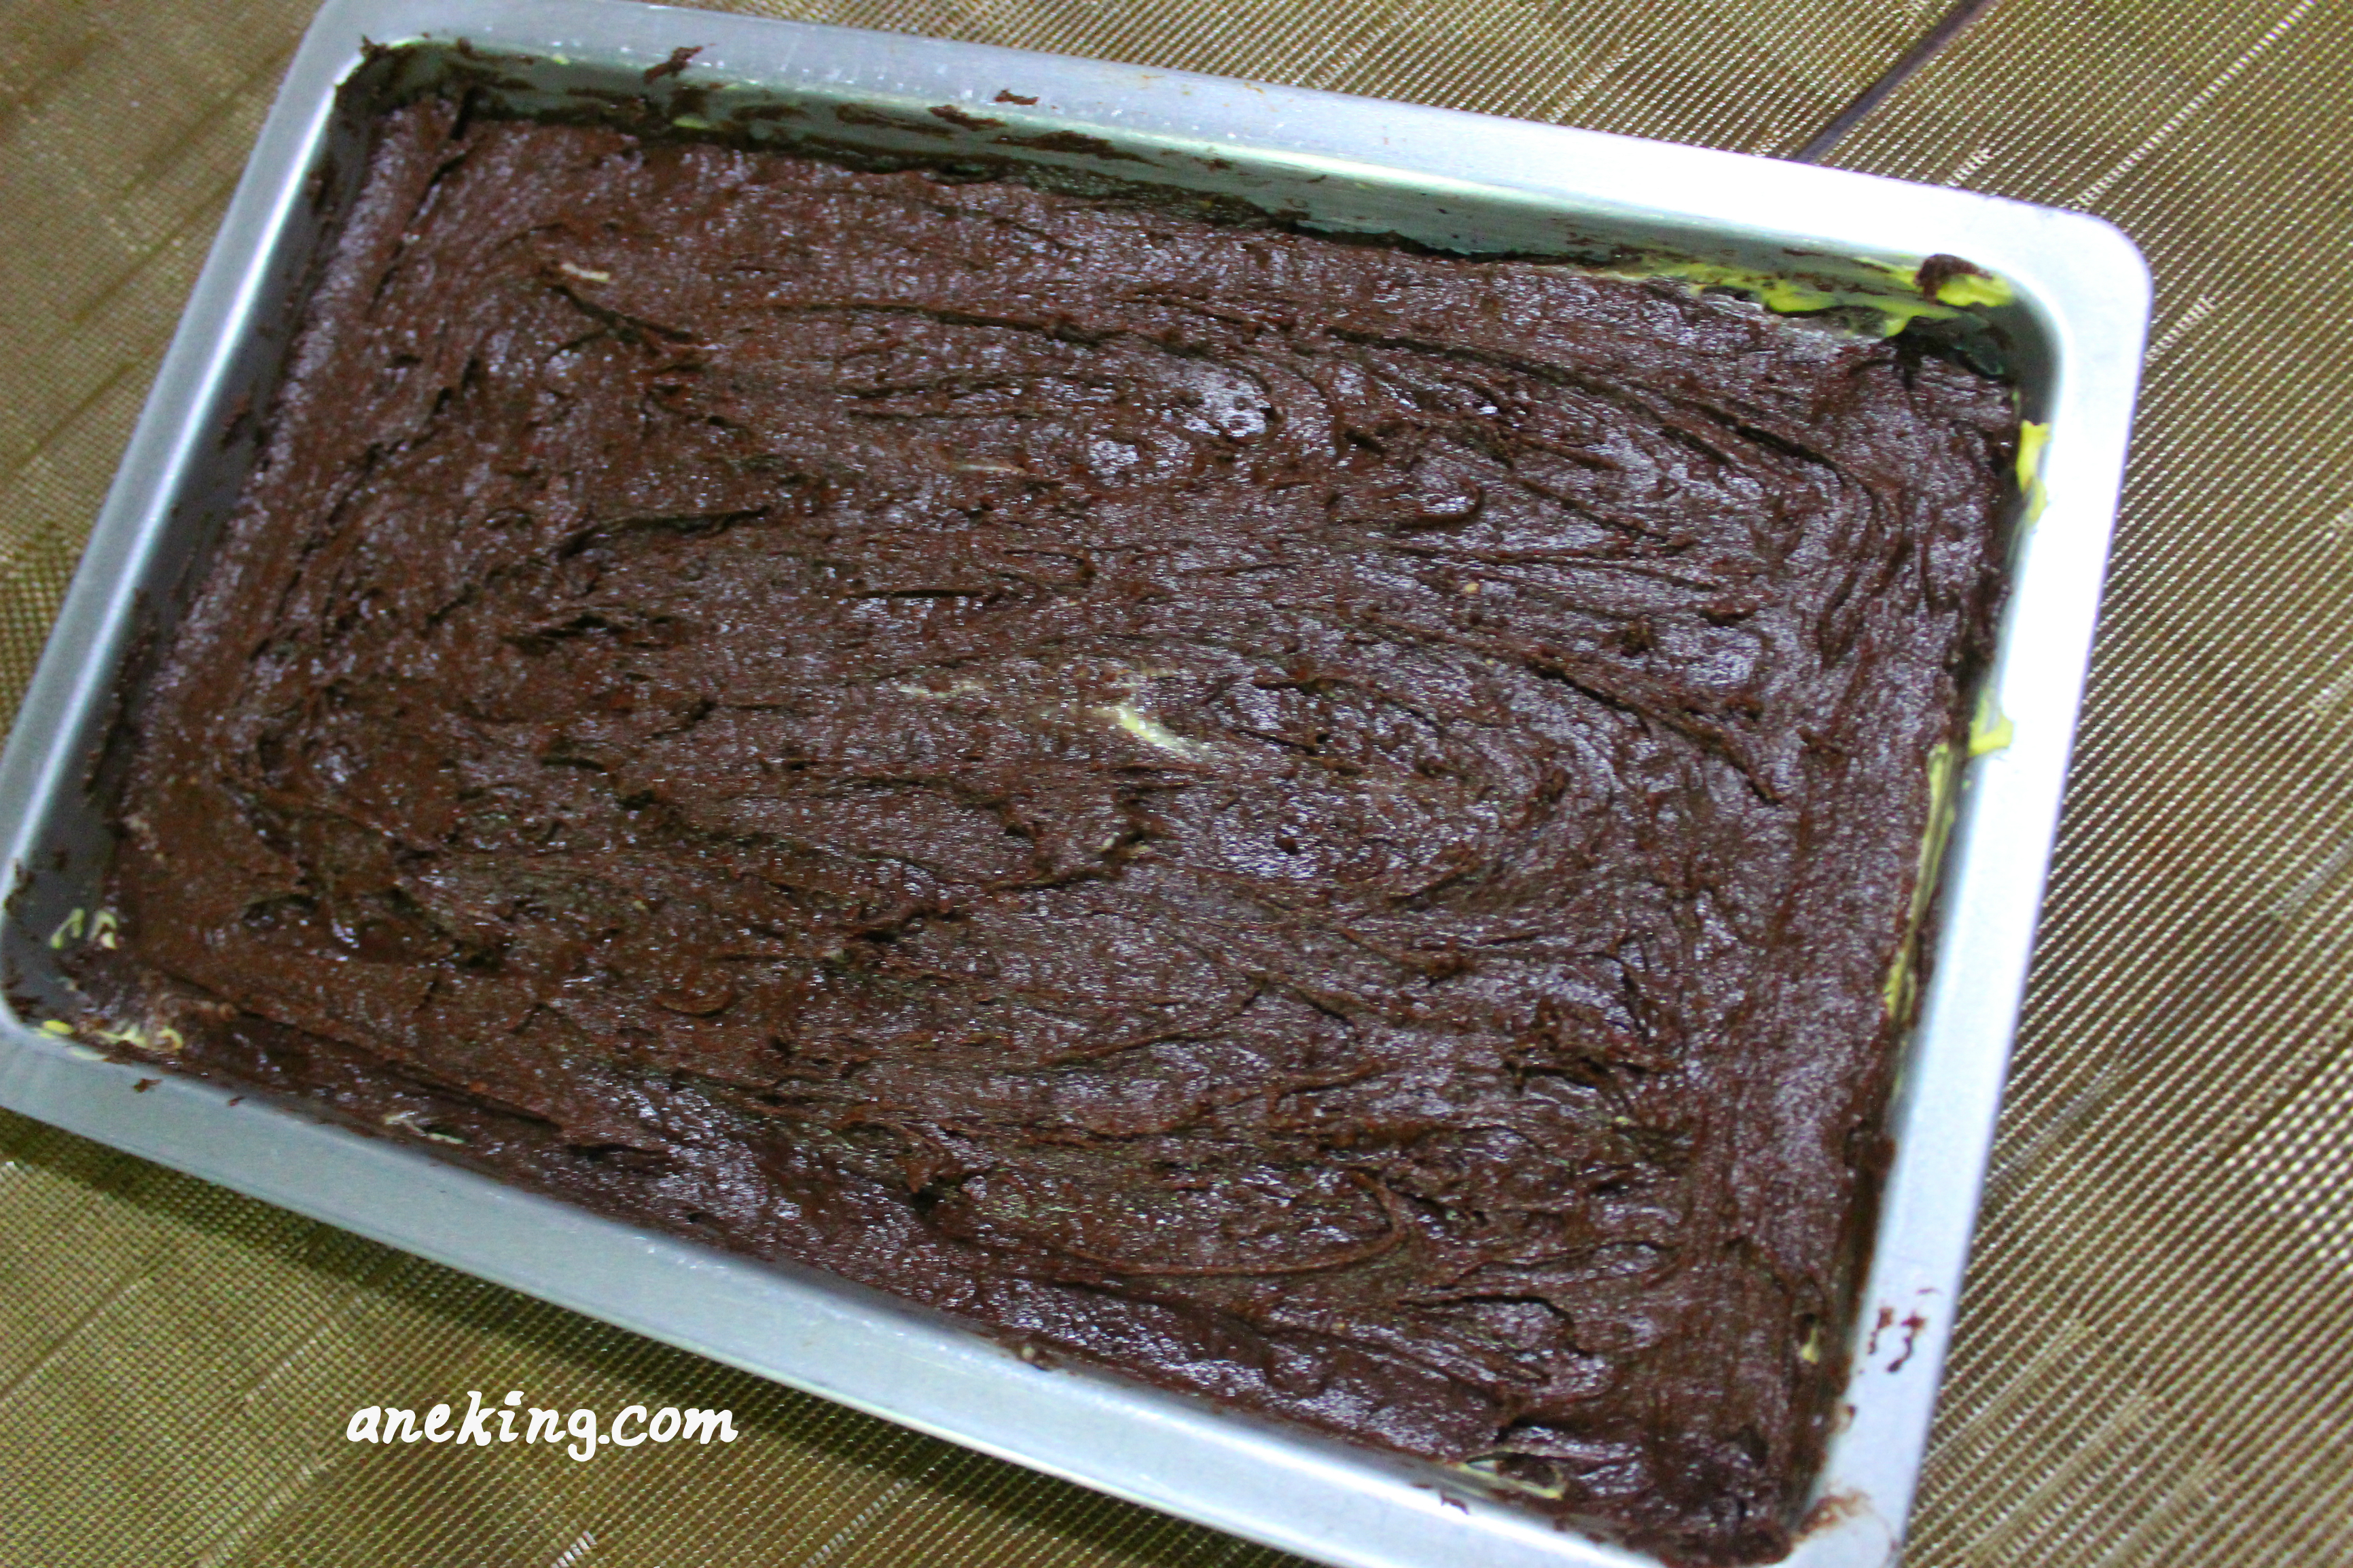
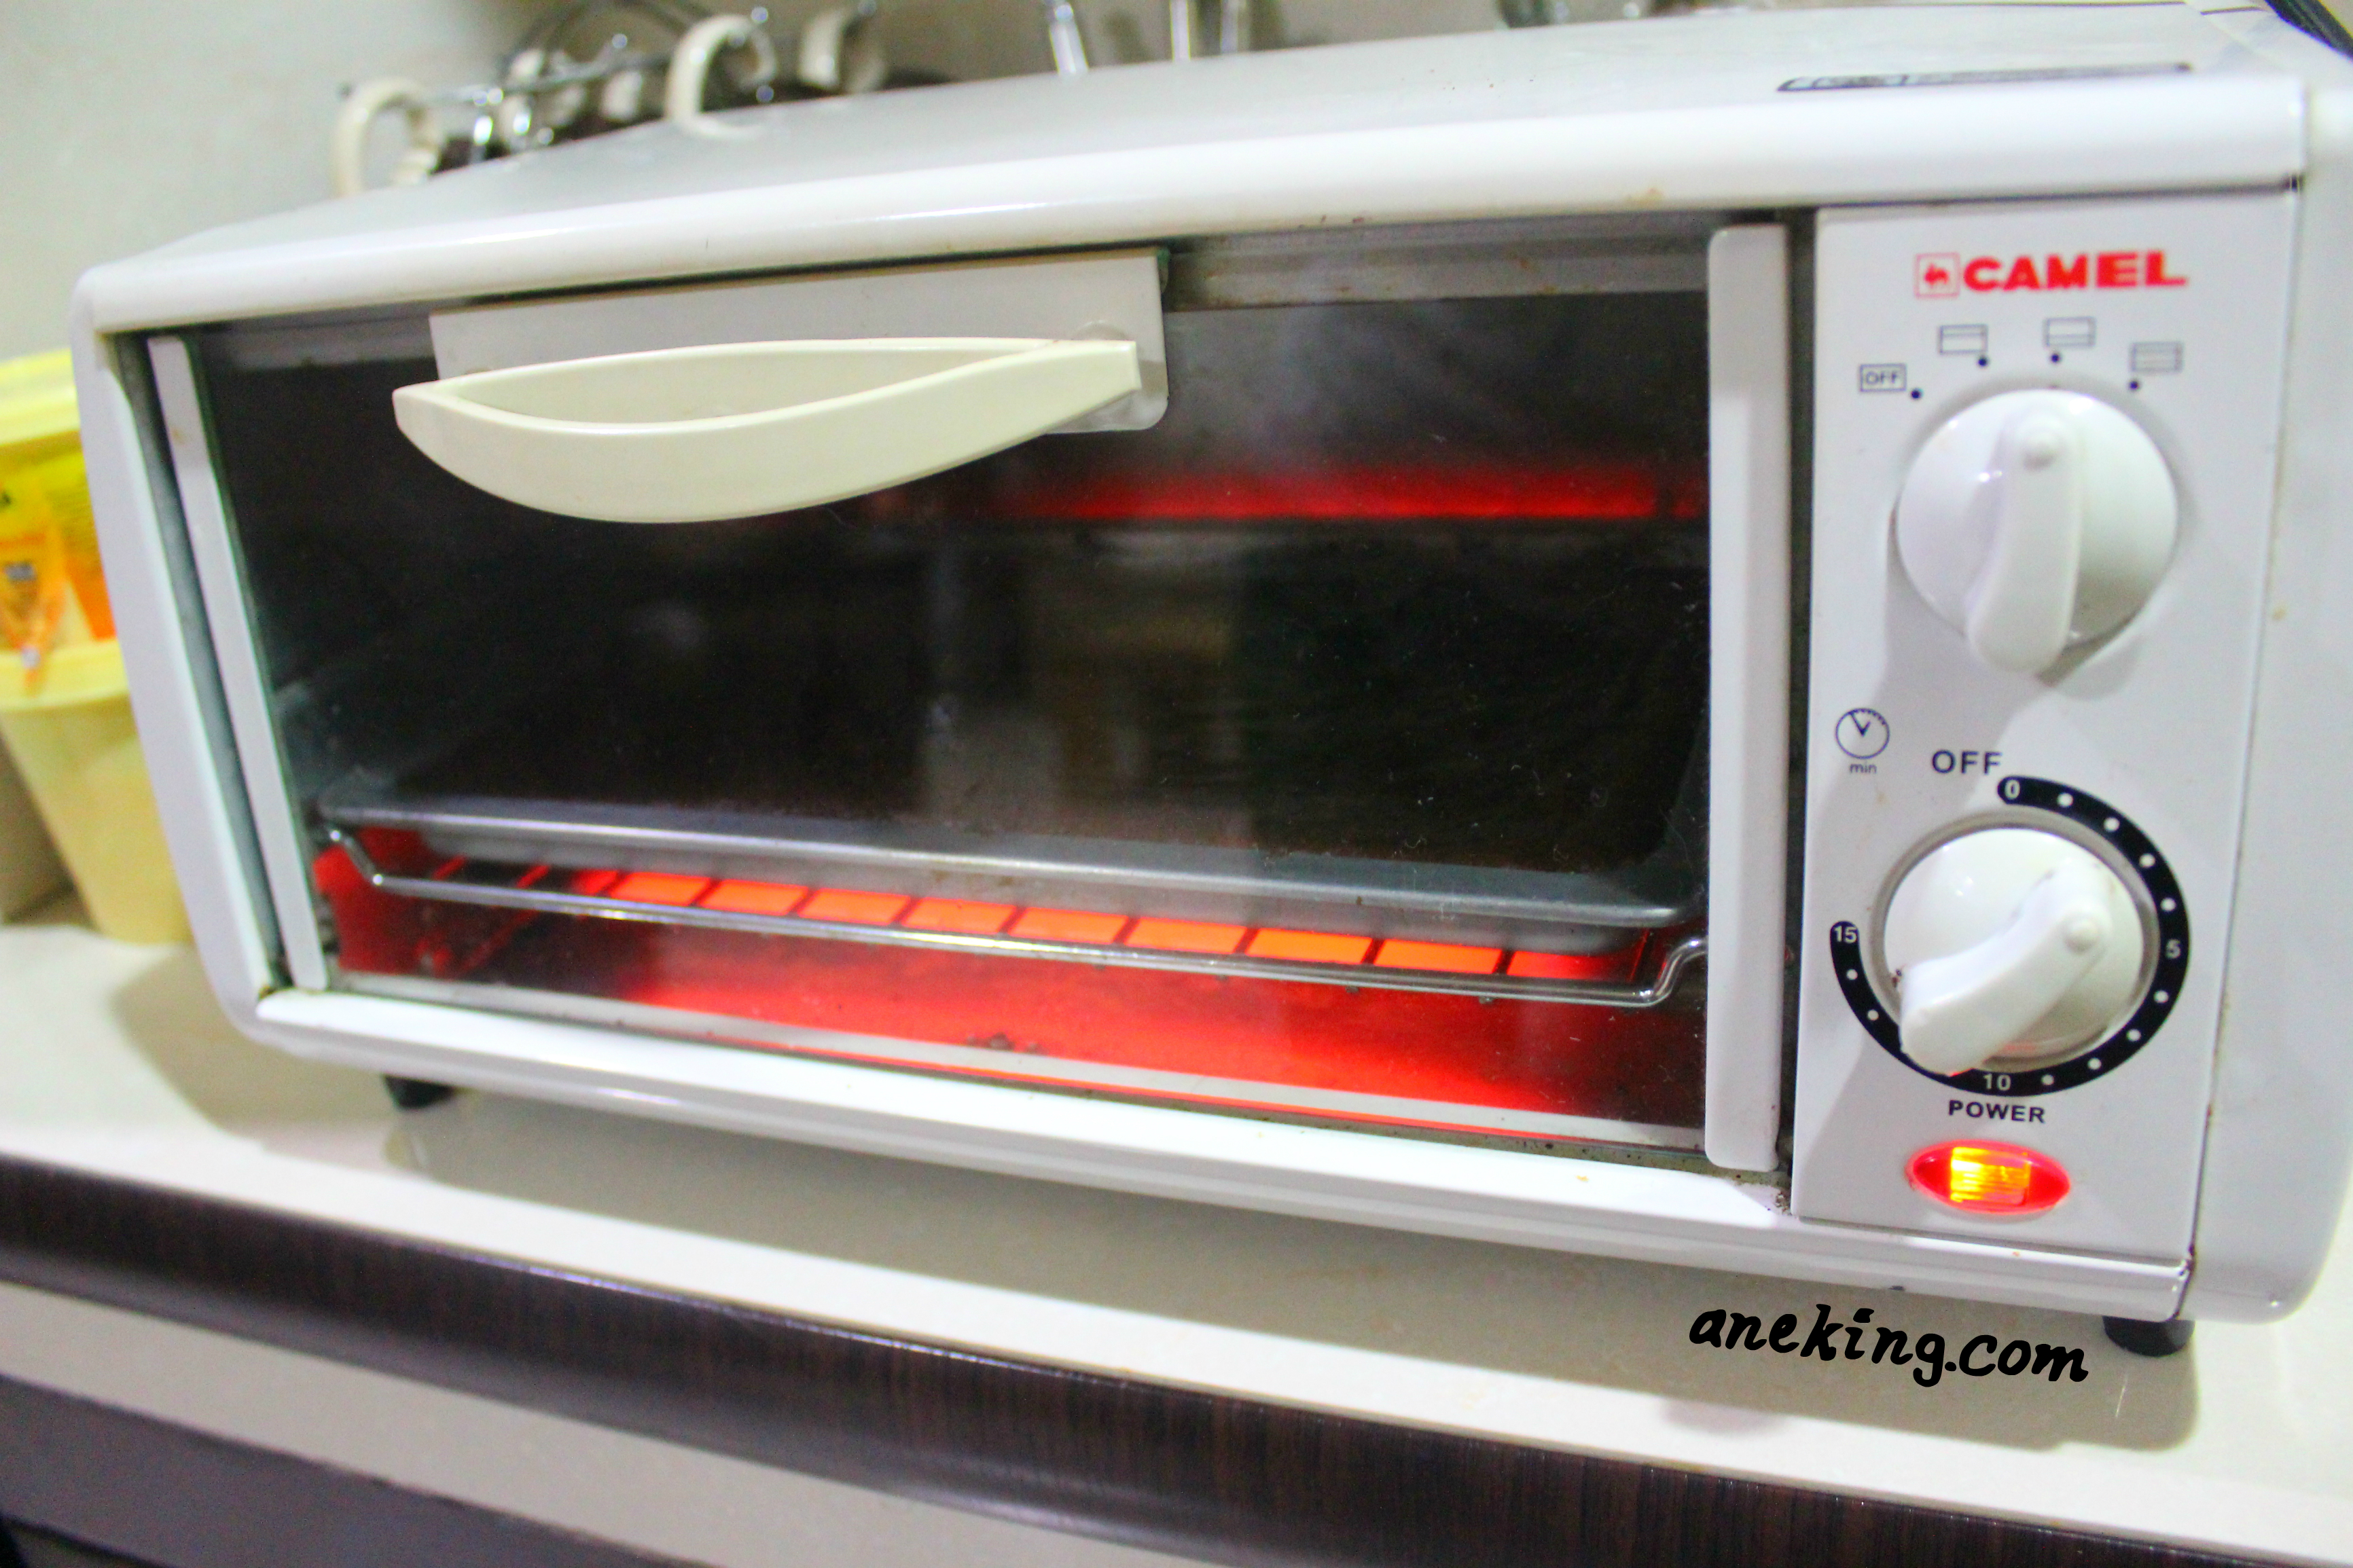
5. Place the pan inside the oven toaster and bake it for 15 minutes.
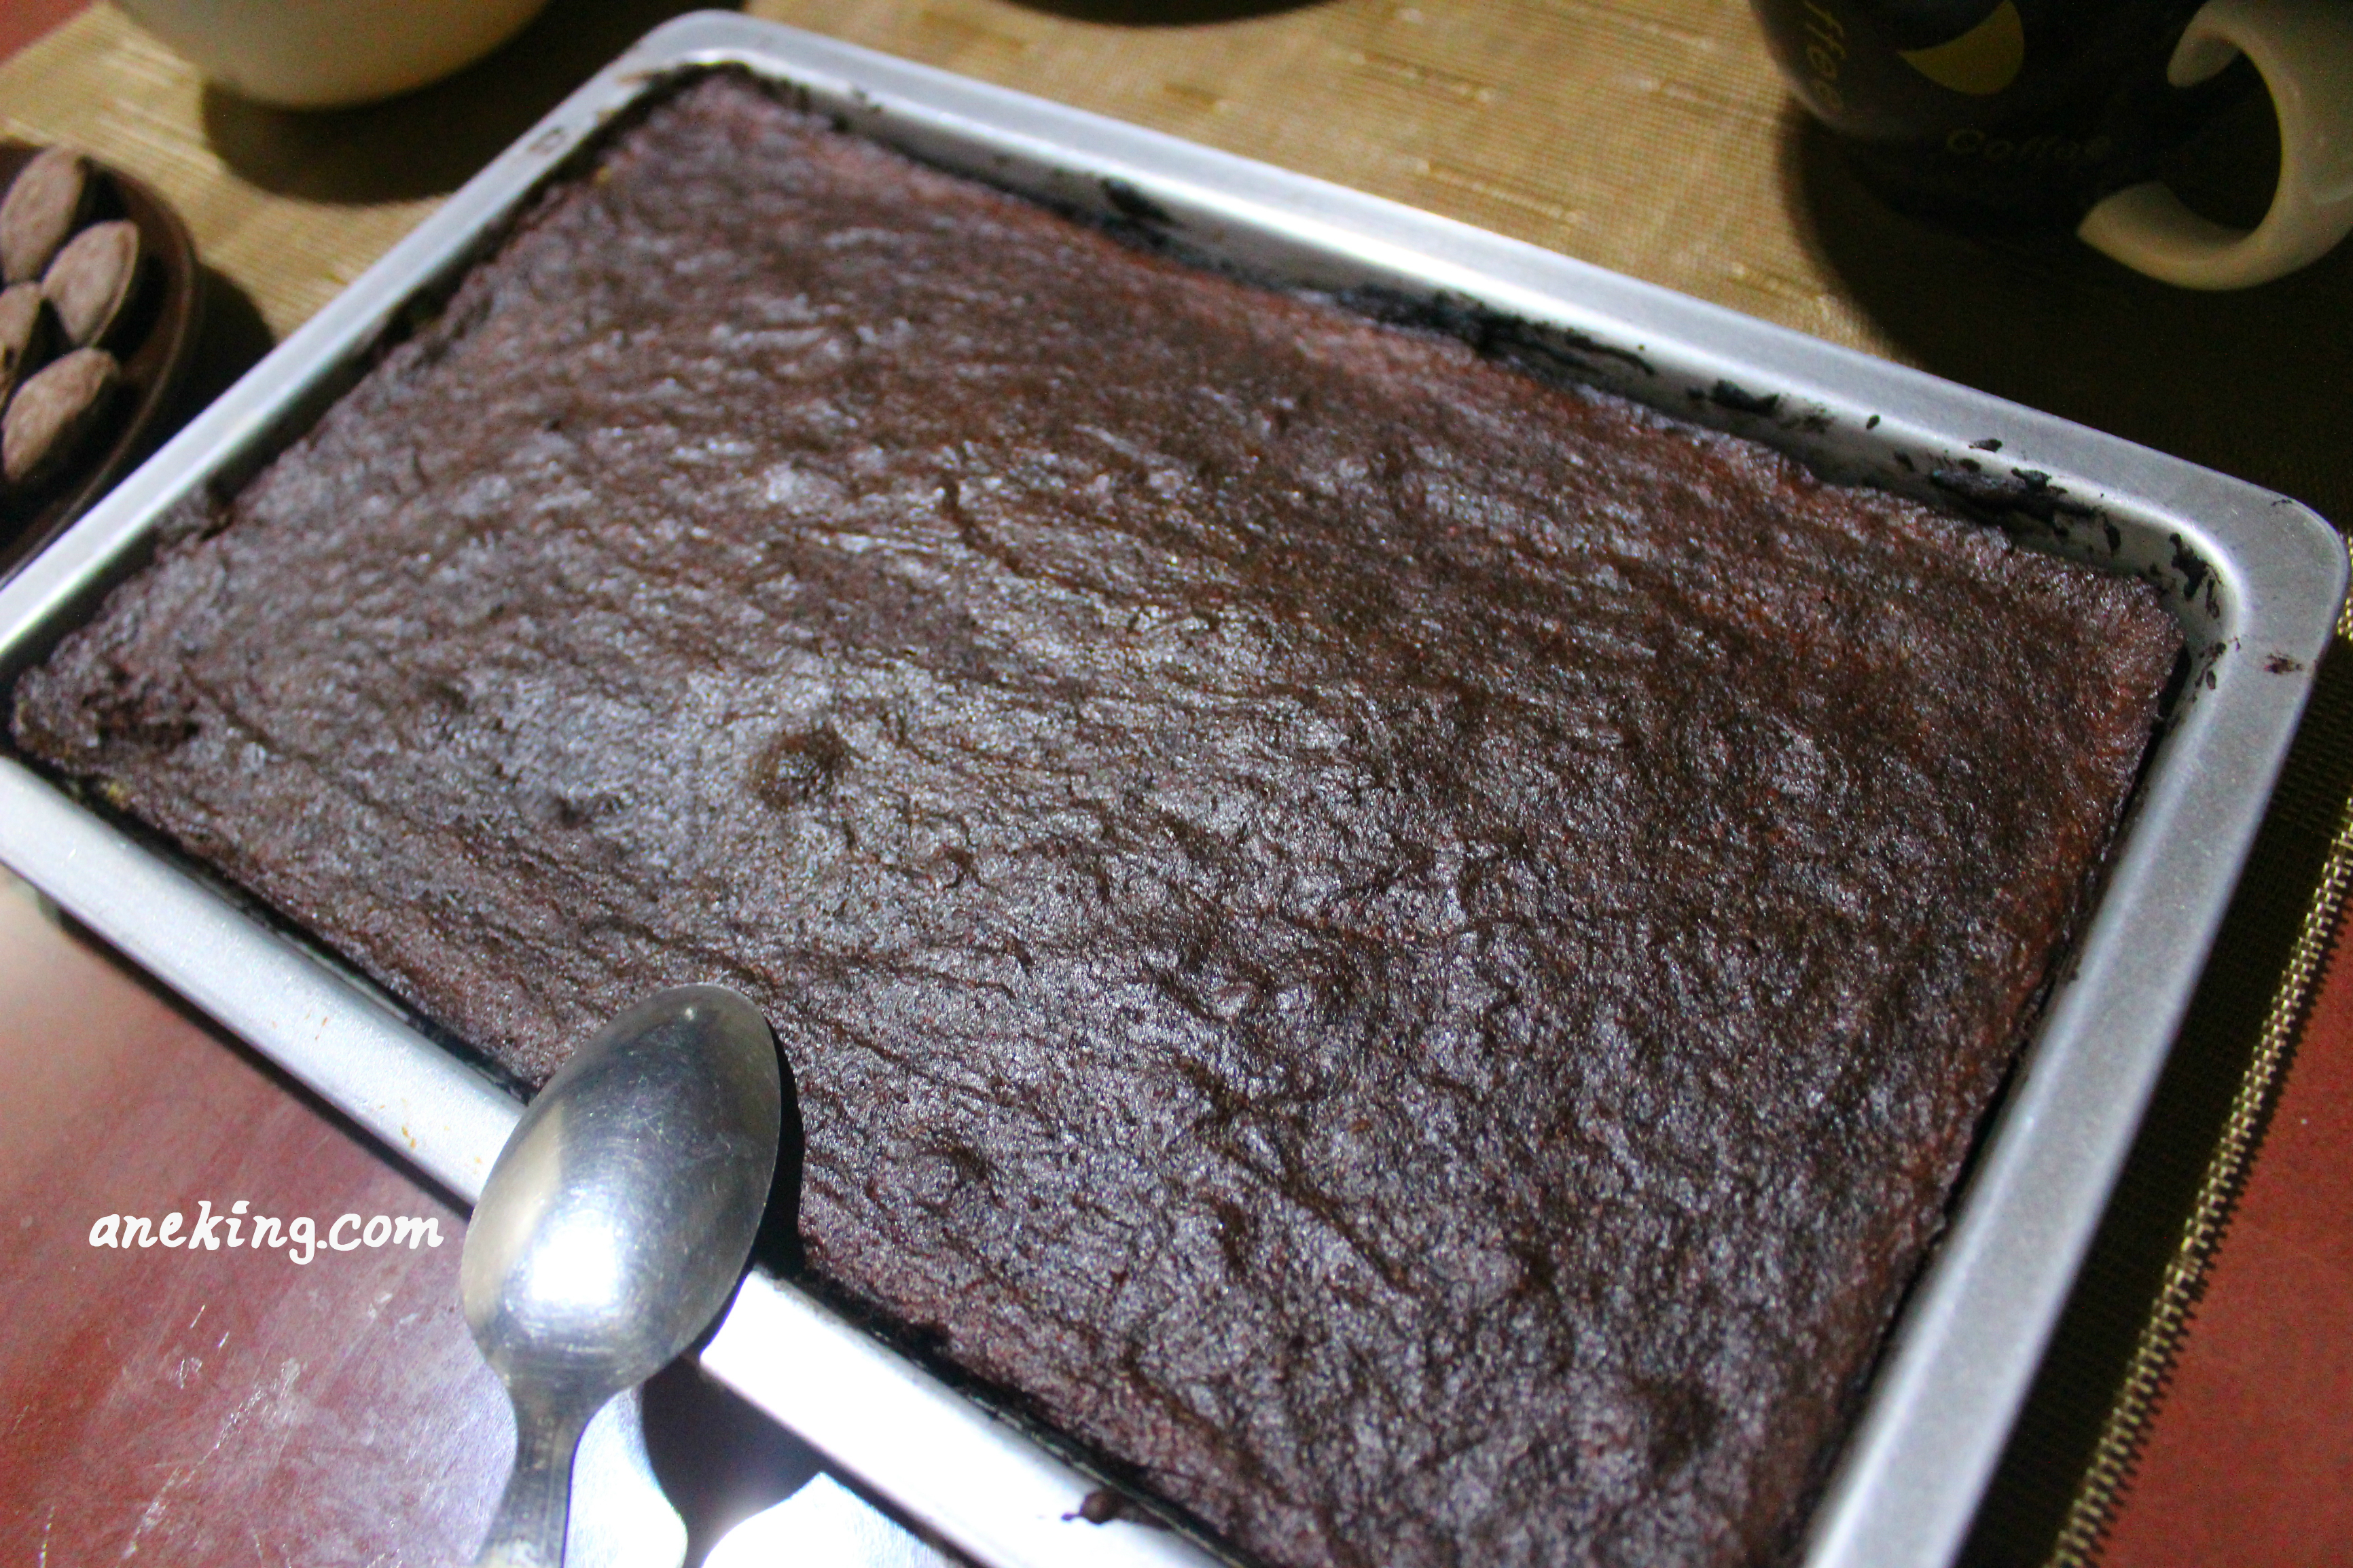
6. When done, let the brownies cool.
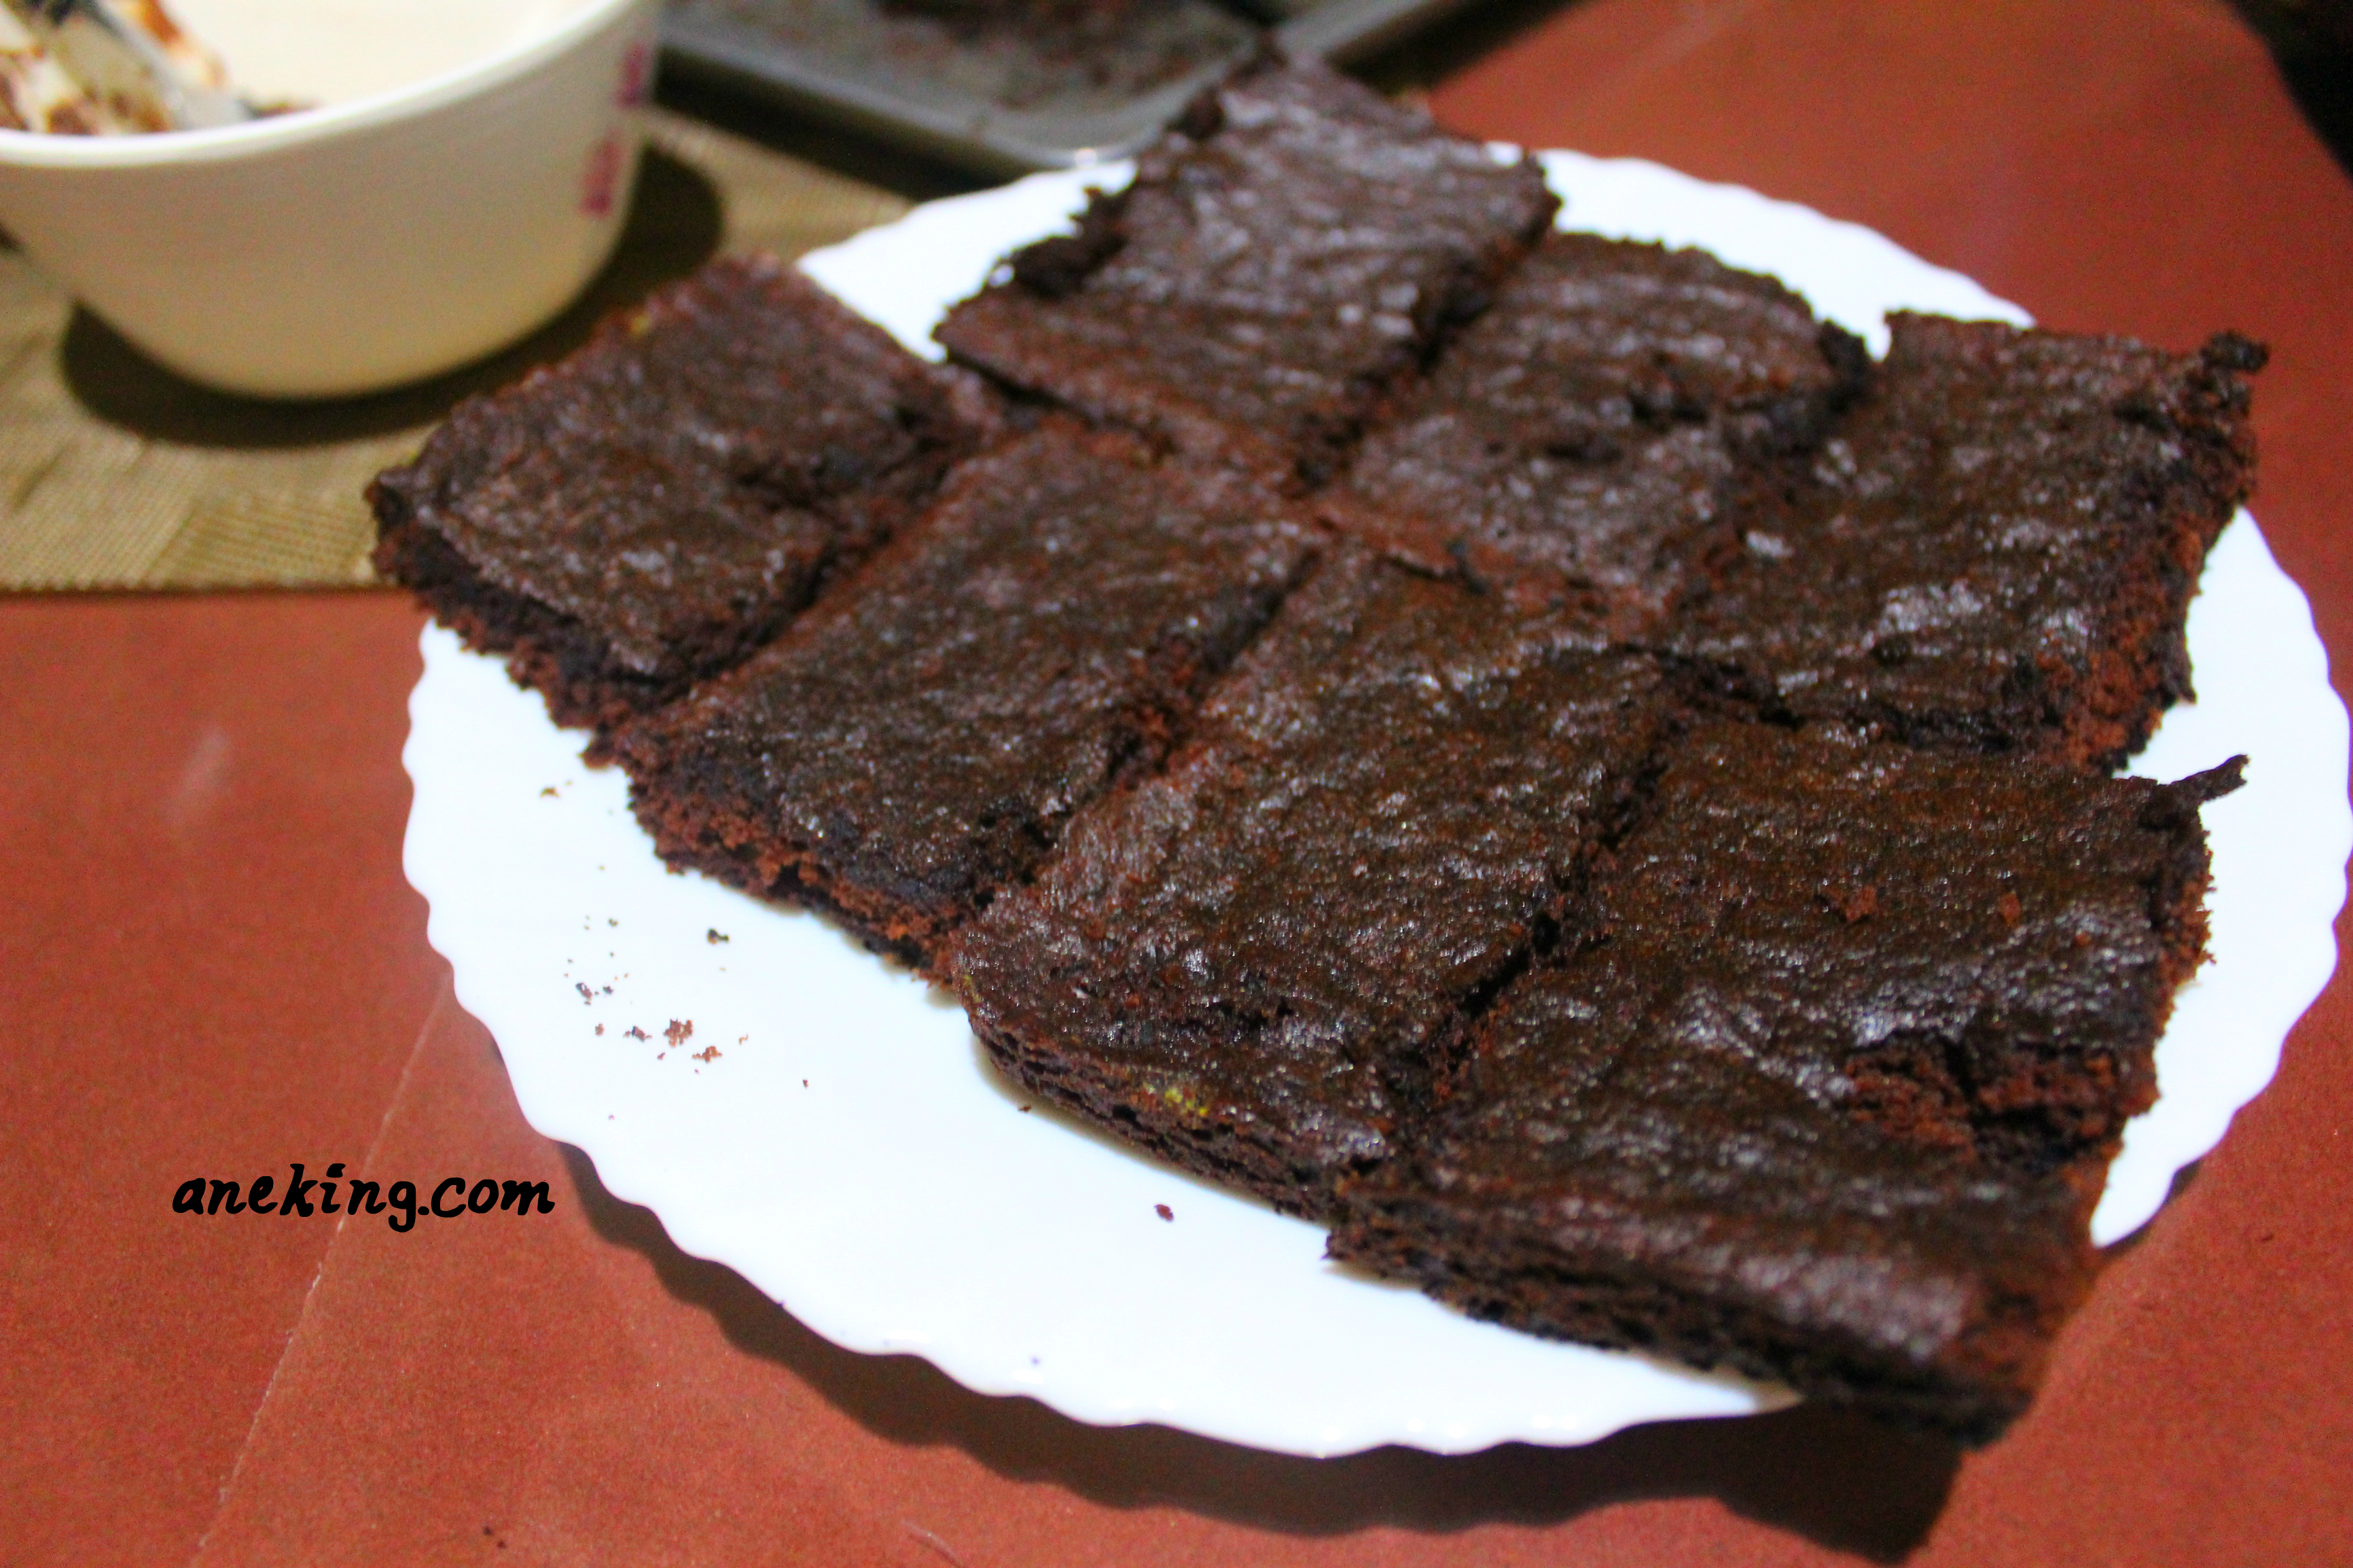
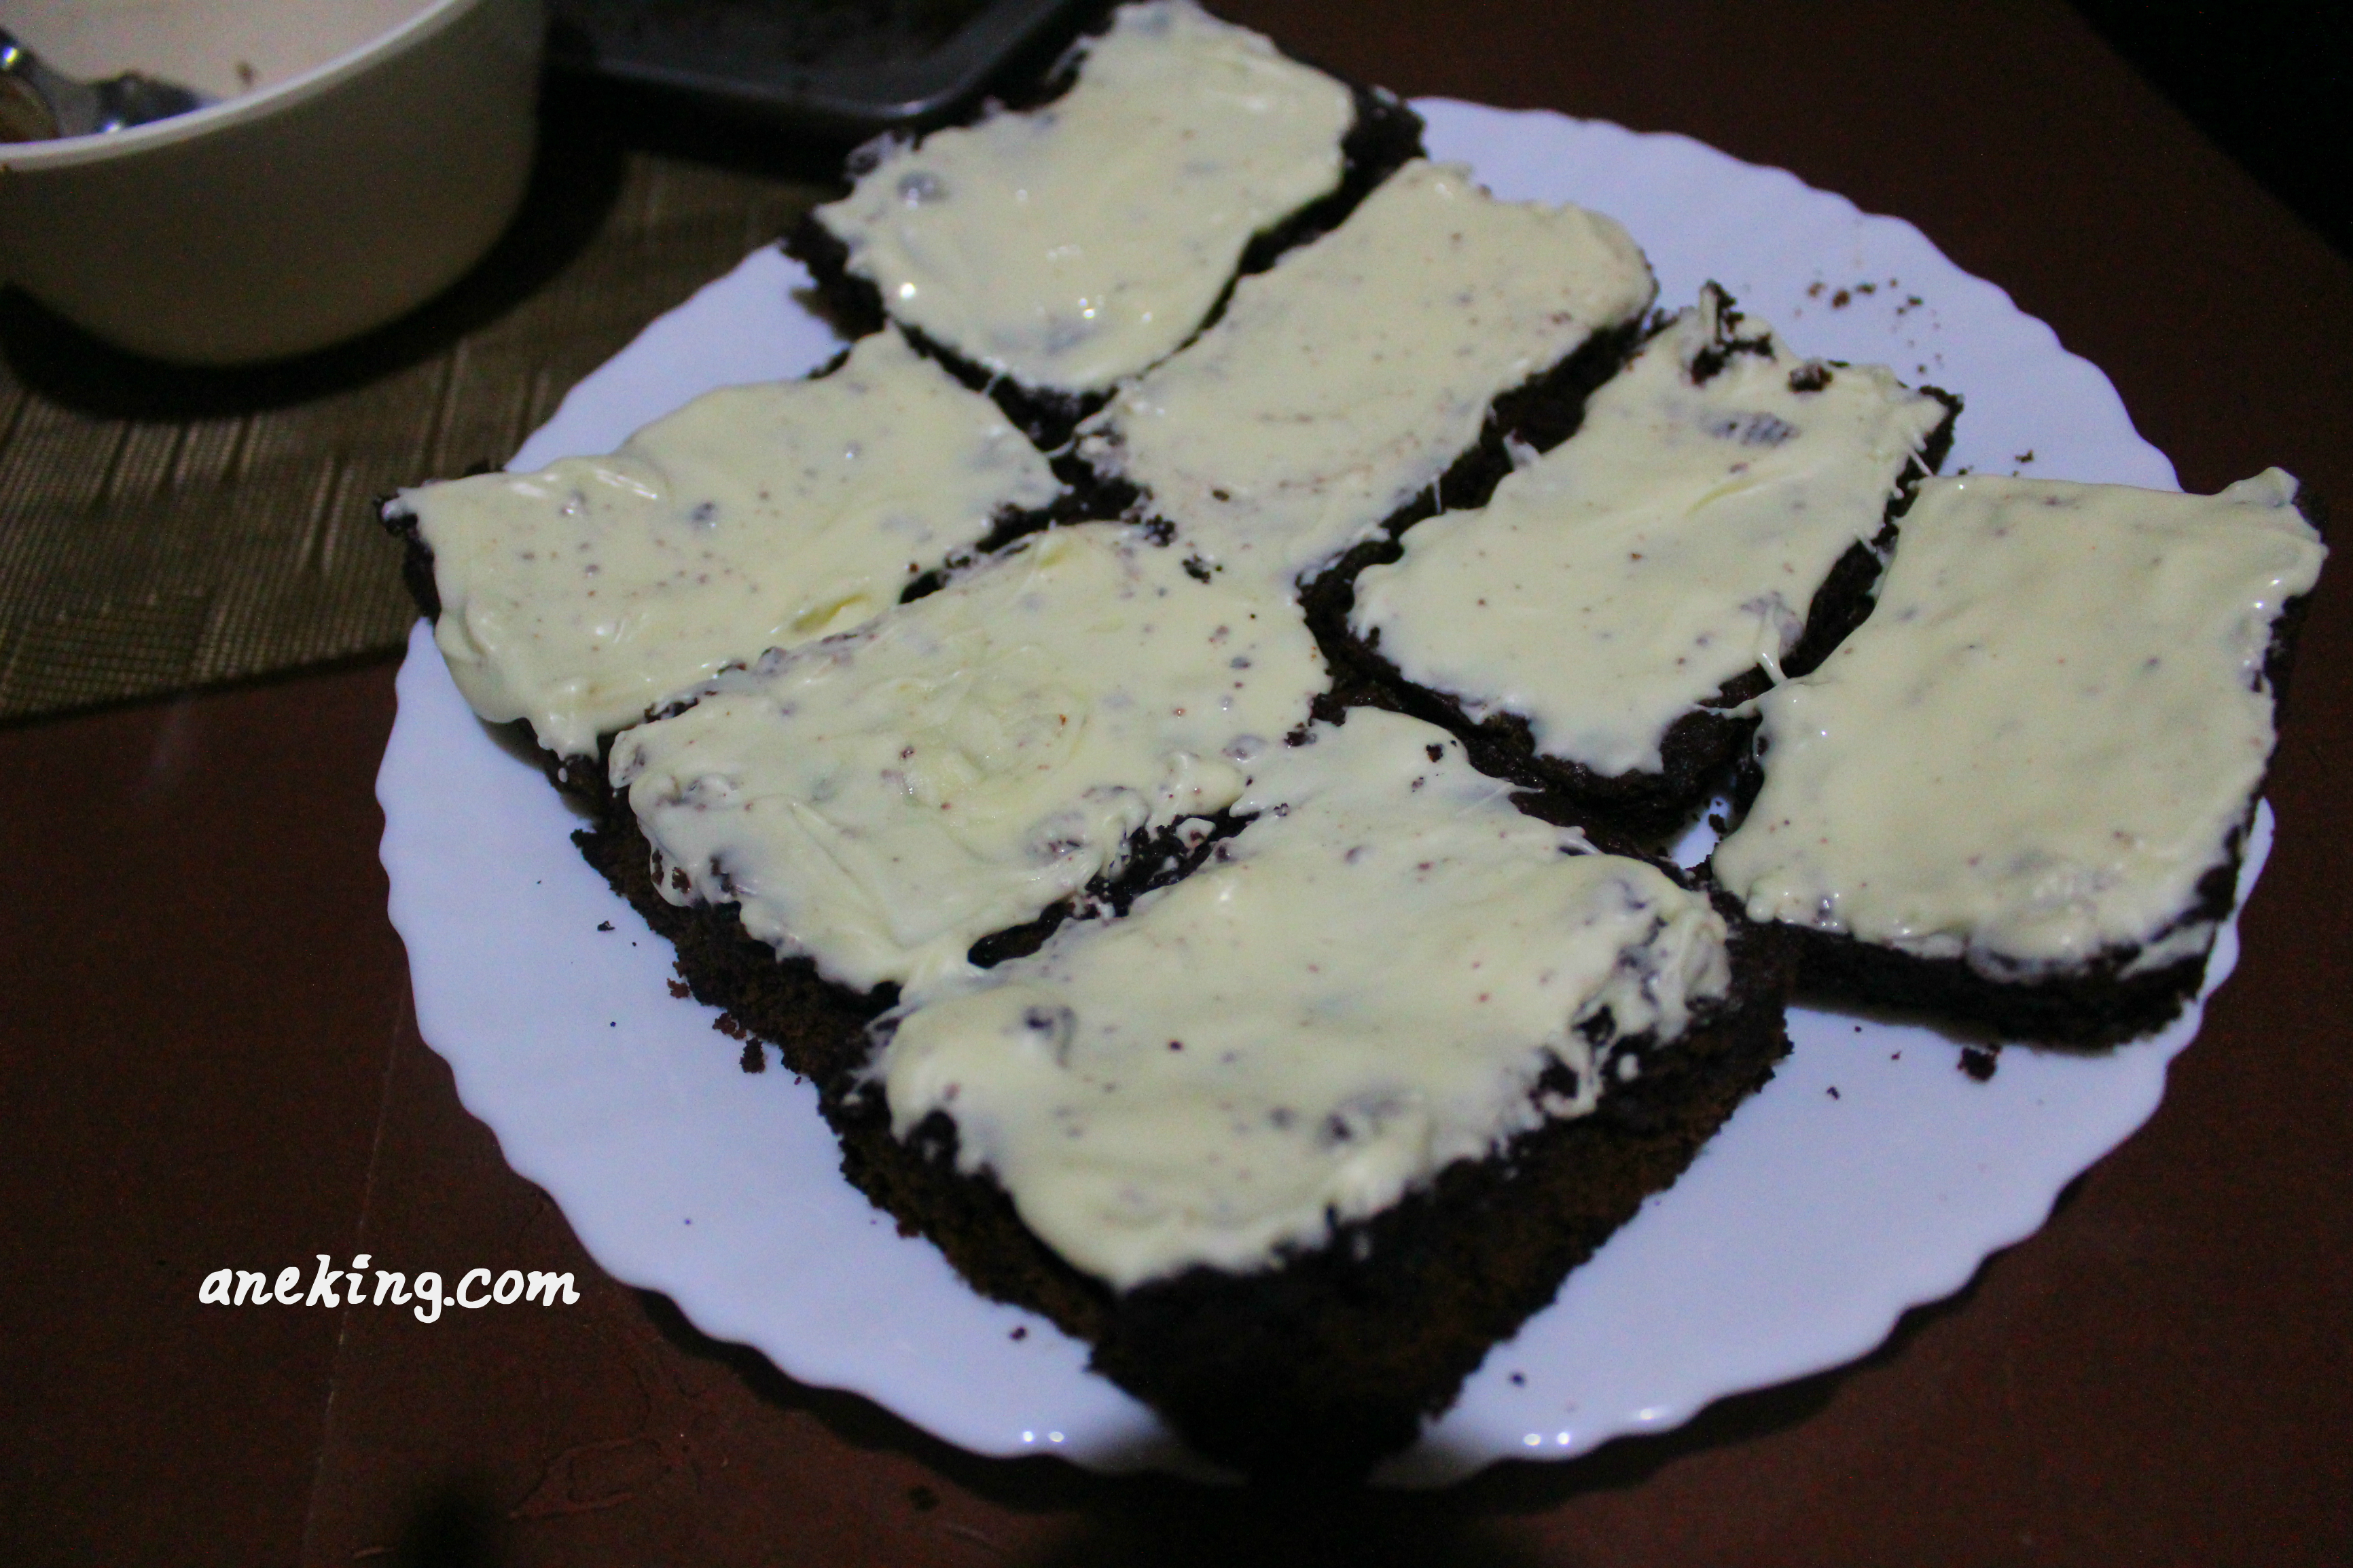
7. Slice the brownies into smaller squares and set it aside.
8. Double boil the milk chocolate and white chocolate separately.
9. Spread the melted white chocolate over the brownies.
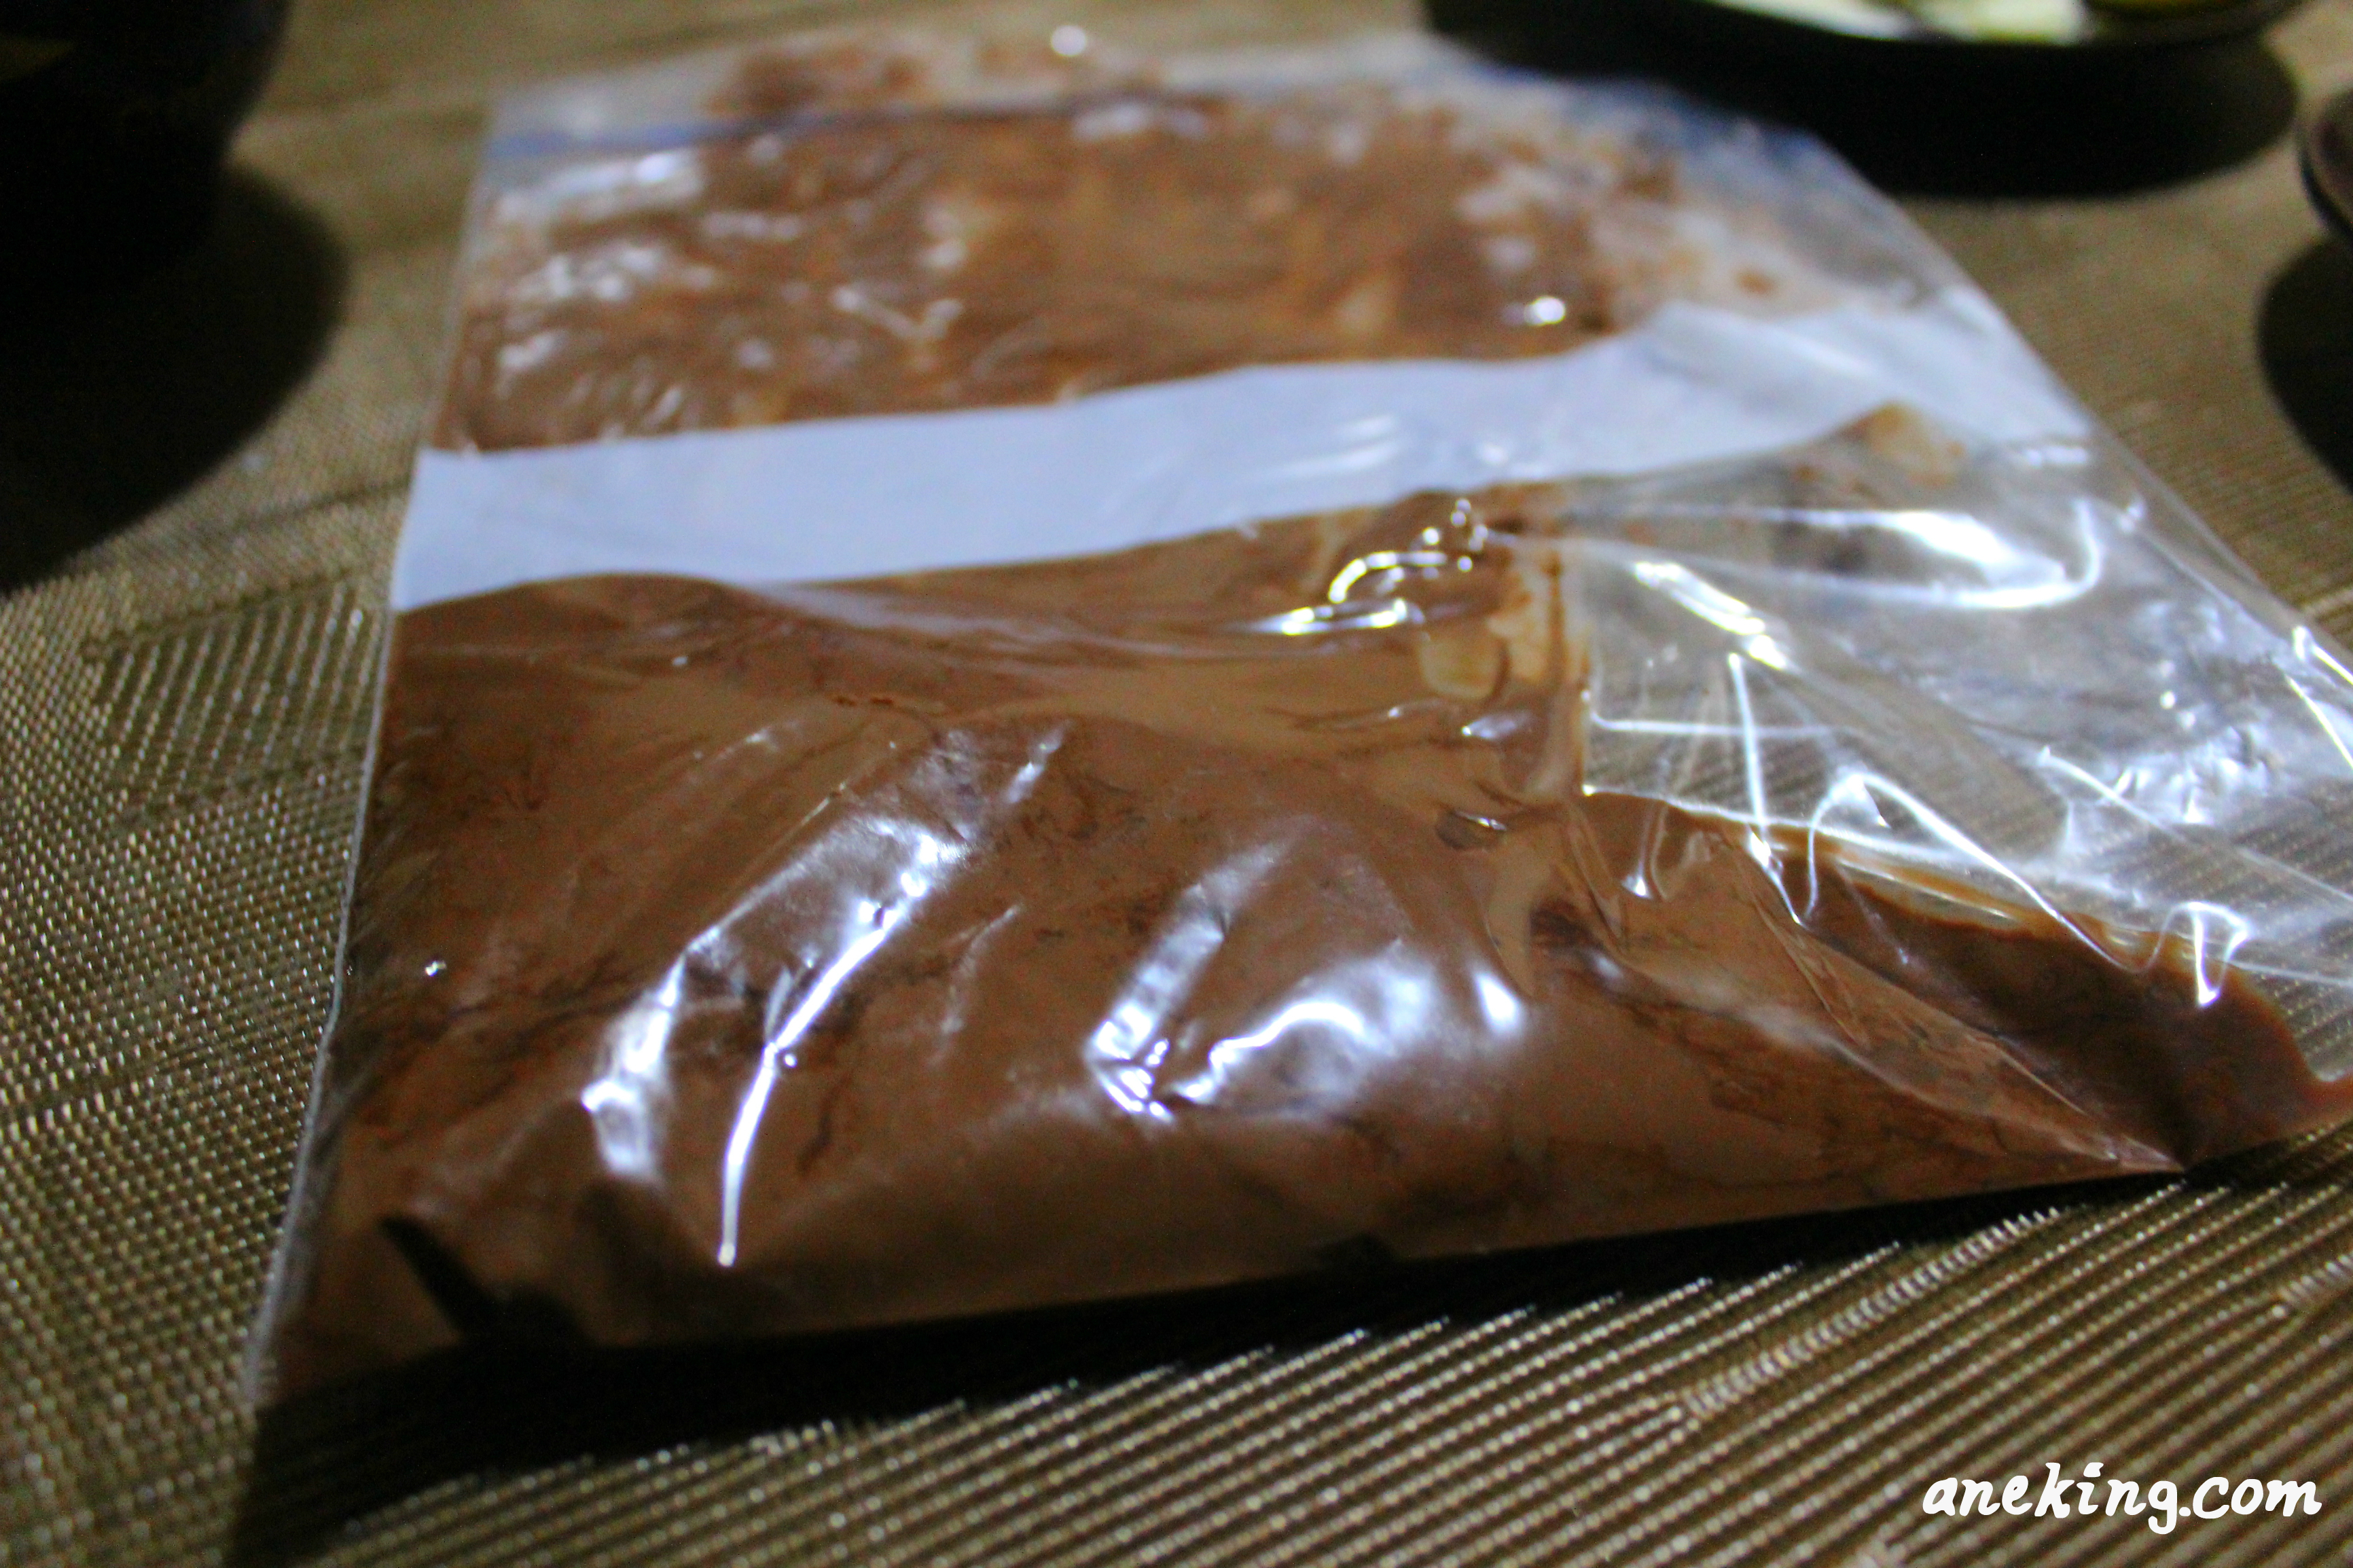
10. Place the melted milk chocolate into an icing bag. Since I have none, I used ziplock bag instead.
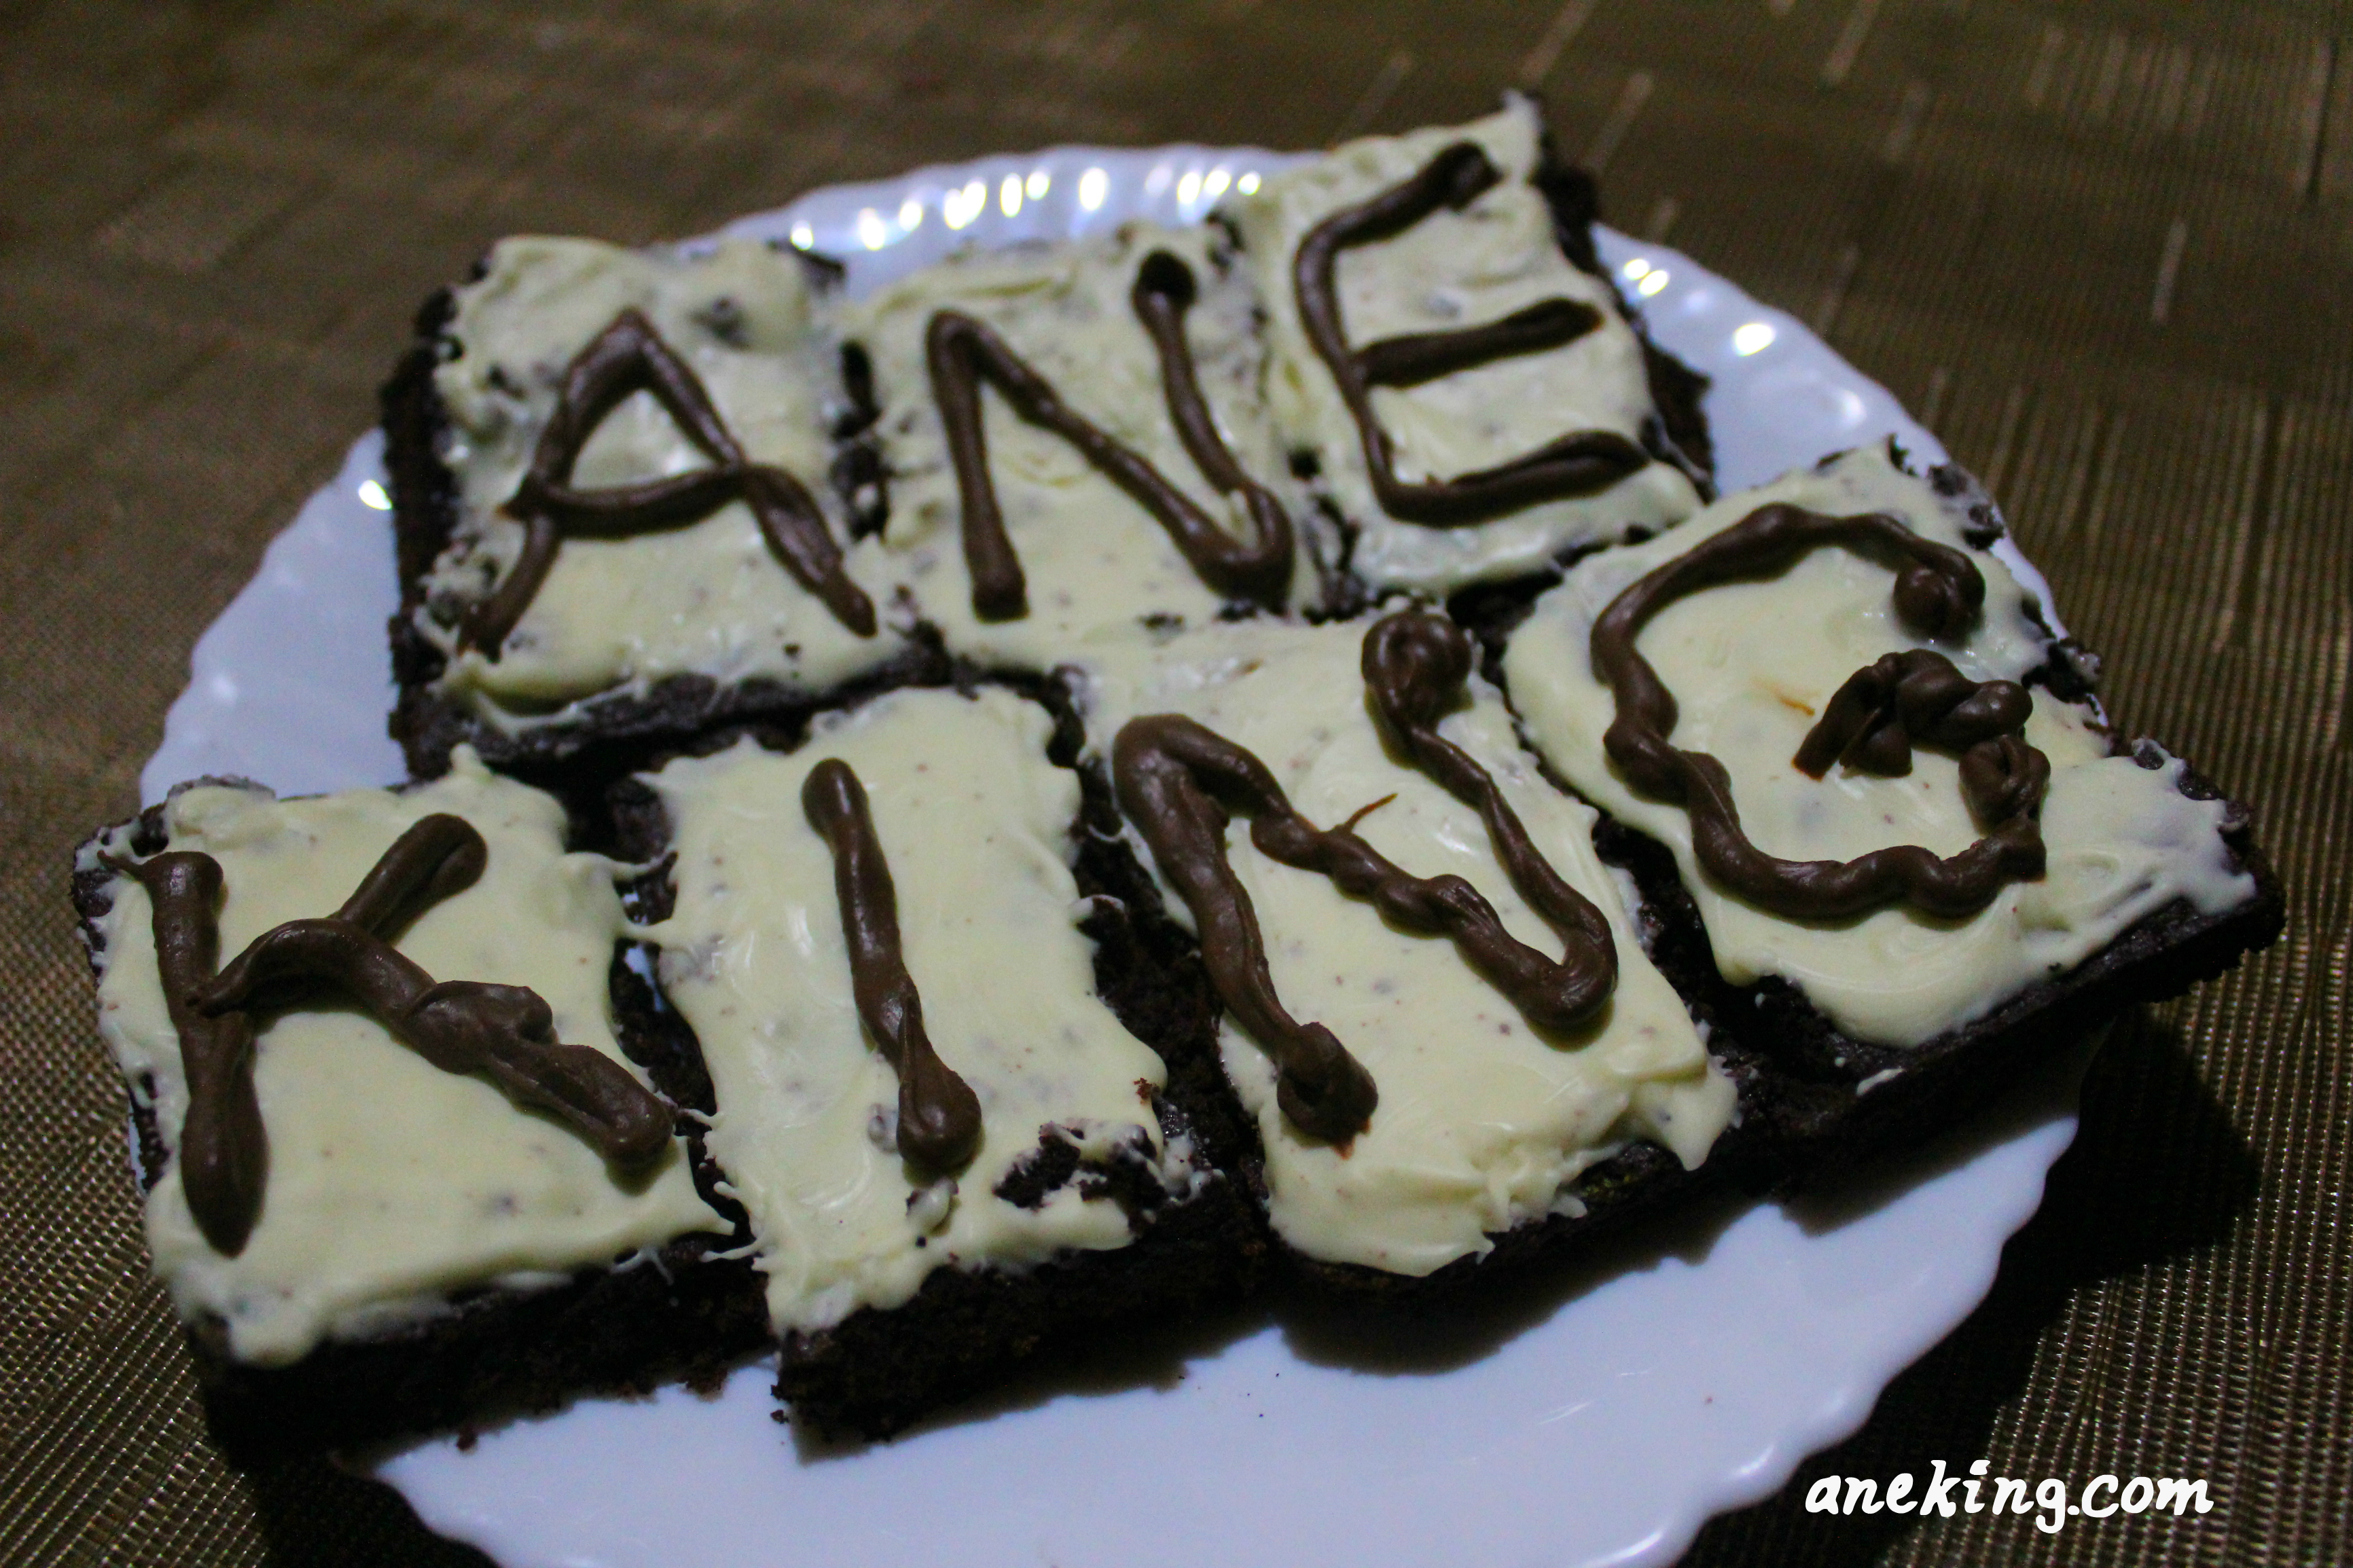
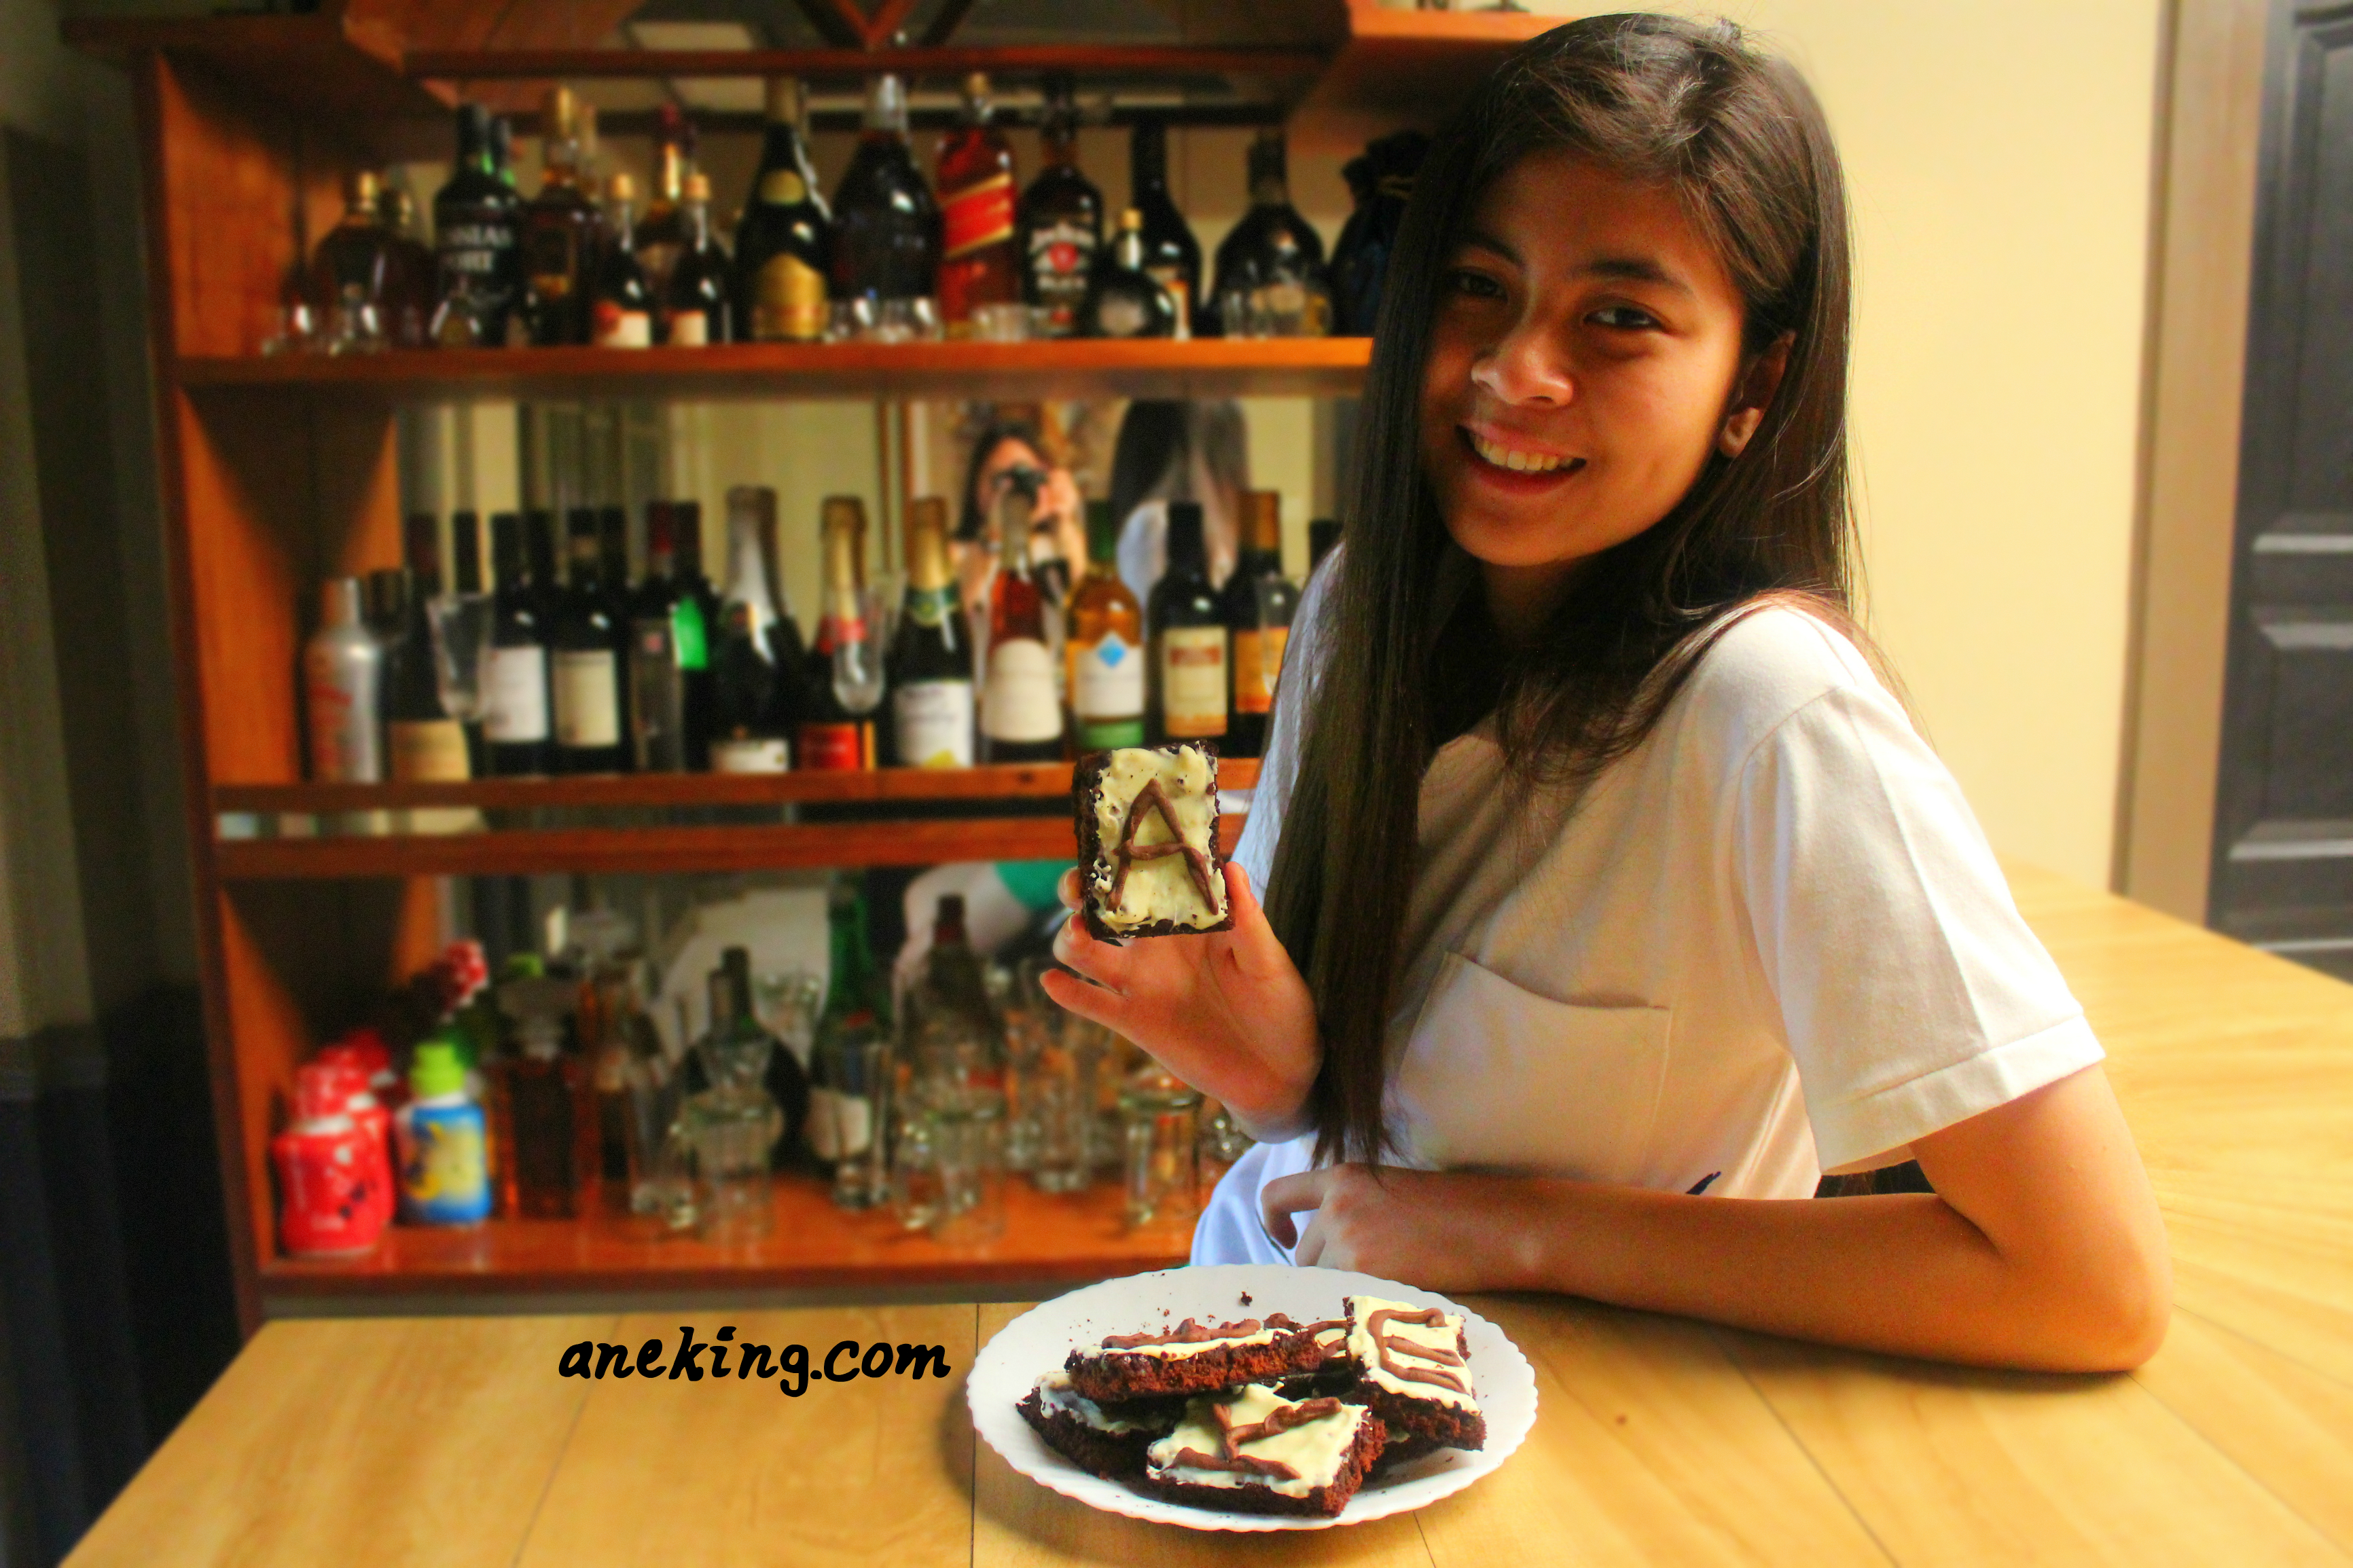
11. Write or draw what you want on the top of the brownies using the bag and let the chocolate cool.
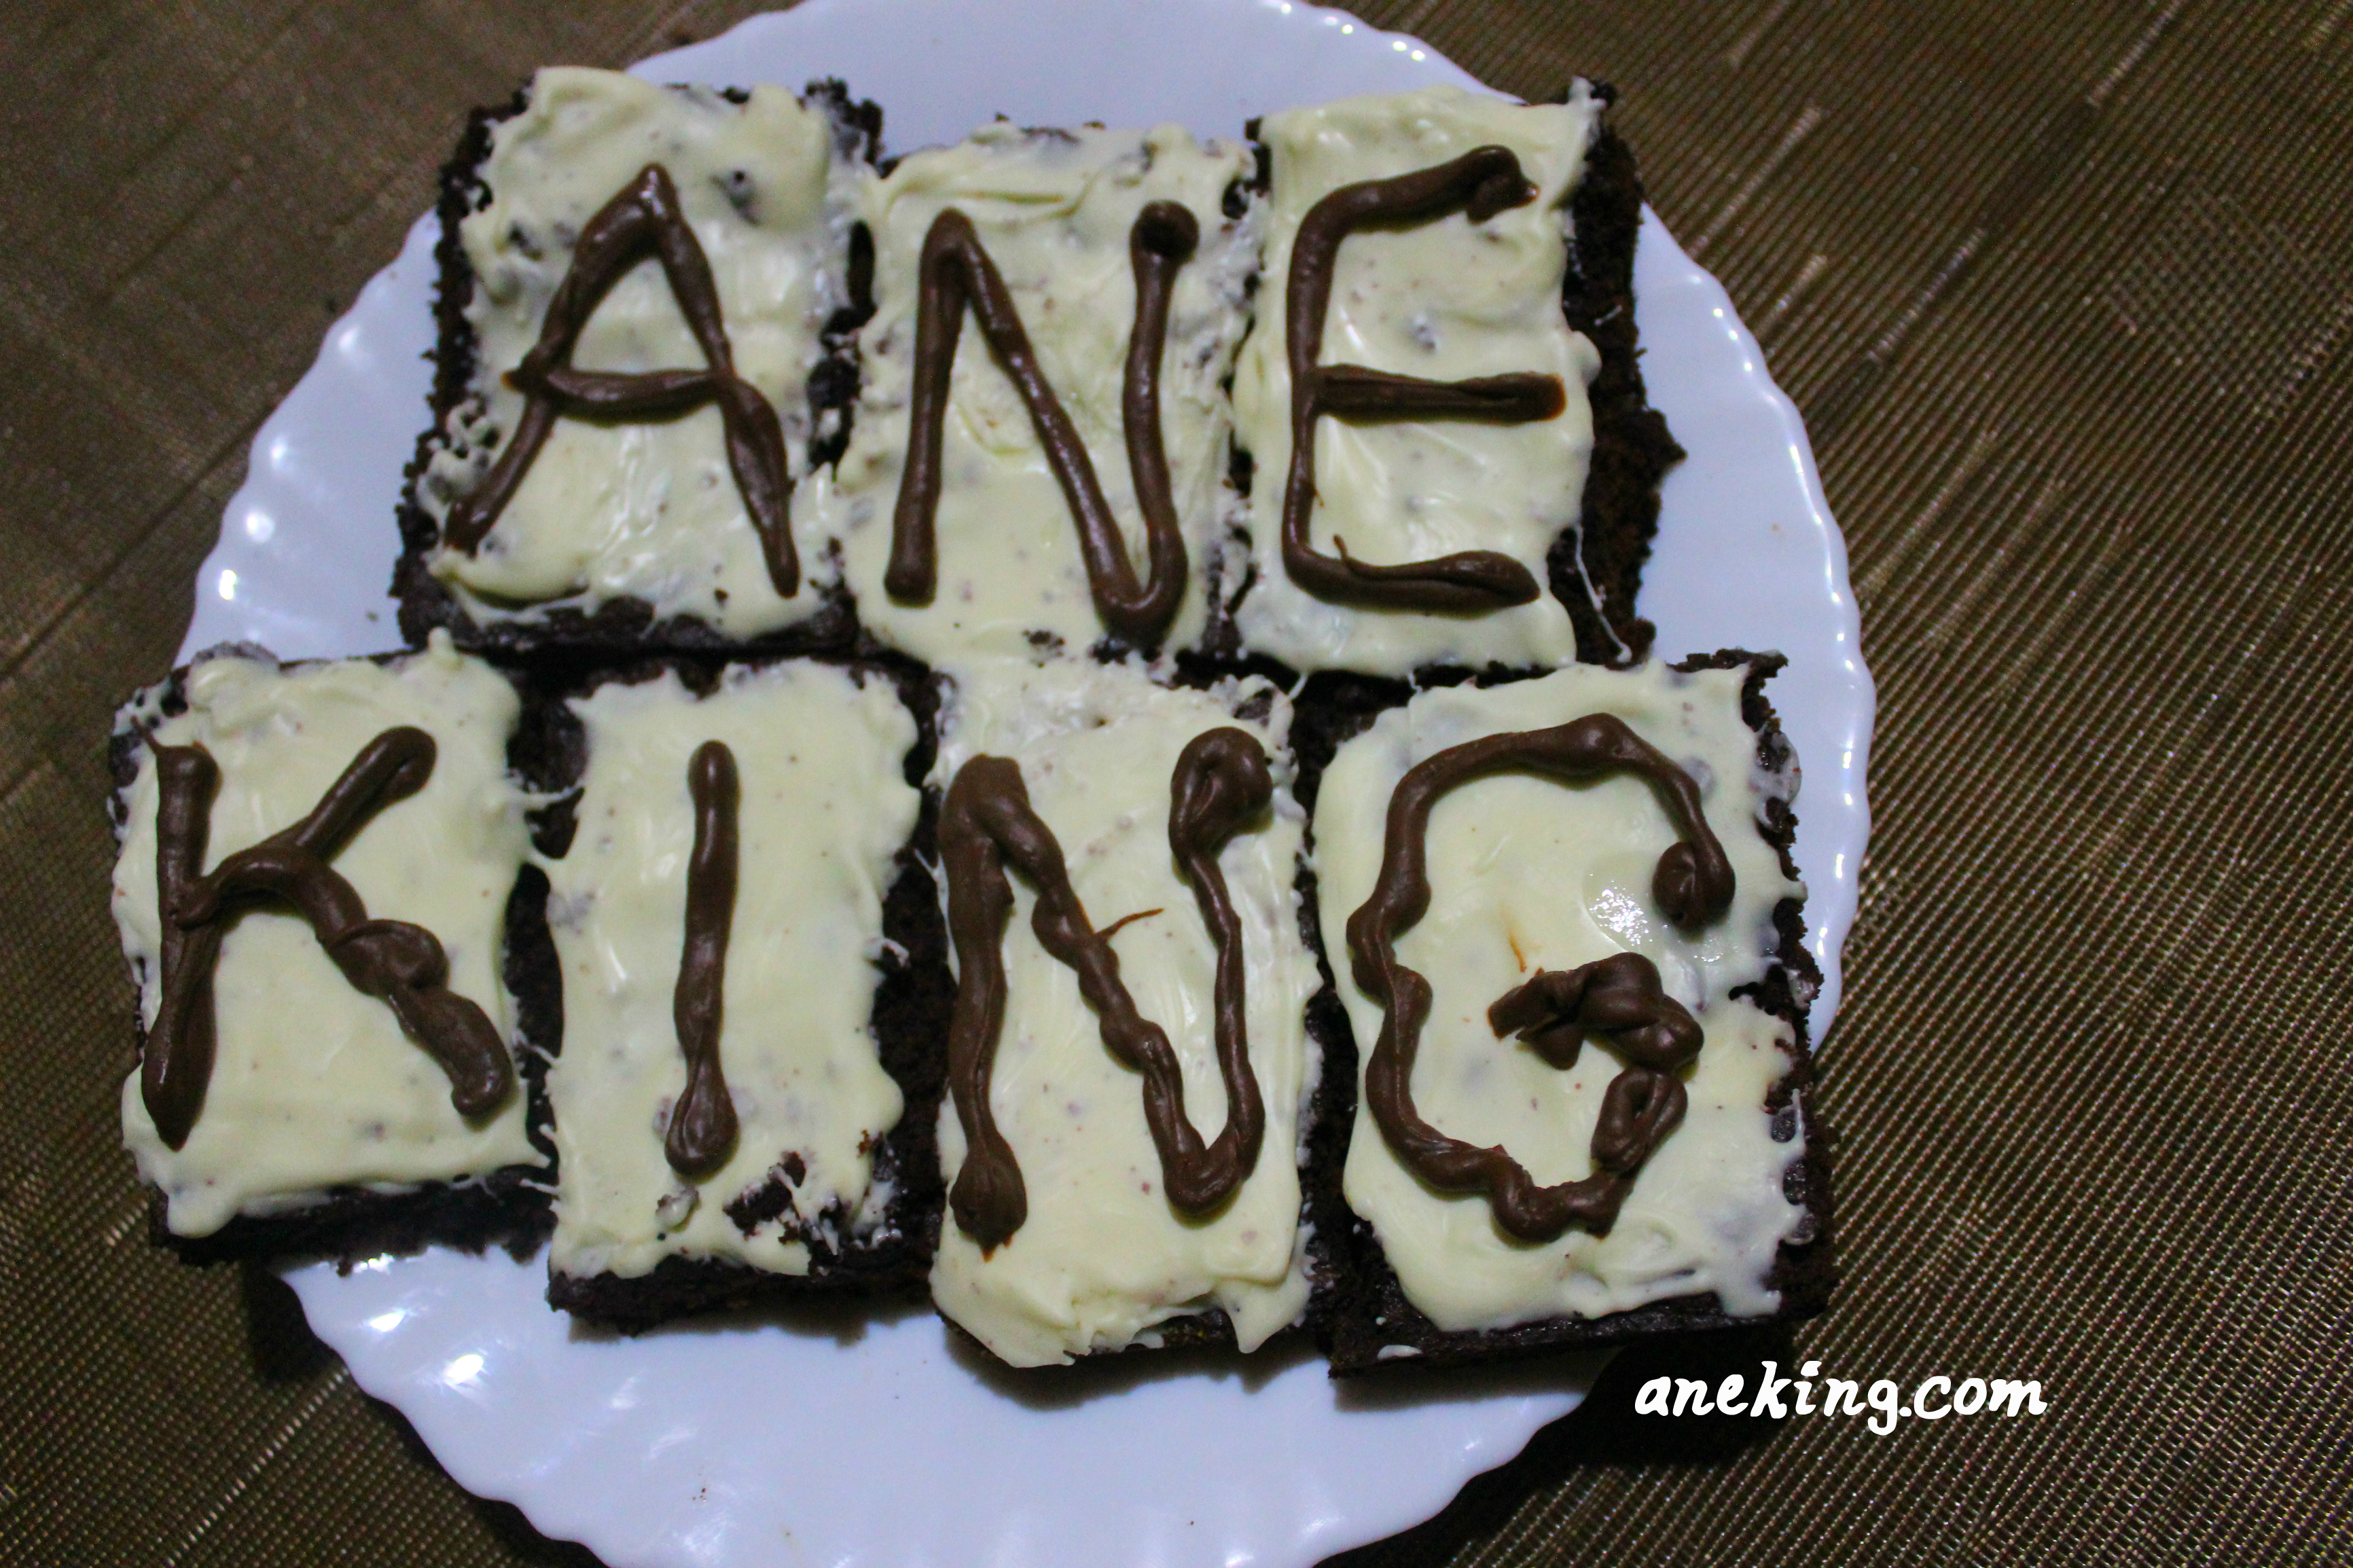
12. Your Own Designed Brownies are done and ready to be eaten.
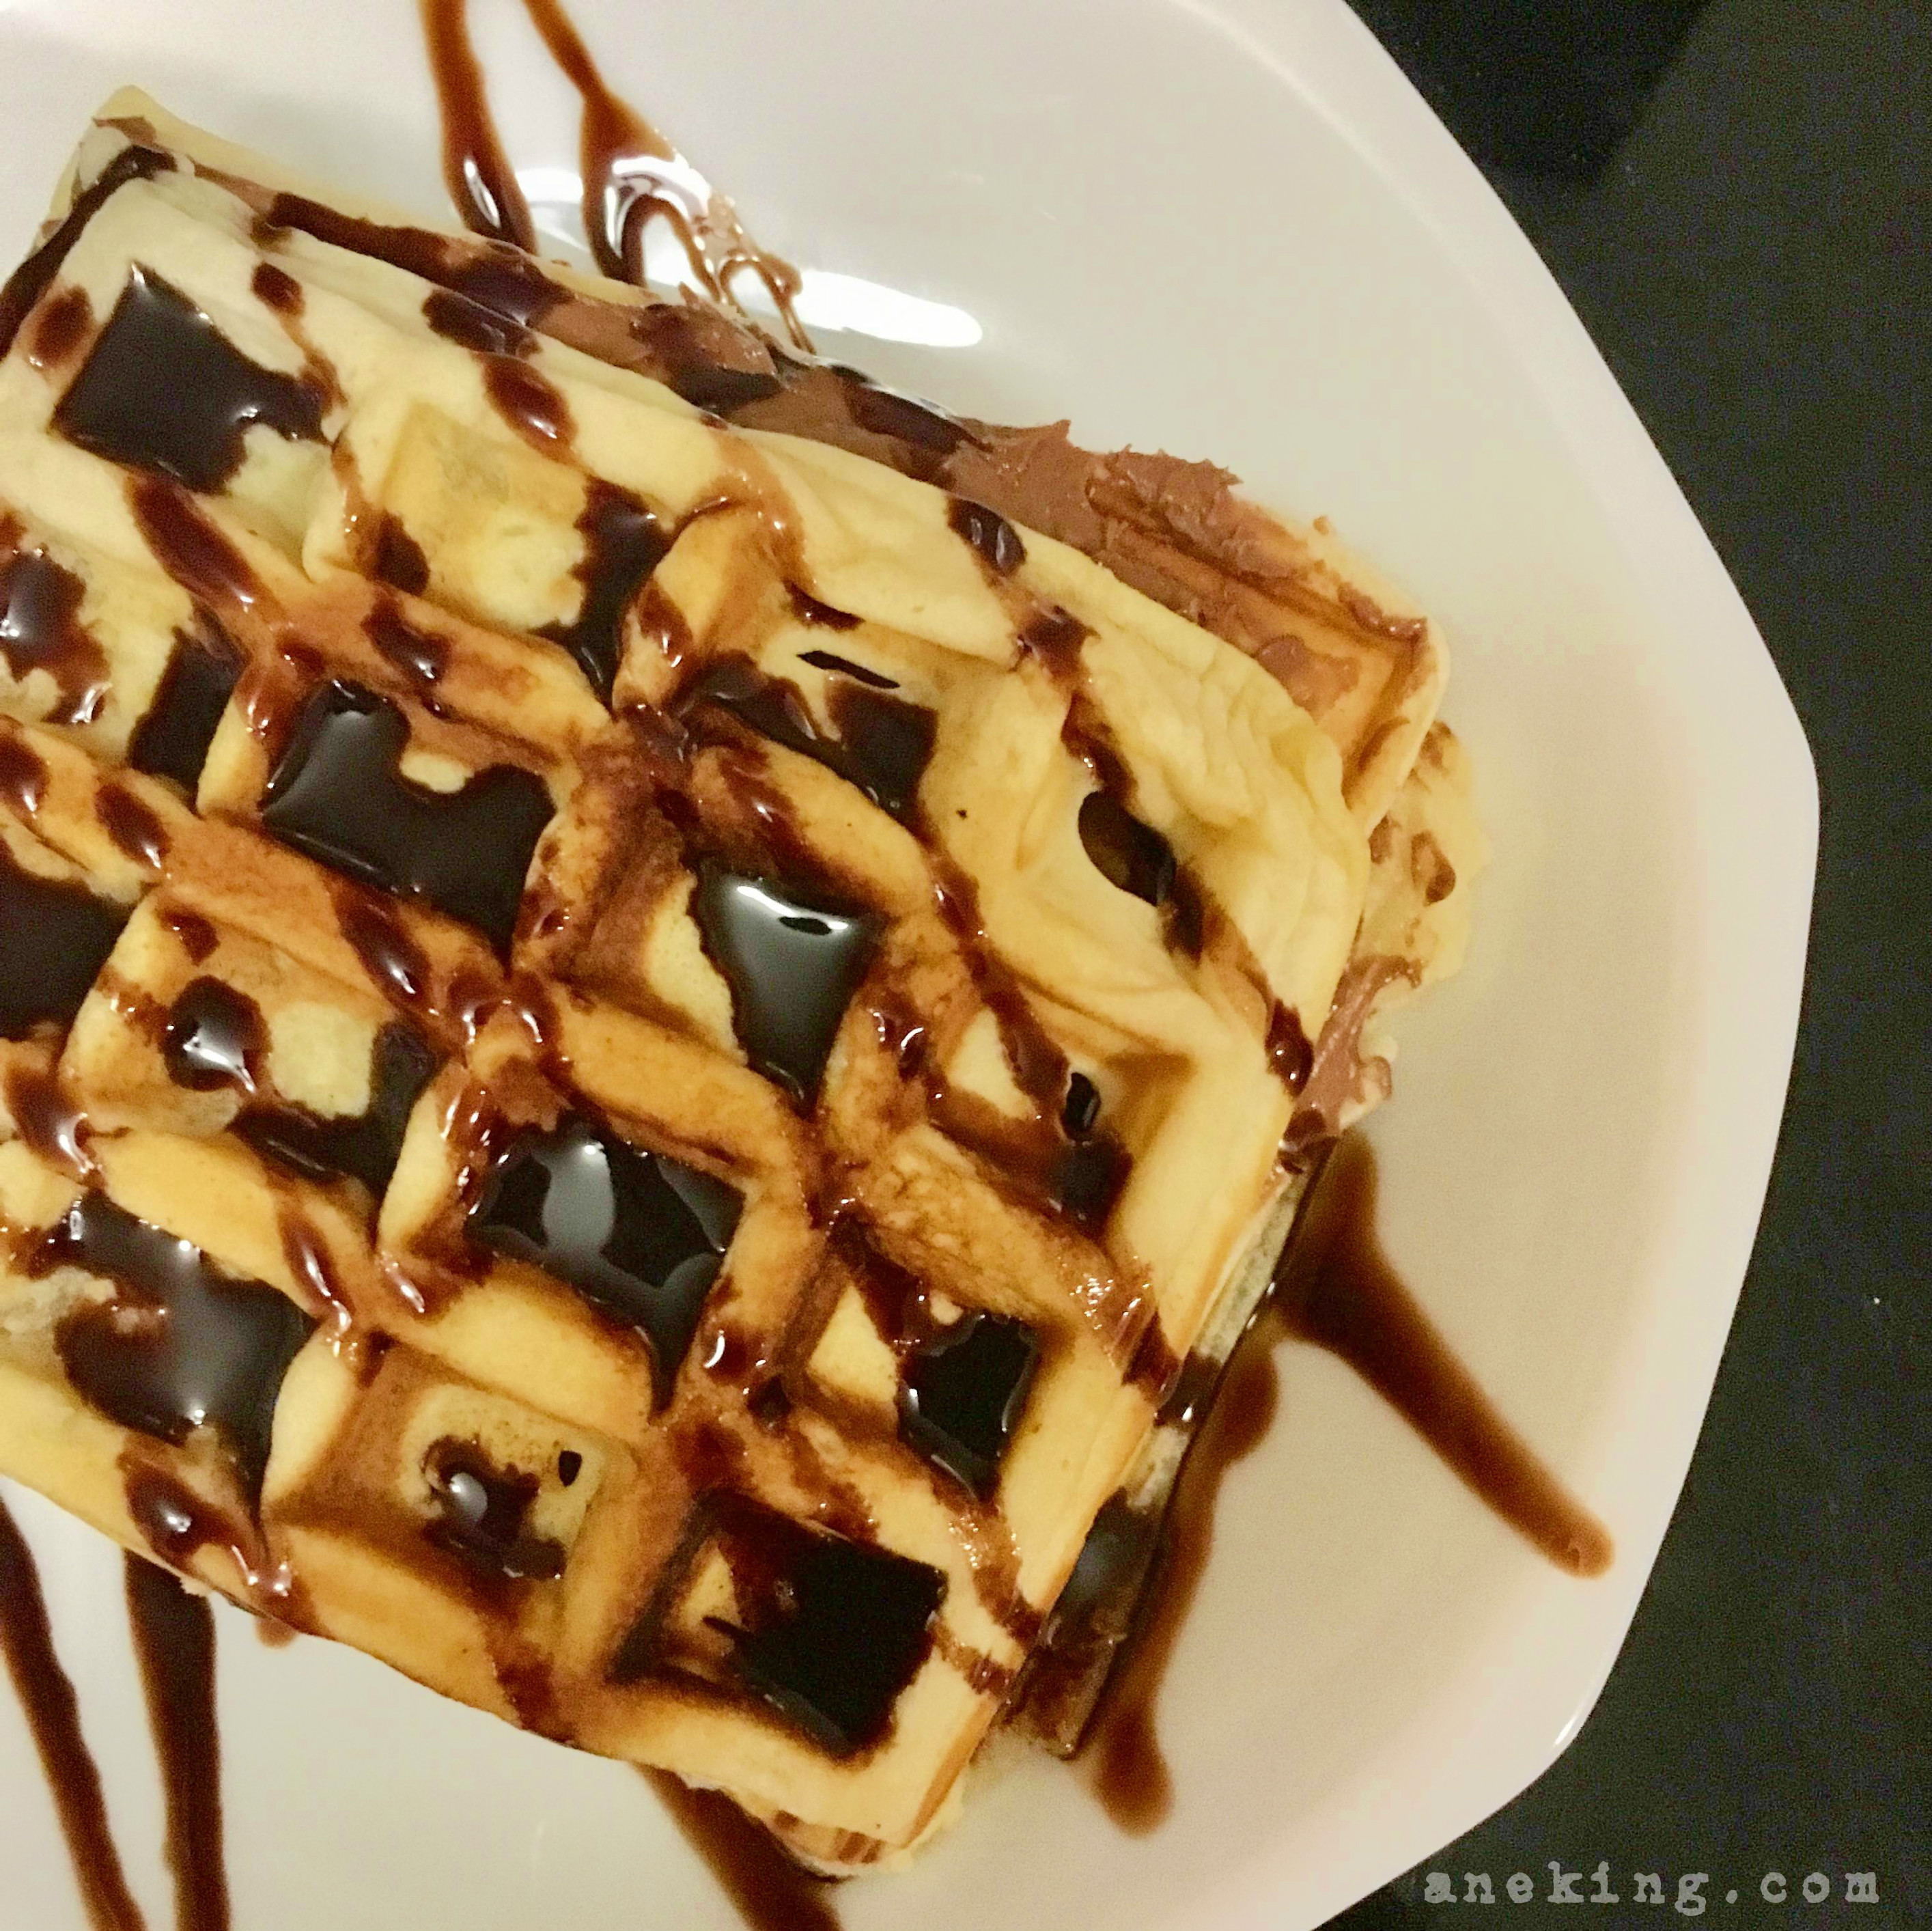
How To Make Hazelnut Waffle
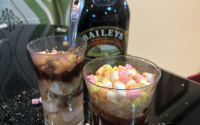
How To Make Baileys S’mores Parfait