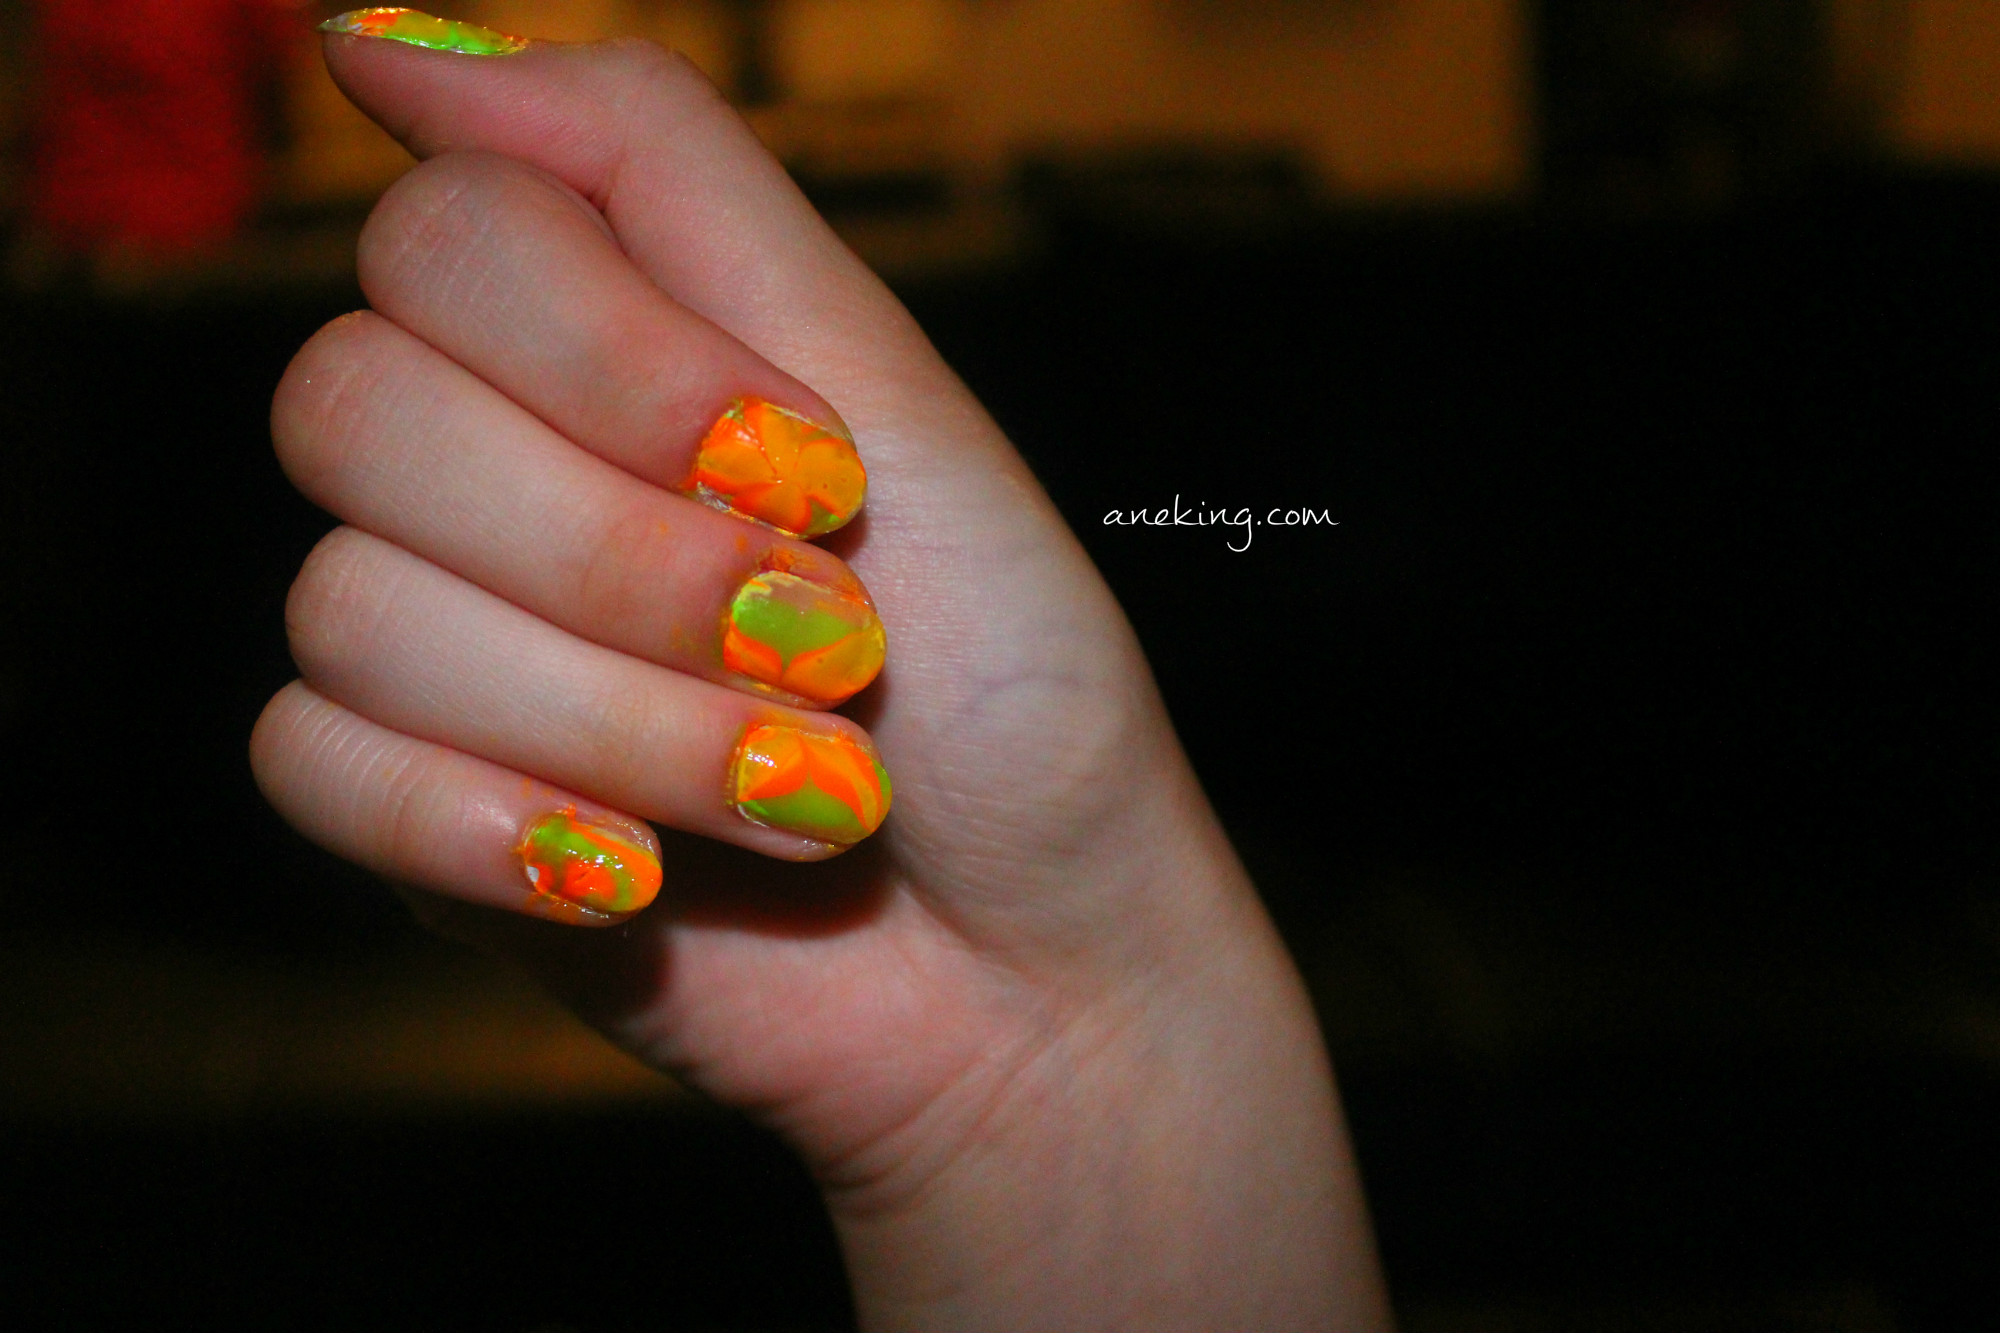
Summer Swirl Water Marble Nail Art

This Summer, I would like my nails to be peppy and colorful so I had this one – bright and swirly nail art. It looks complicated because, yes, it is complicated. The one who will make this needs to be artistic because we will be doing the technique called water marbling. Yes, aside from nail polish, we will be needing water and a lot more materials. Take note, this is not easy. In fact, I took a day to practice water marbling nail art. As you will see on my nails, they are from failed to perfect swirls. Let’s just start by knowing the steps in doing this so you can make it successfully.
1. Prepare your nails. Clean it. Trim it. Buff it. Anything you want to do for it to get ready for its new look.

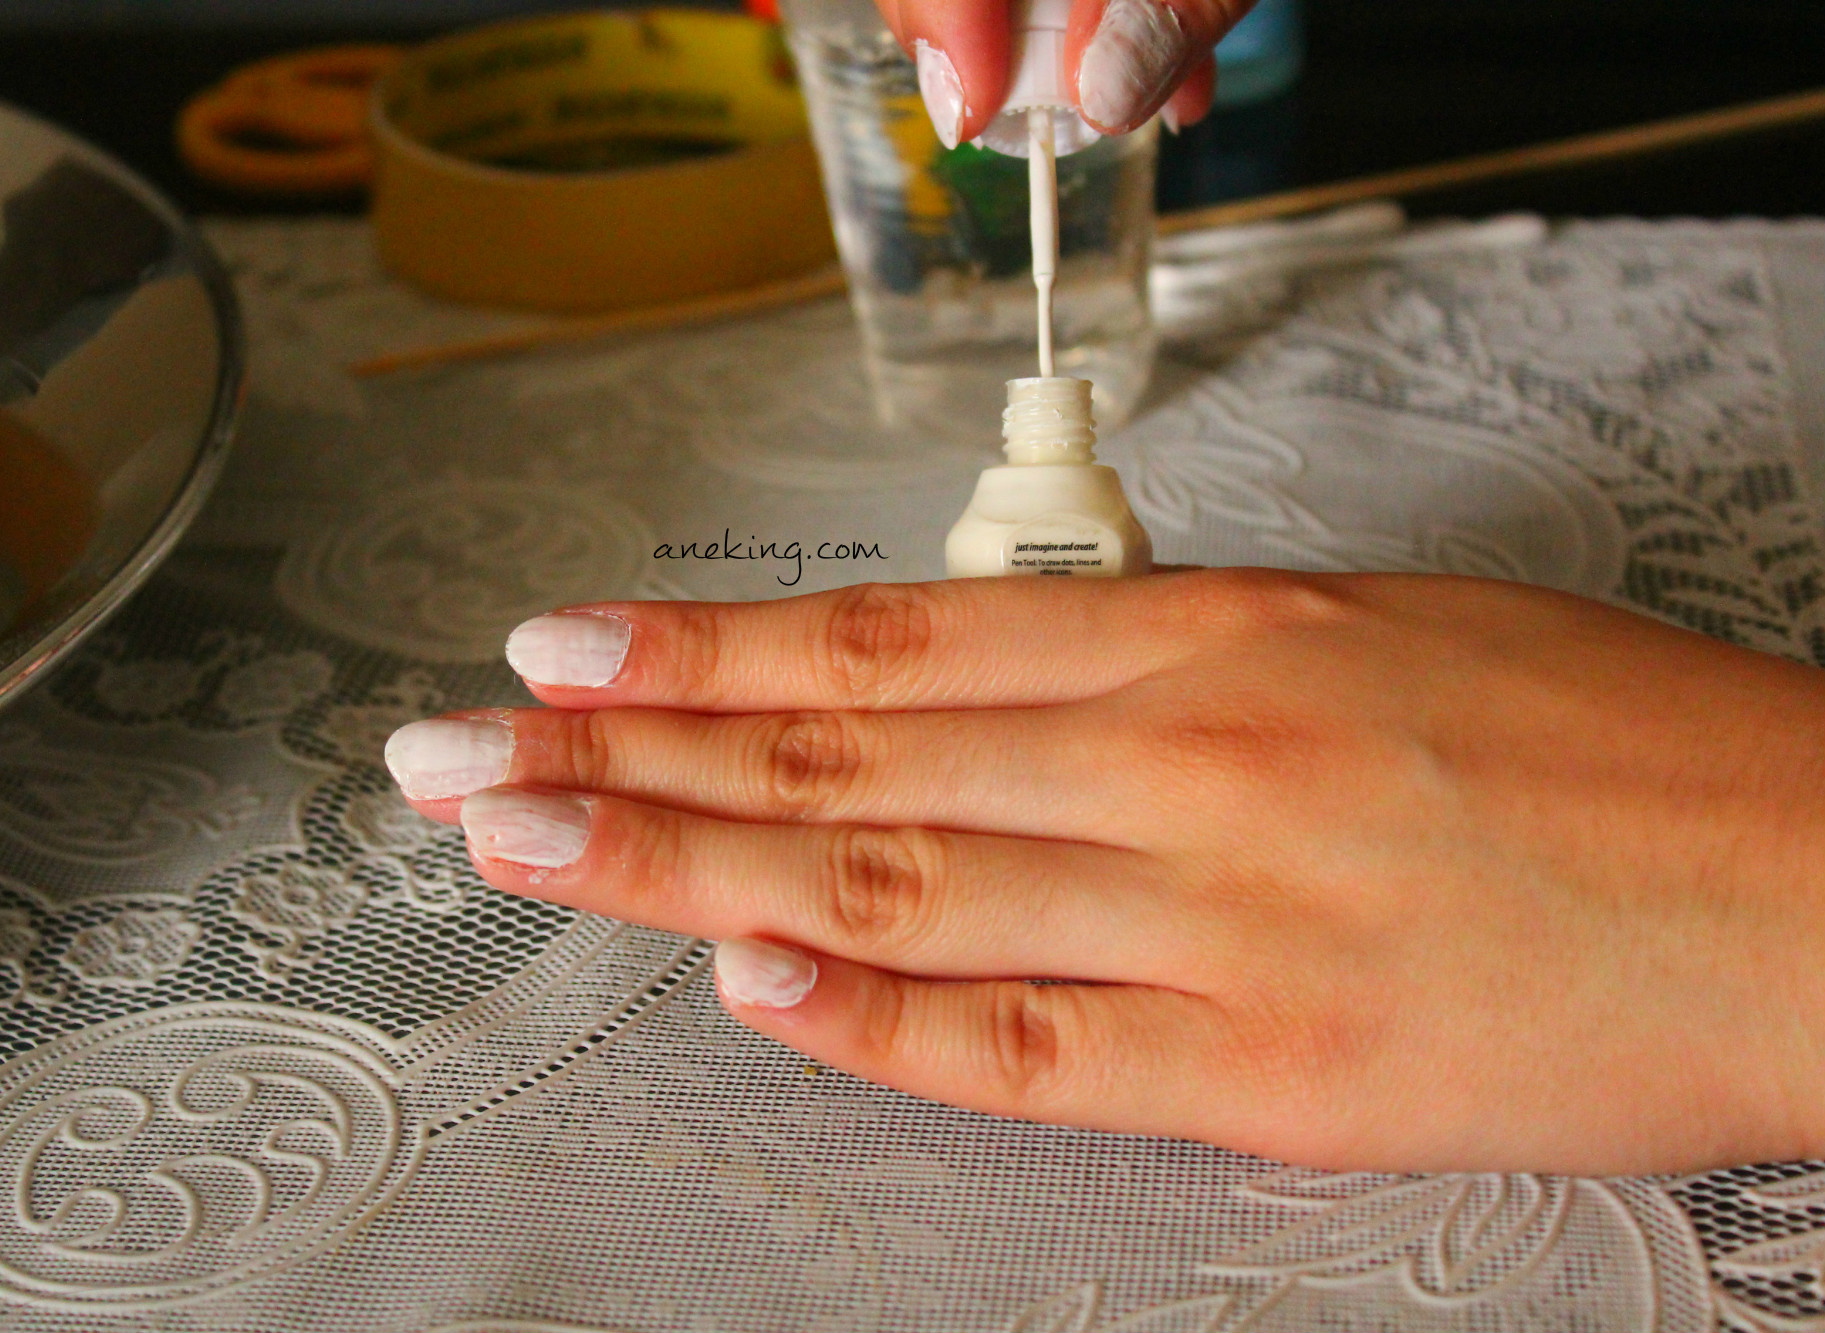
2. Paint your nail white. This will be the base of your nail art.
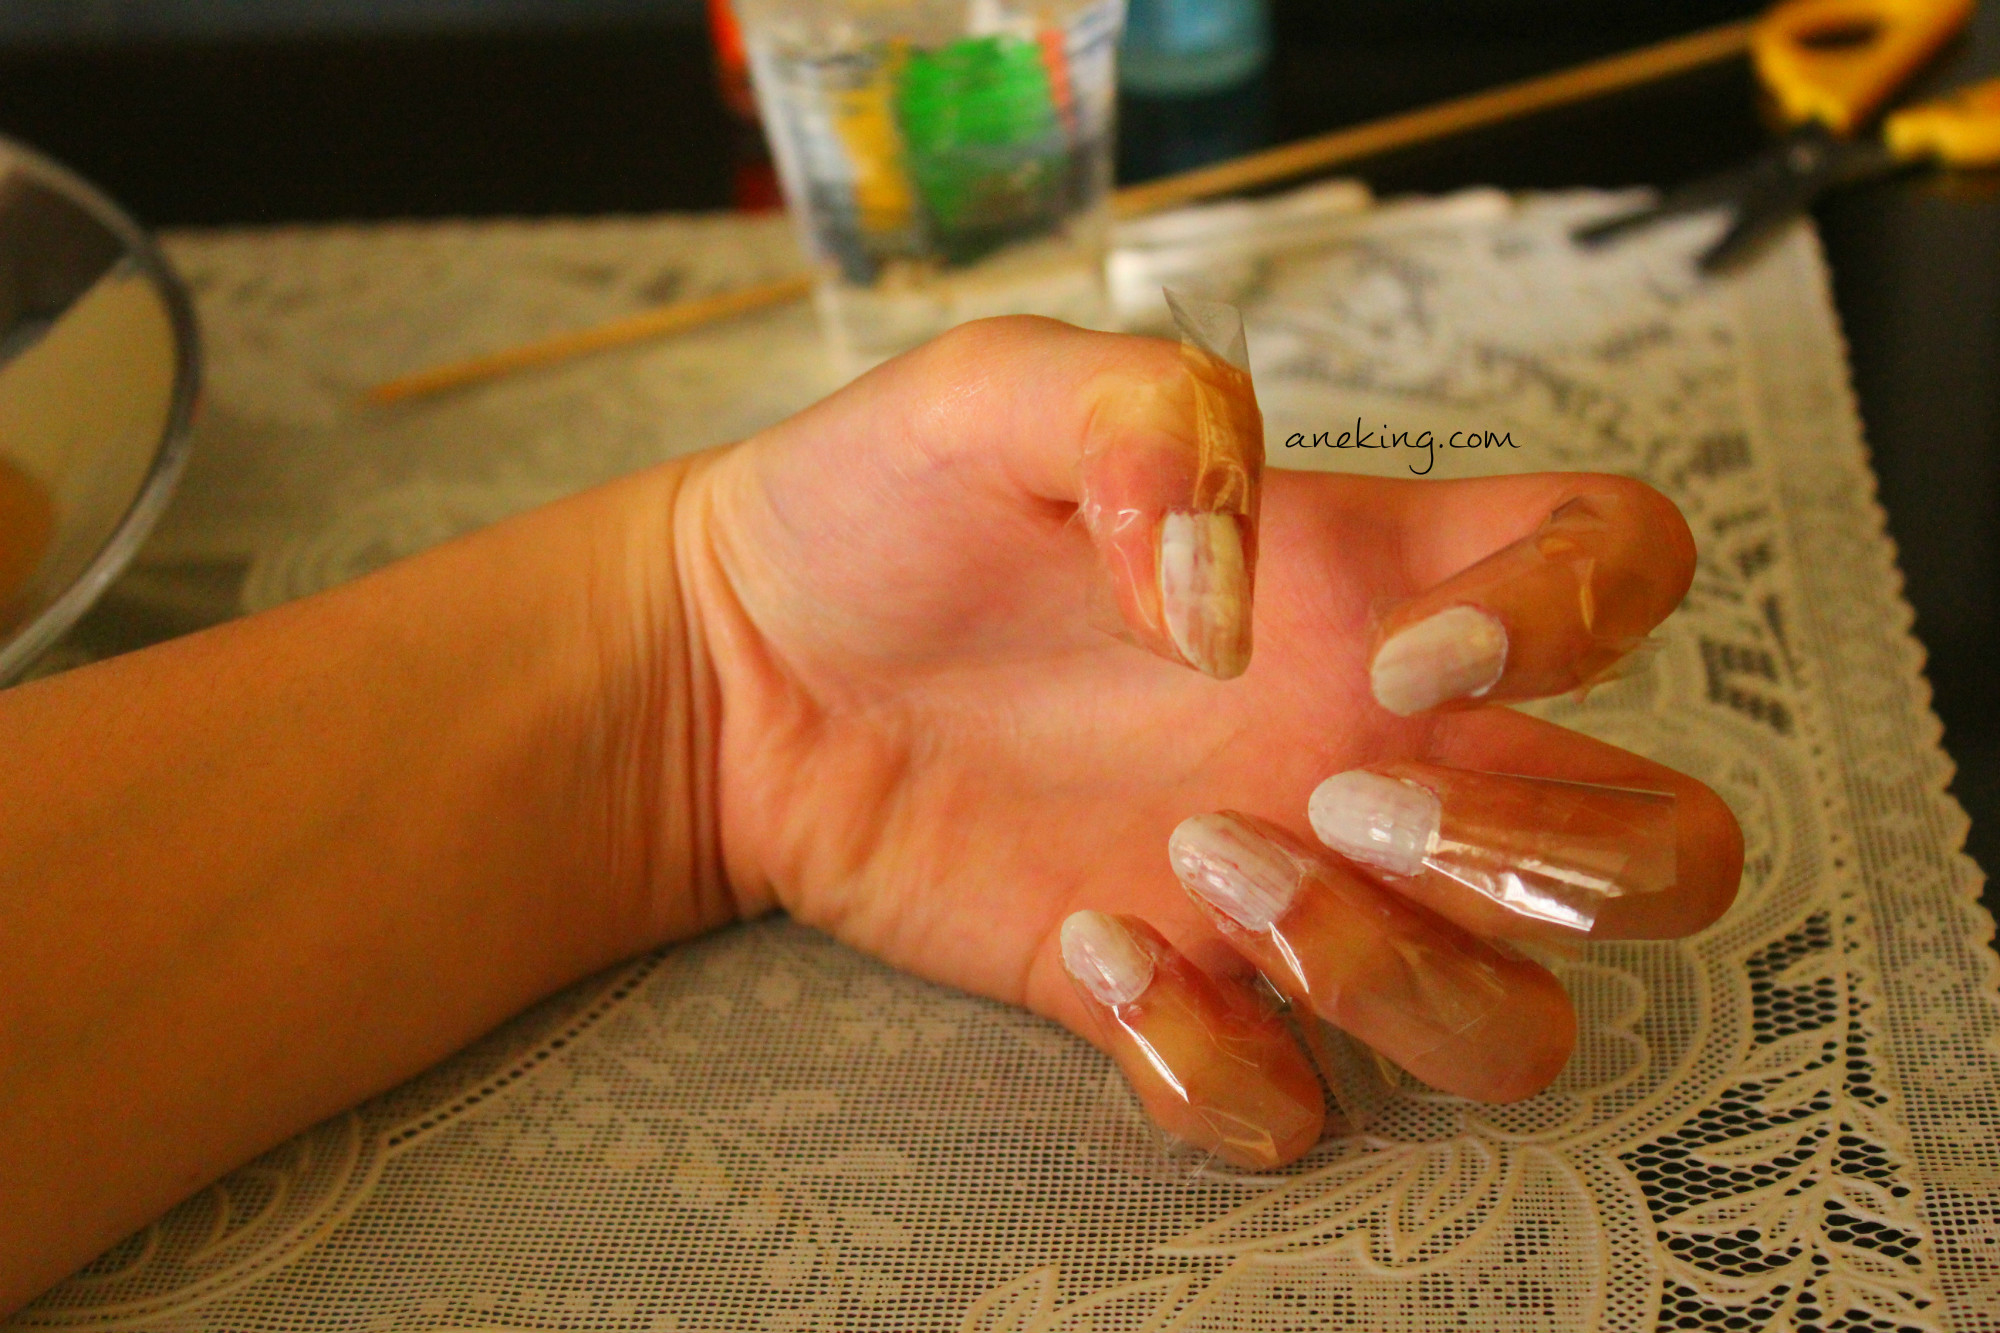
3. Wrap tape around your nail to protect your skin from nail polish.
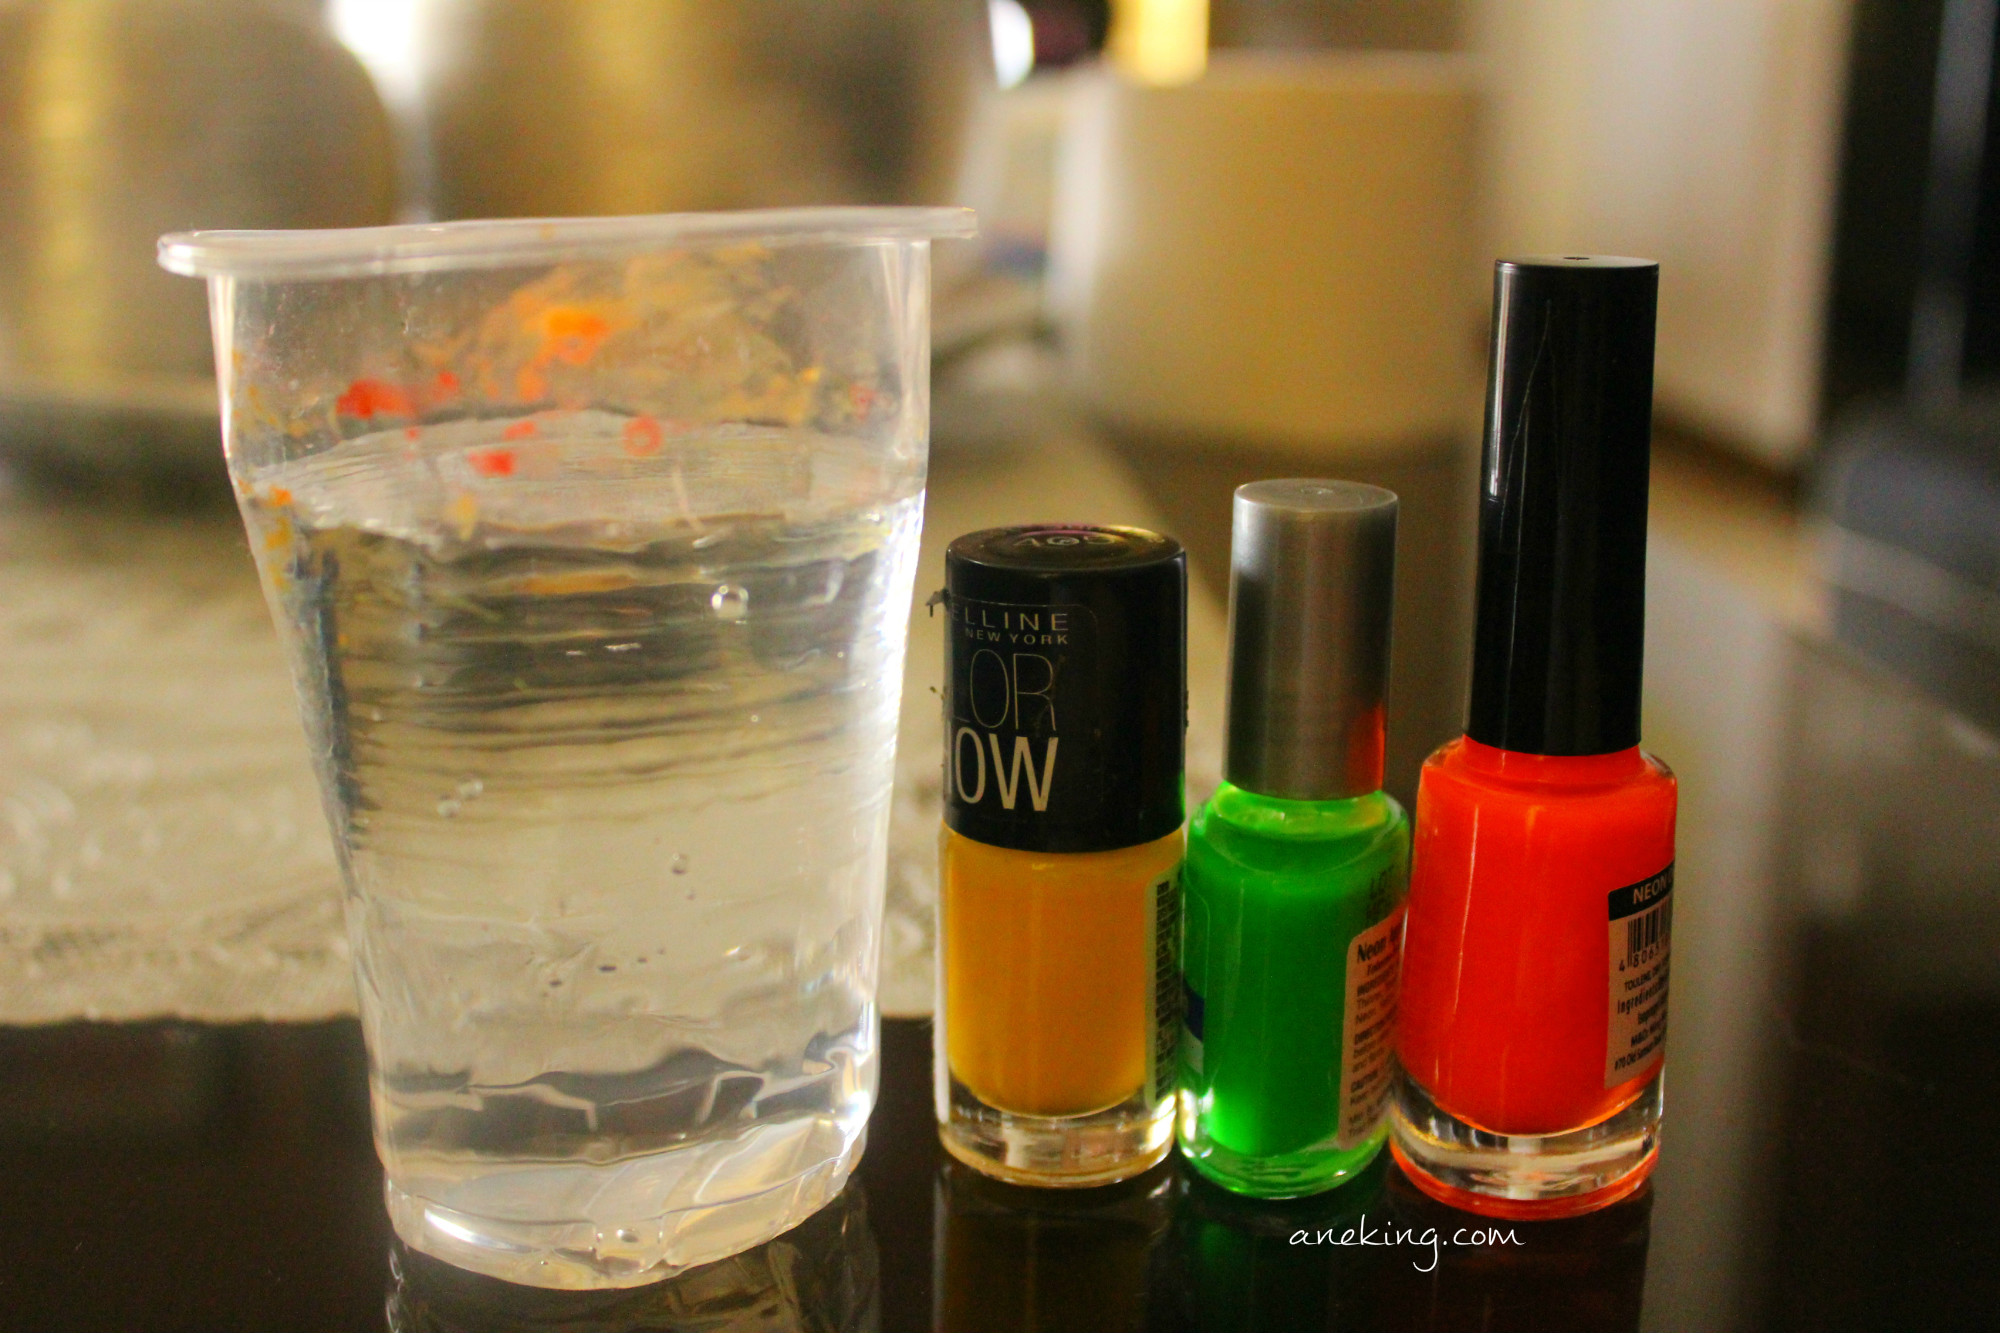
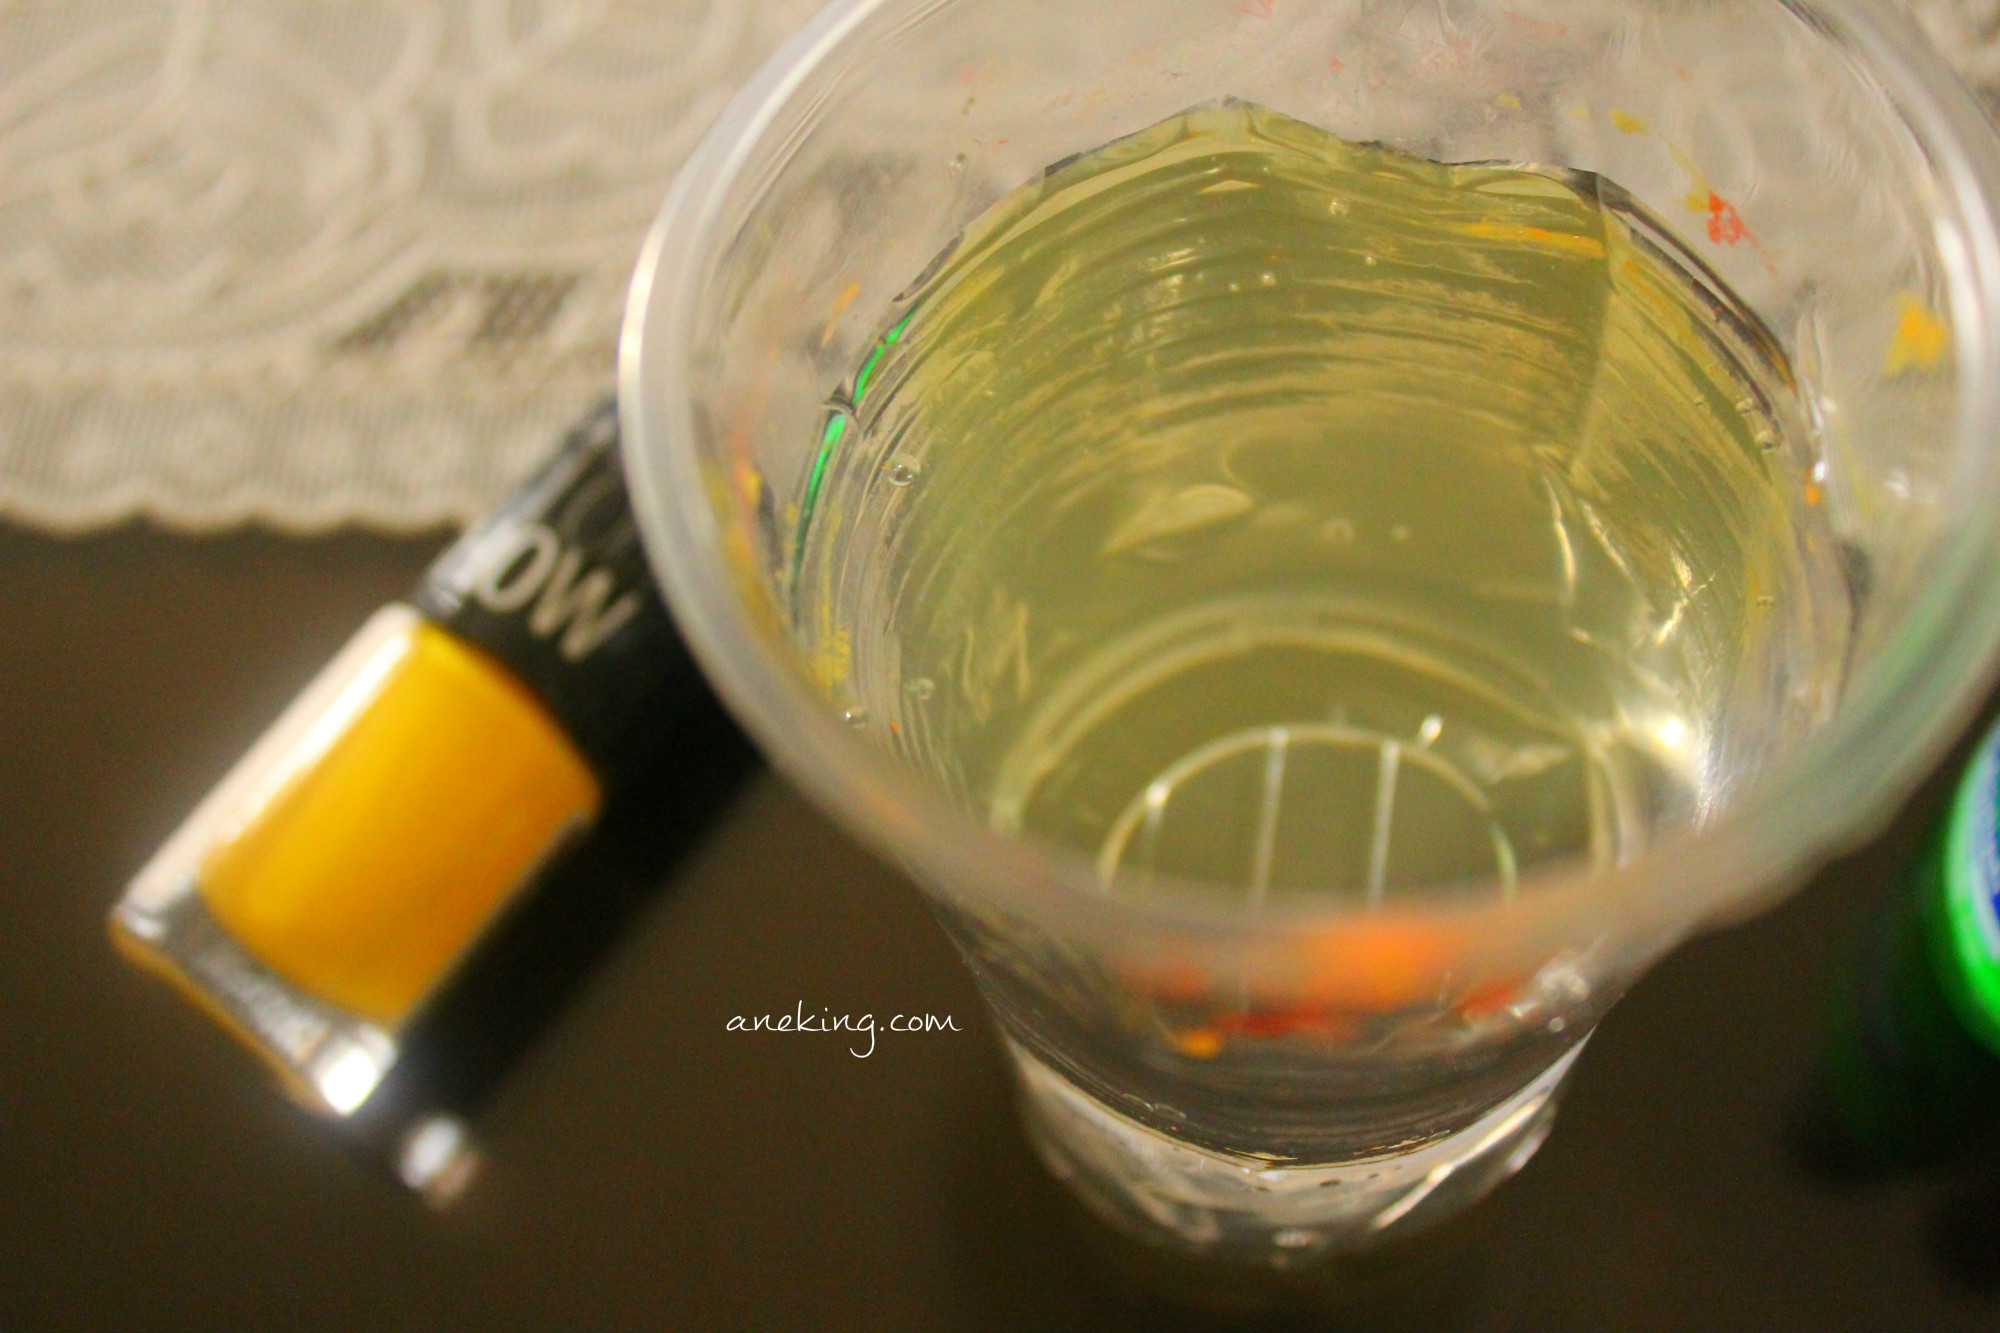
4. Prepare a cup of filtered water in room temperature and your desired colors of nail polish. I prefer bright colors like green, yellow and orange here.
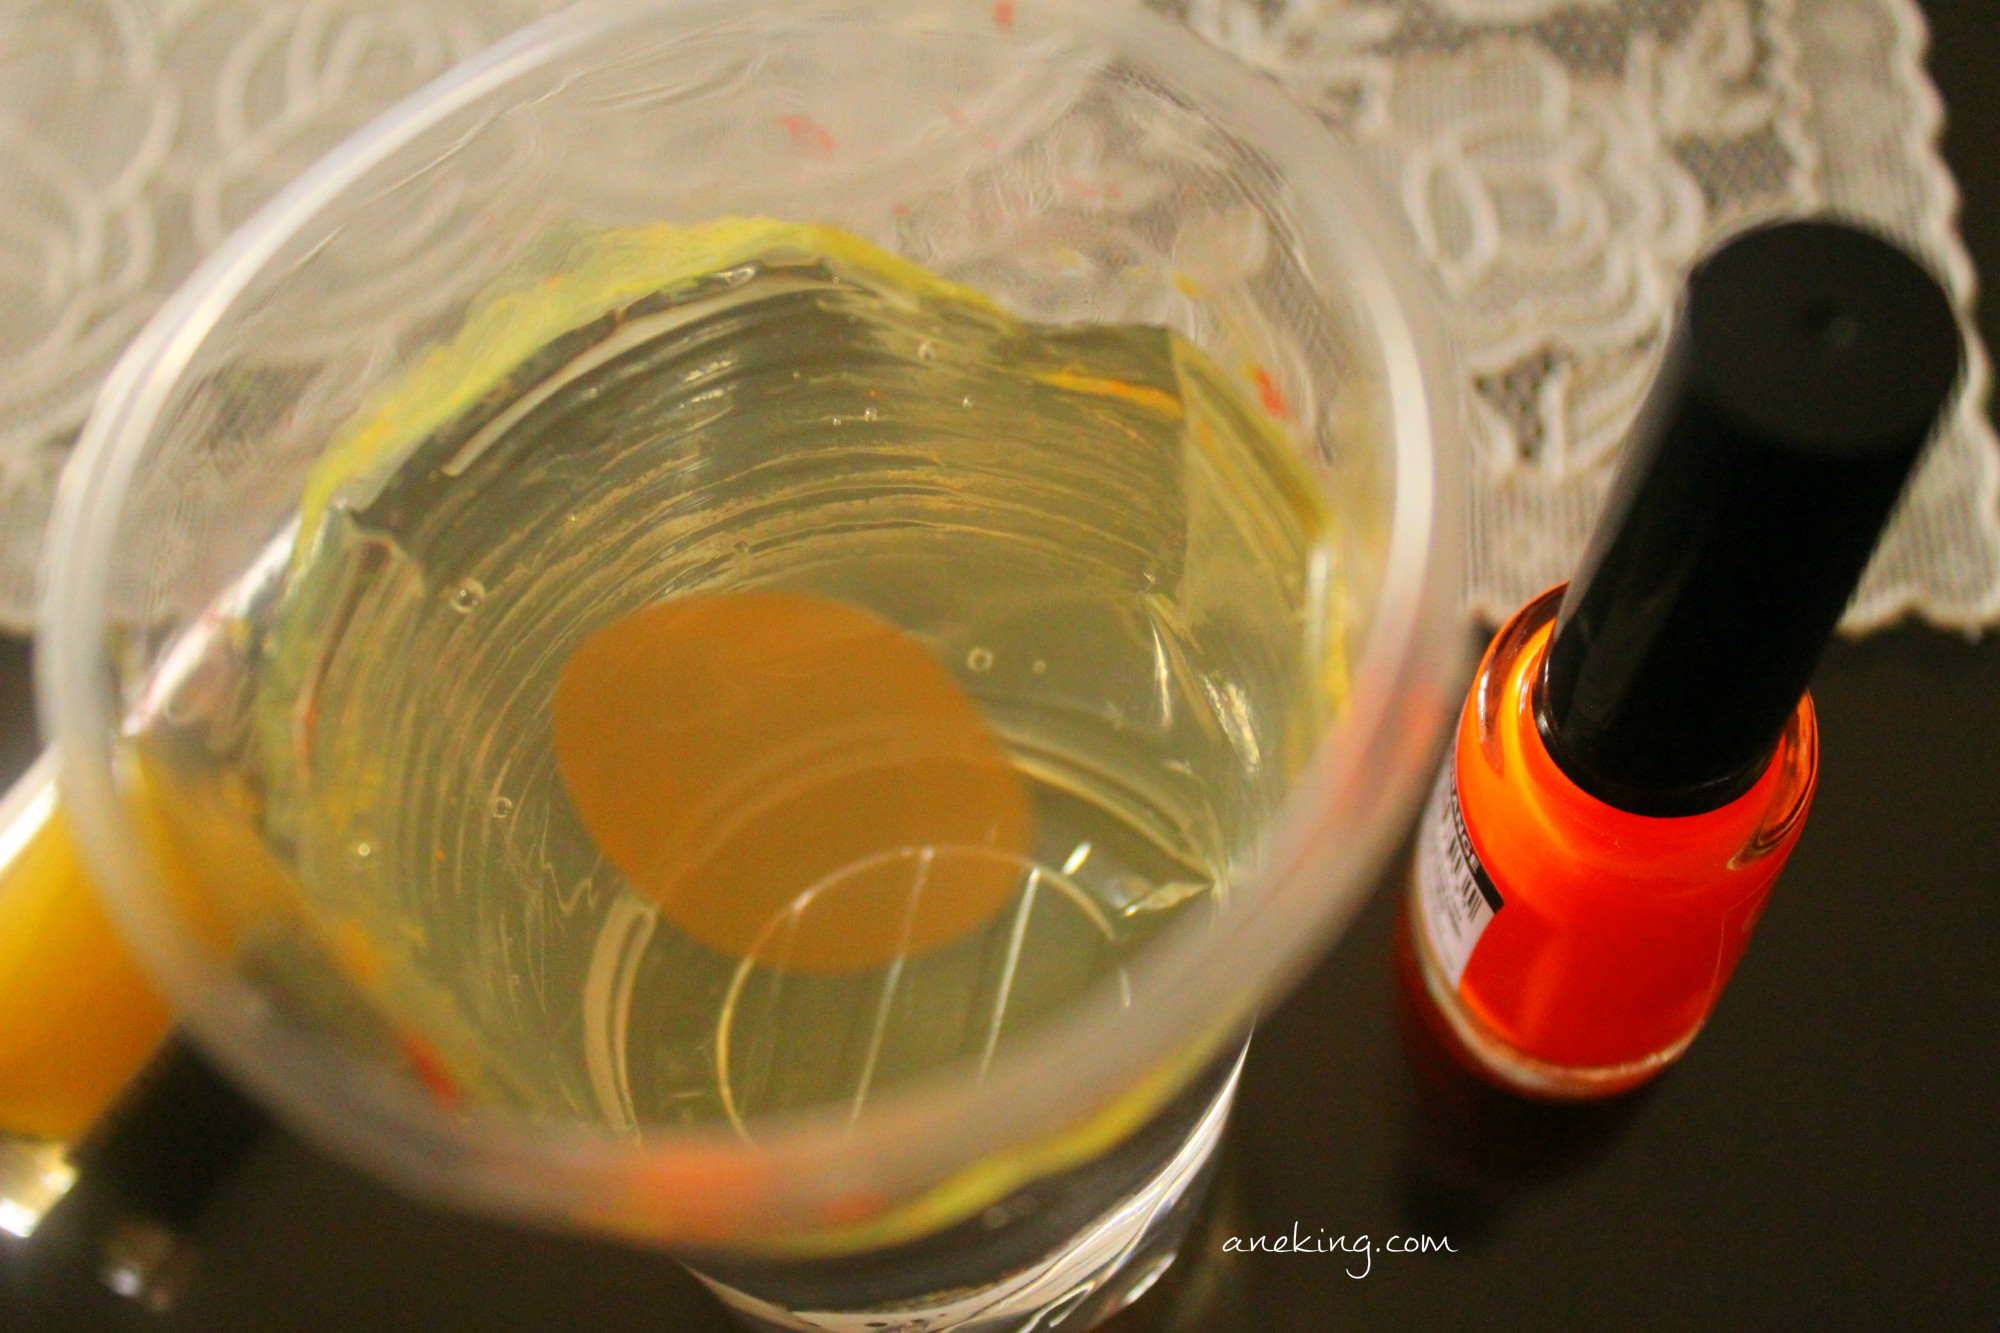
5. Let a drop of your first choice of nail polish fall on the water.
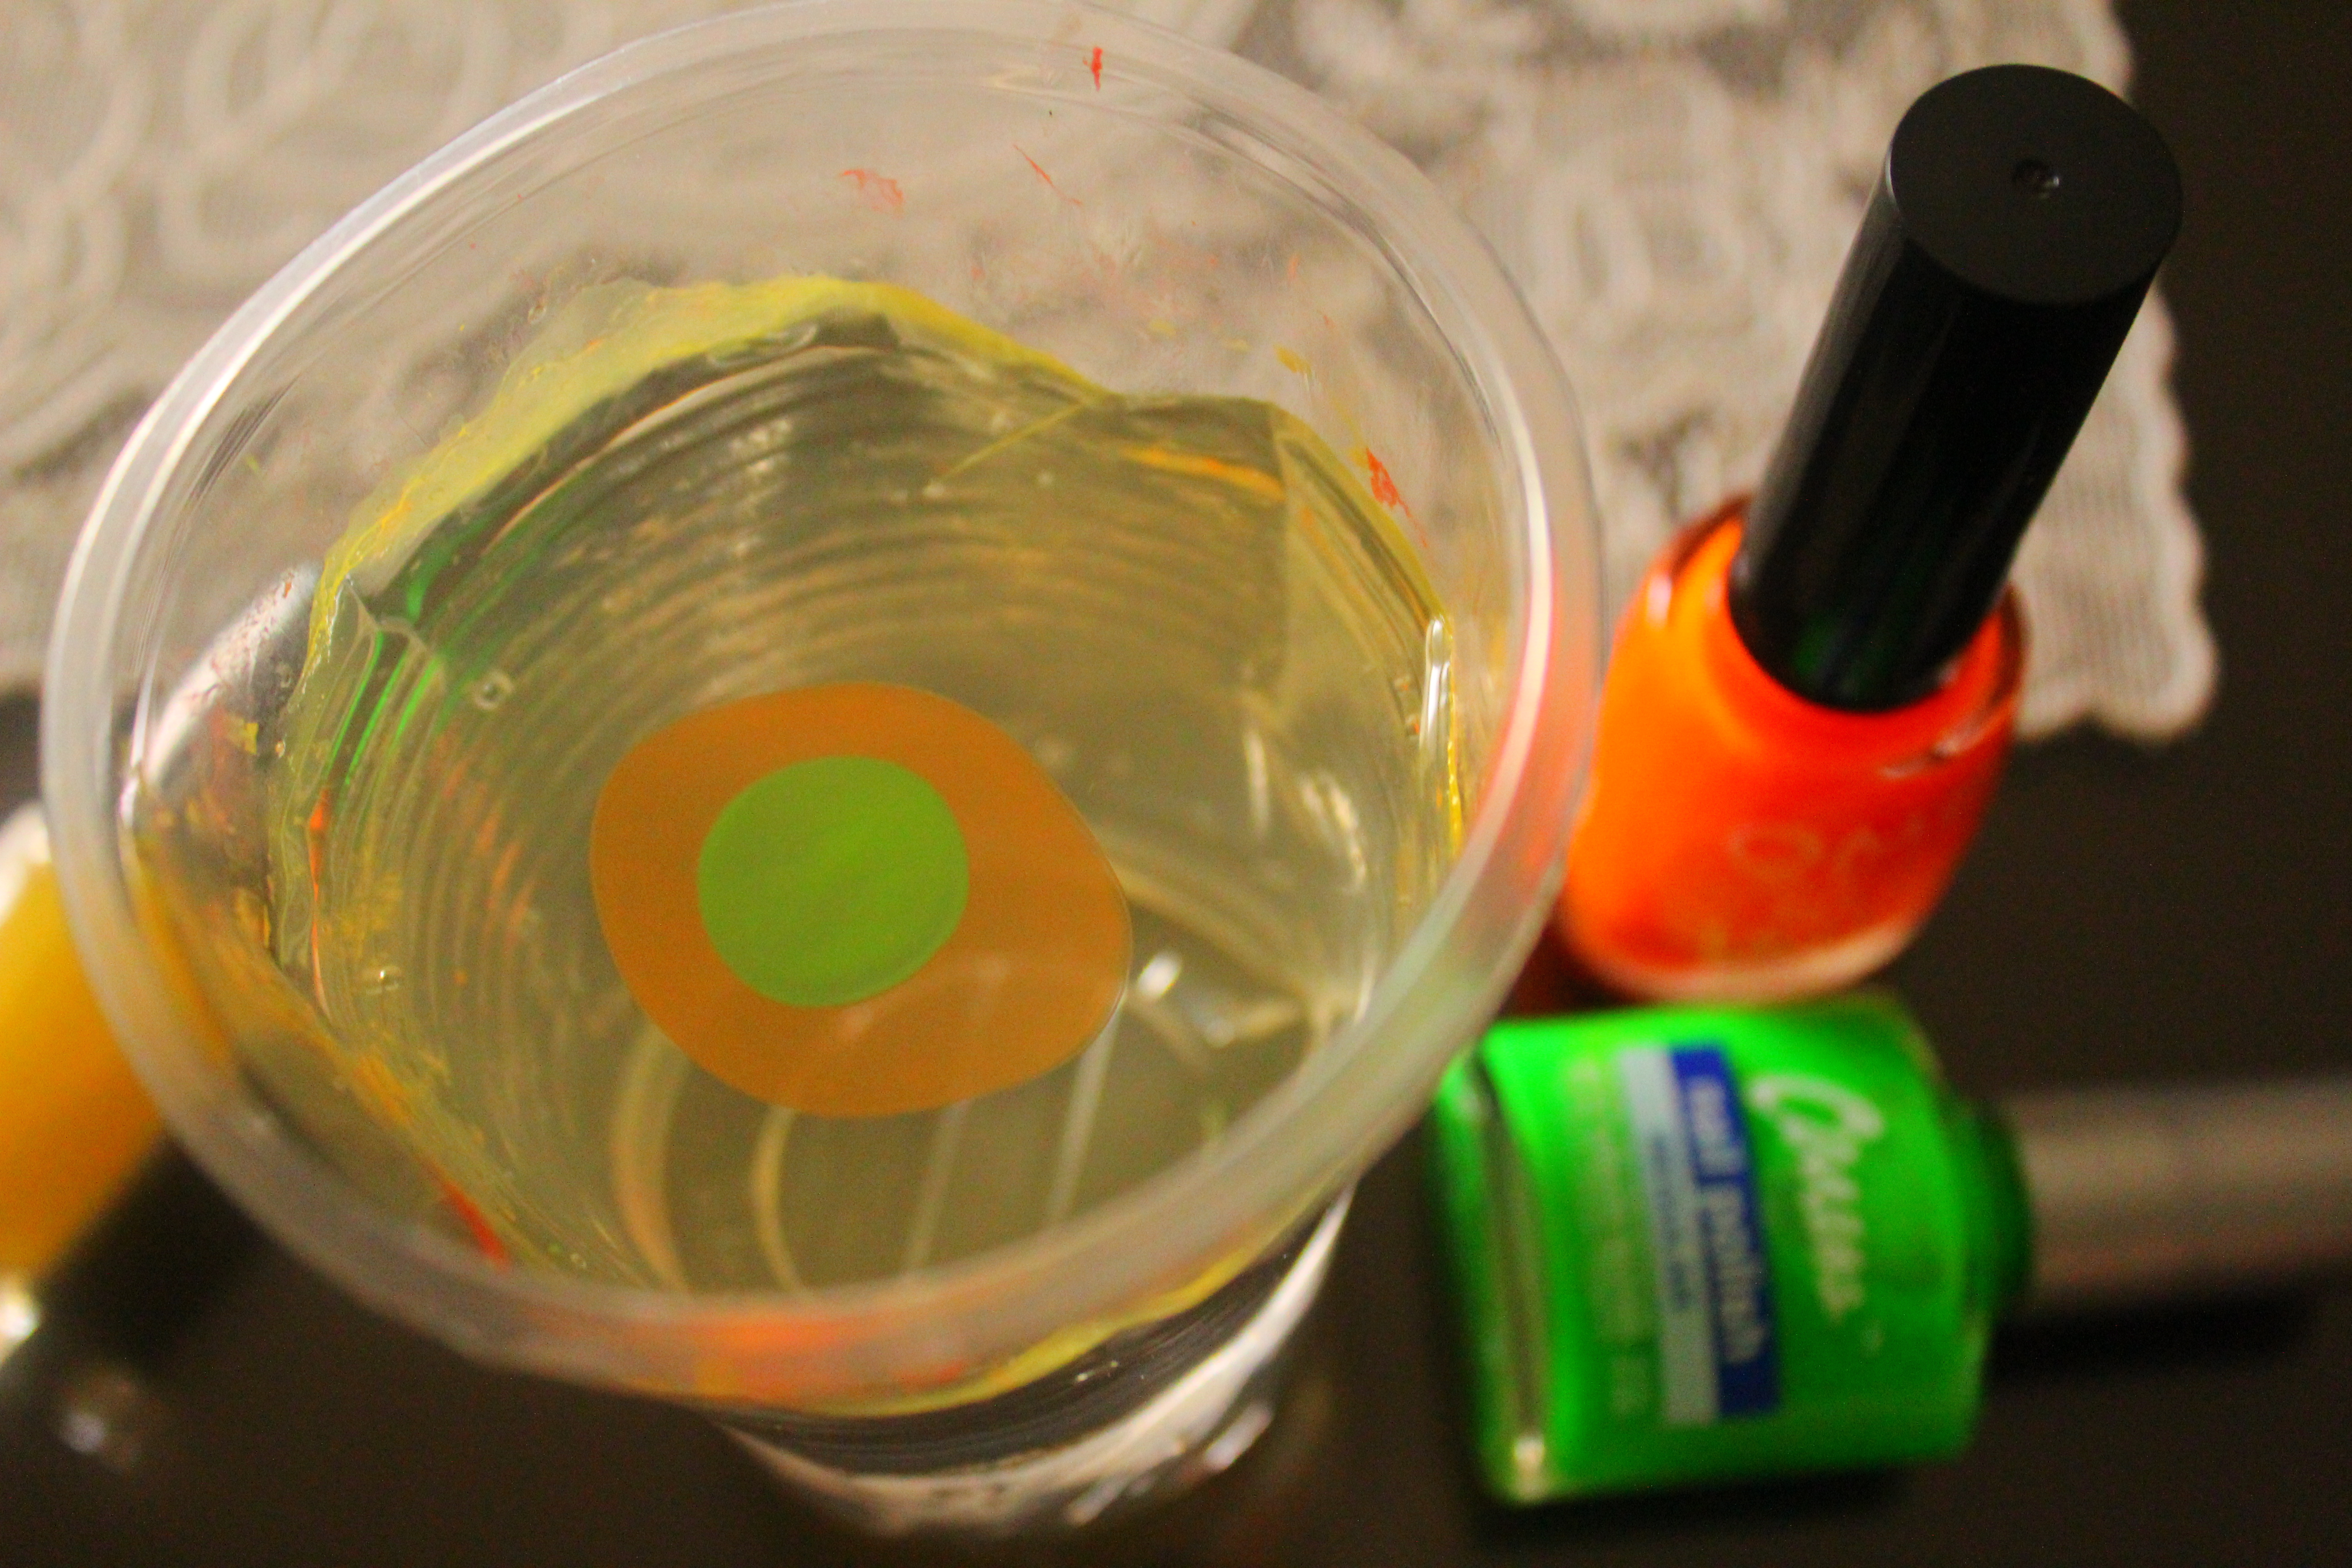
6. Drop your second nail polish in the center of the first polish.
7. Do the same thing on your third polish.
8. Repeat dropping colors if you want.
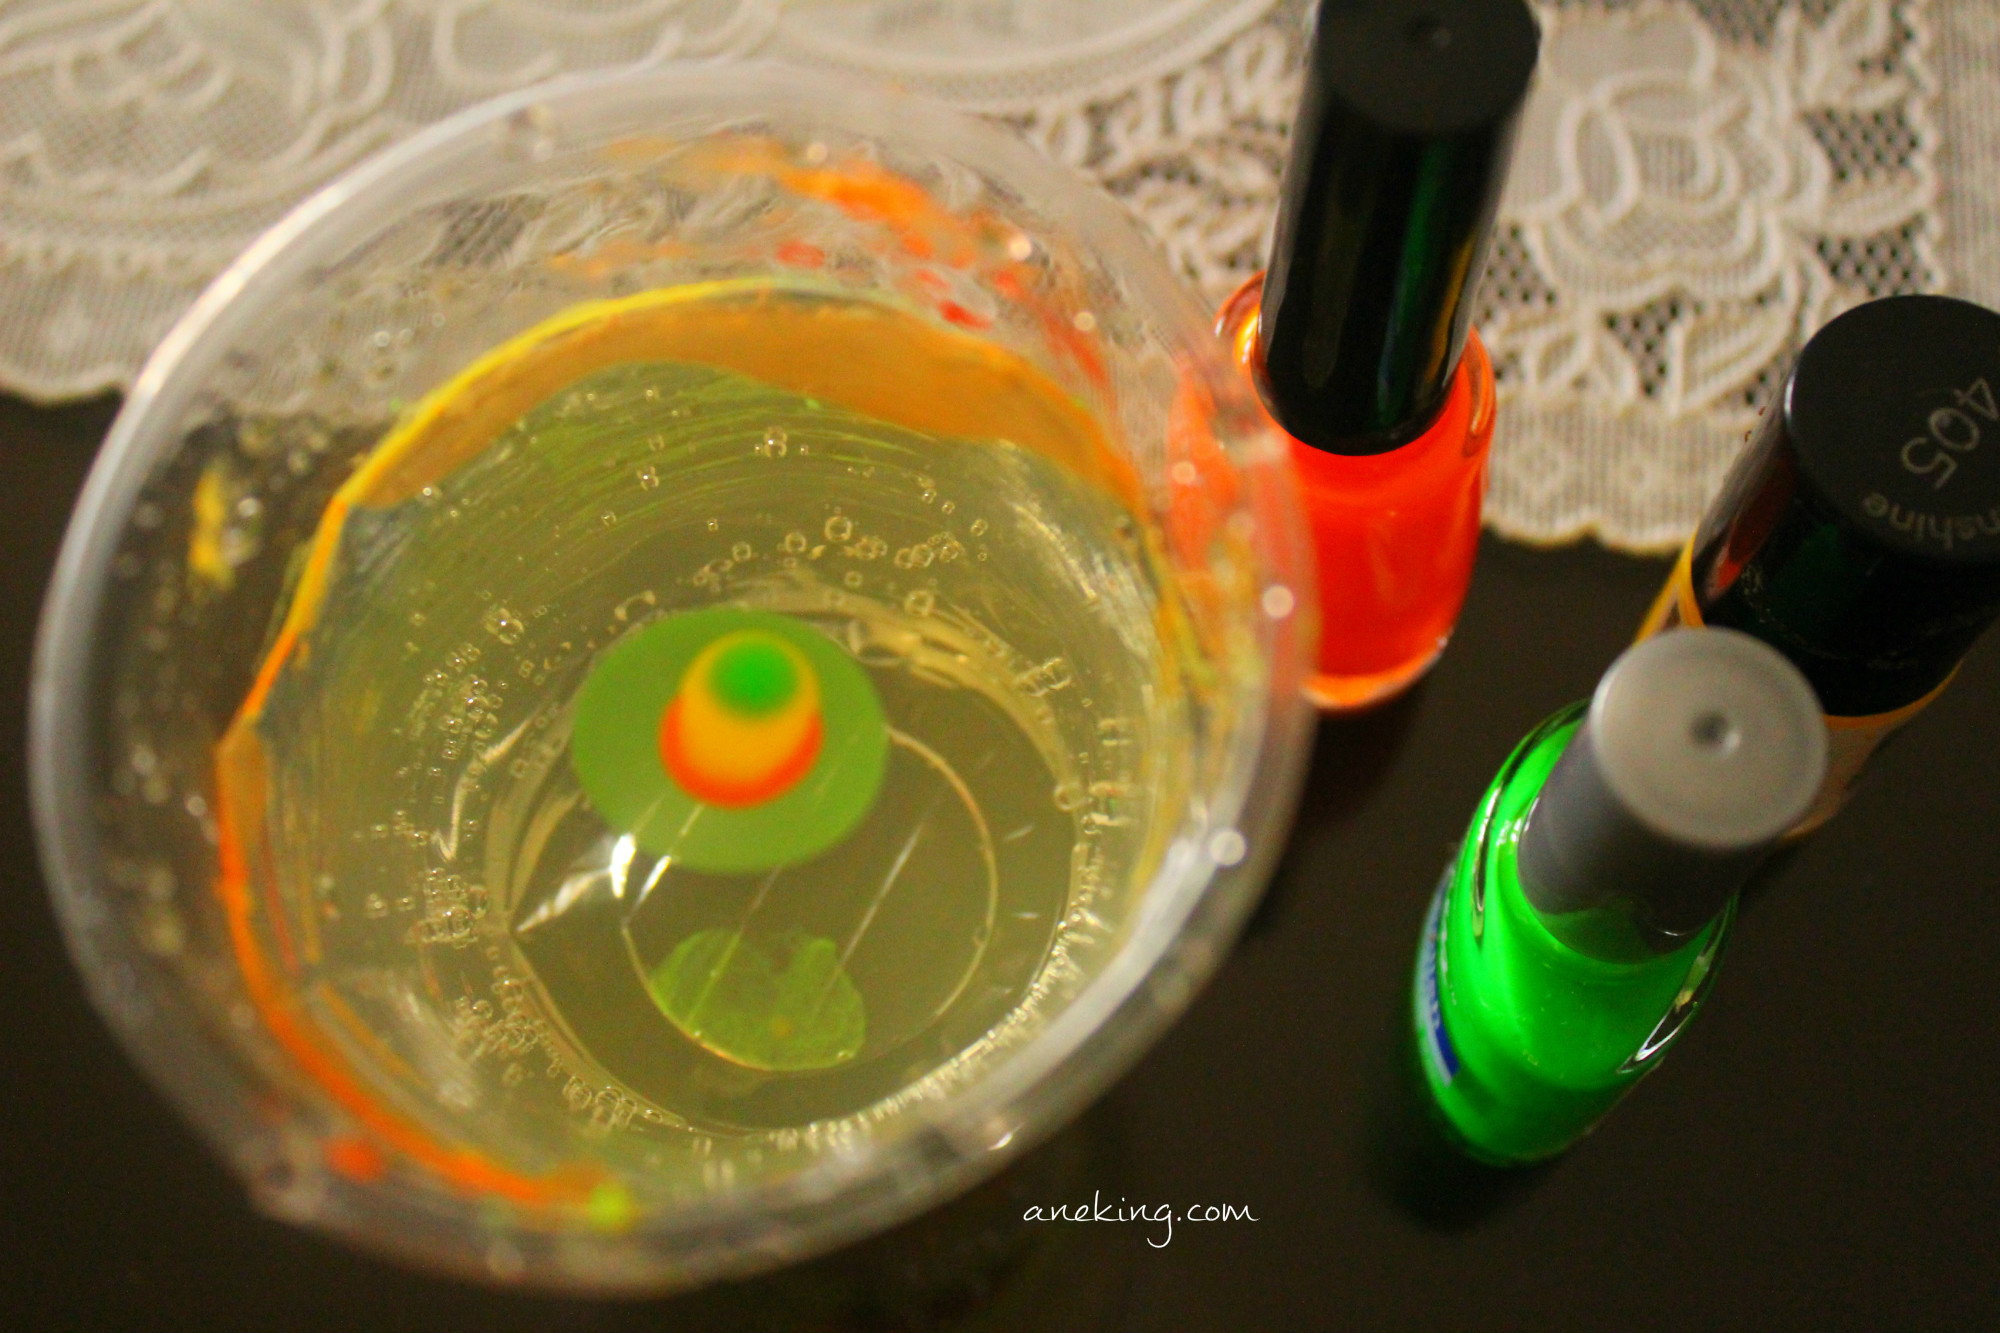
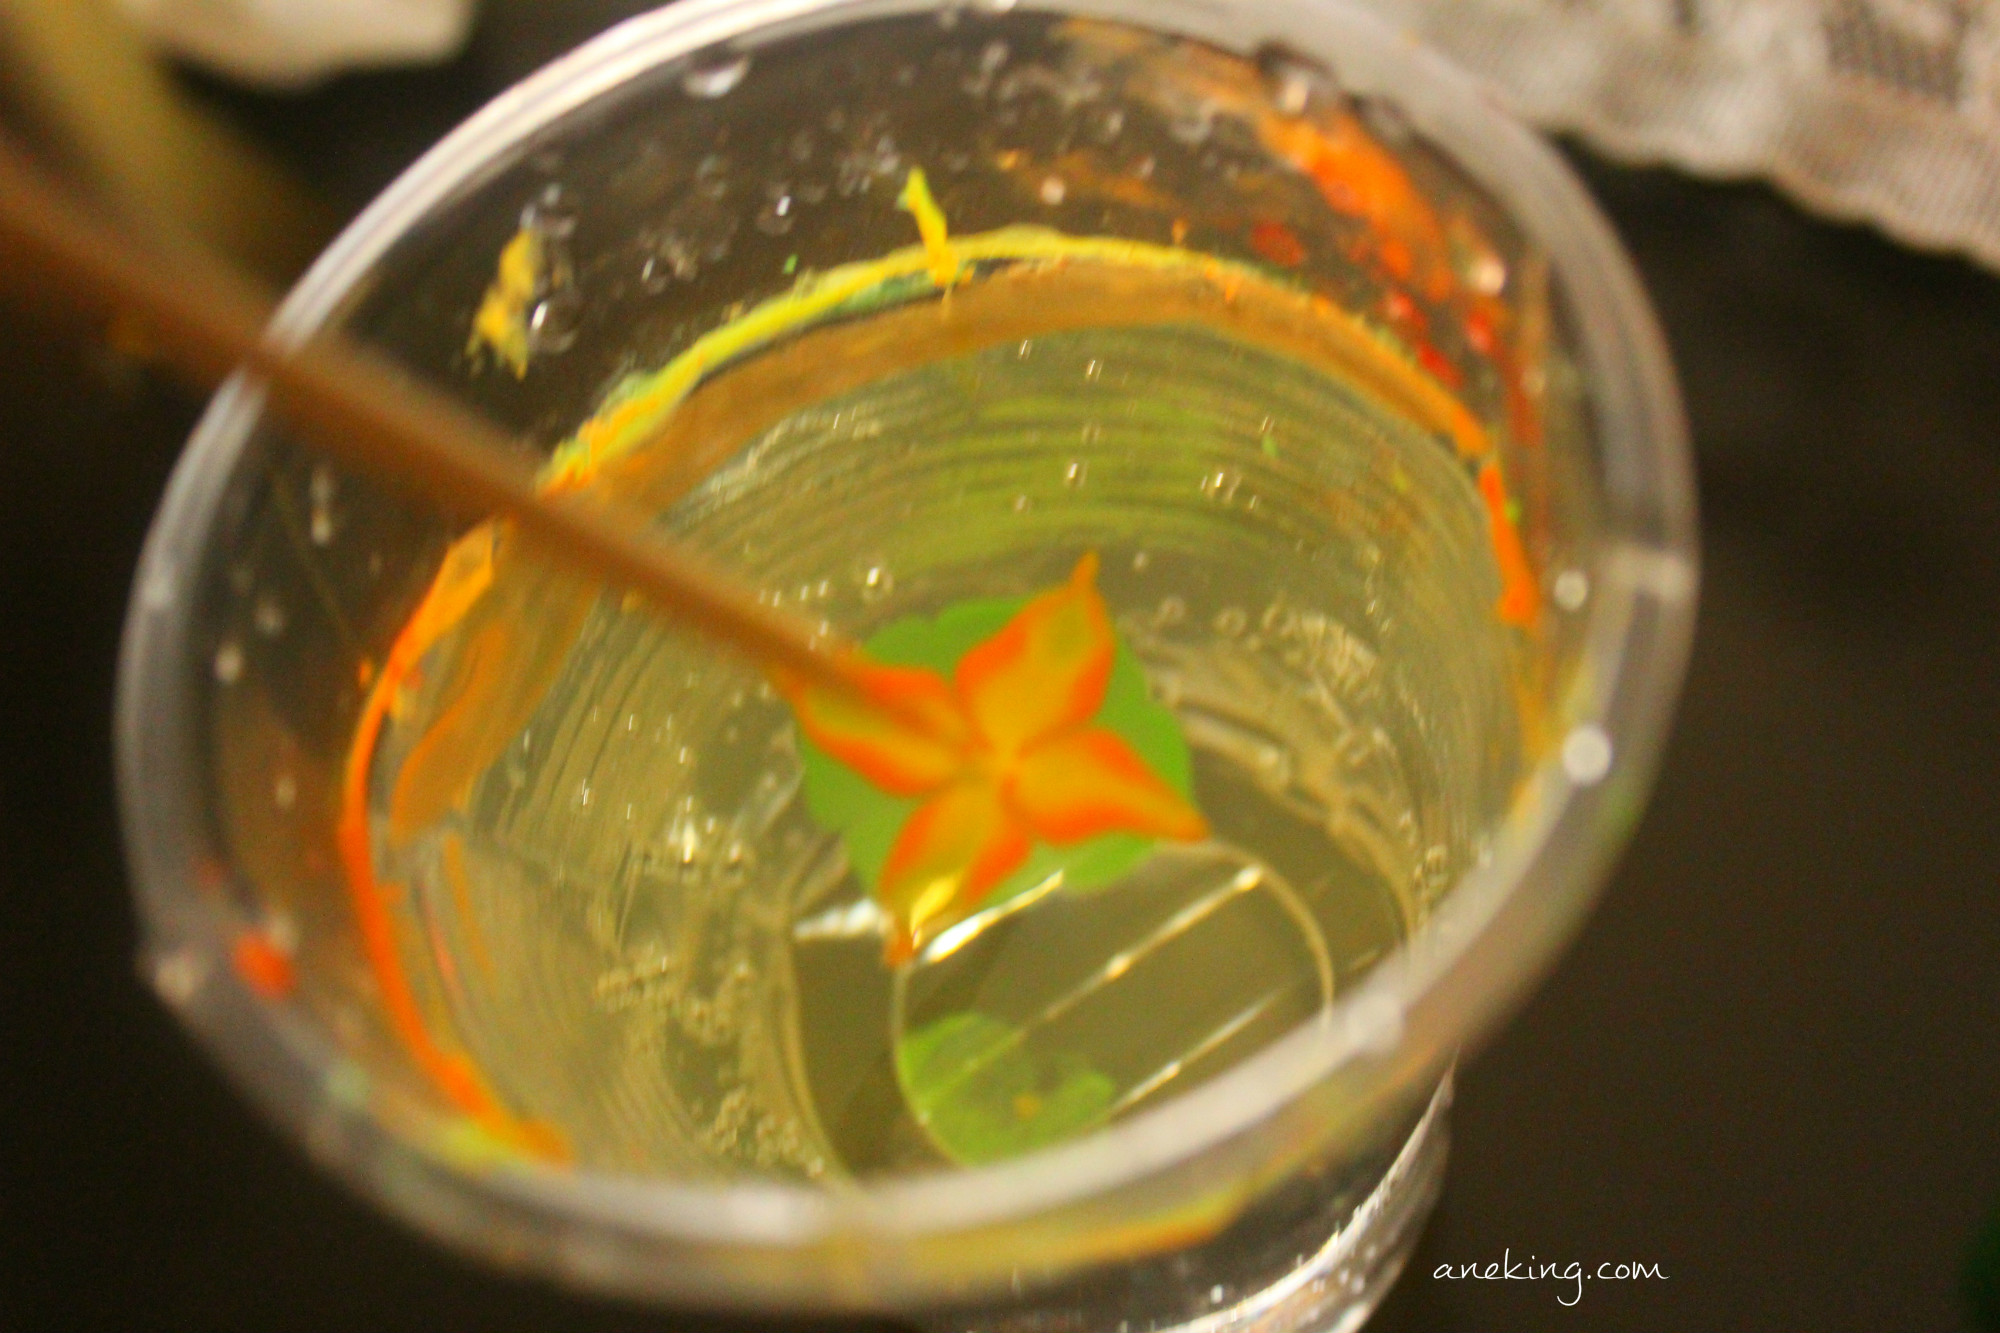
9. When you achieve your desired level, use the tip of a toothpick or any stick to design your nail art.
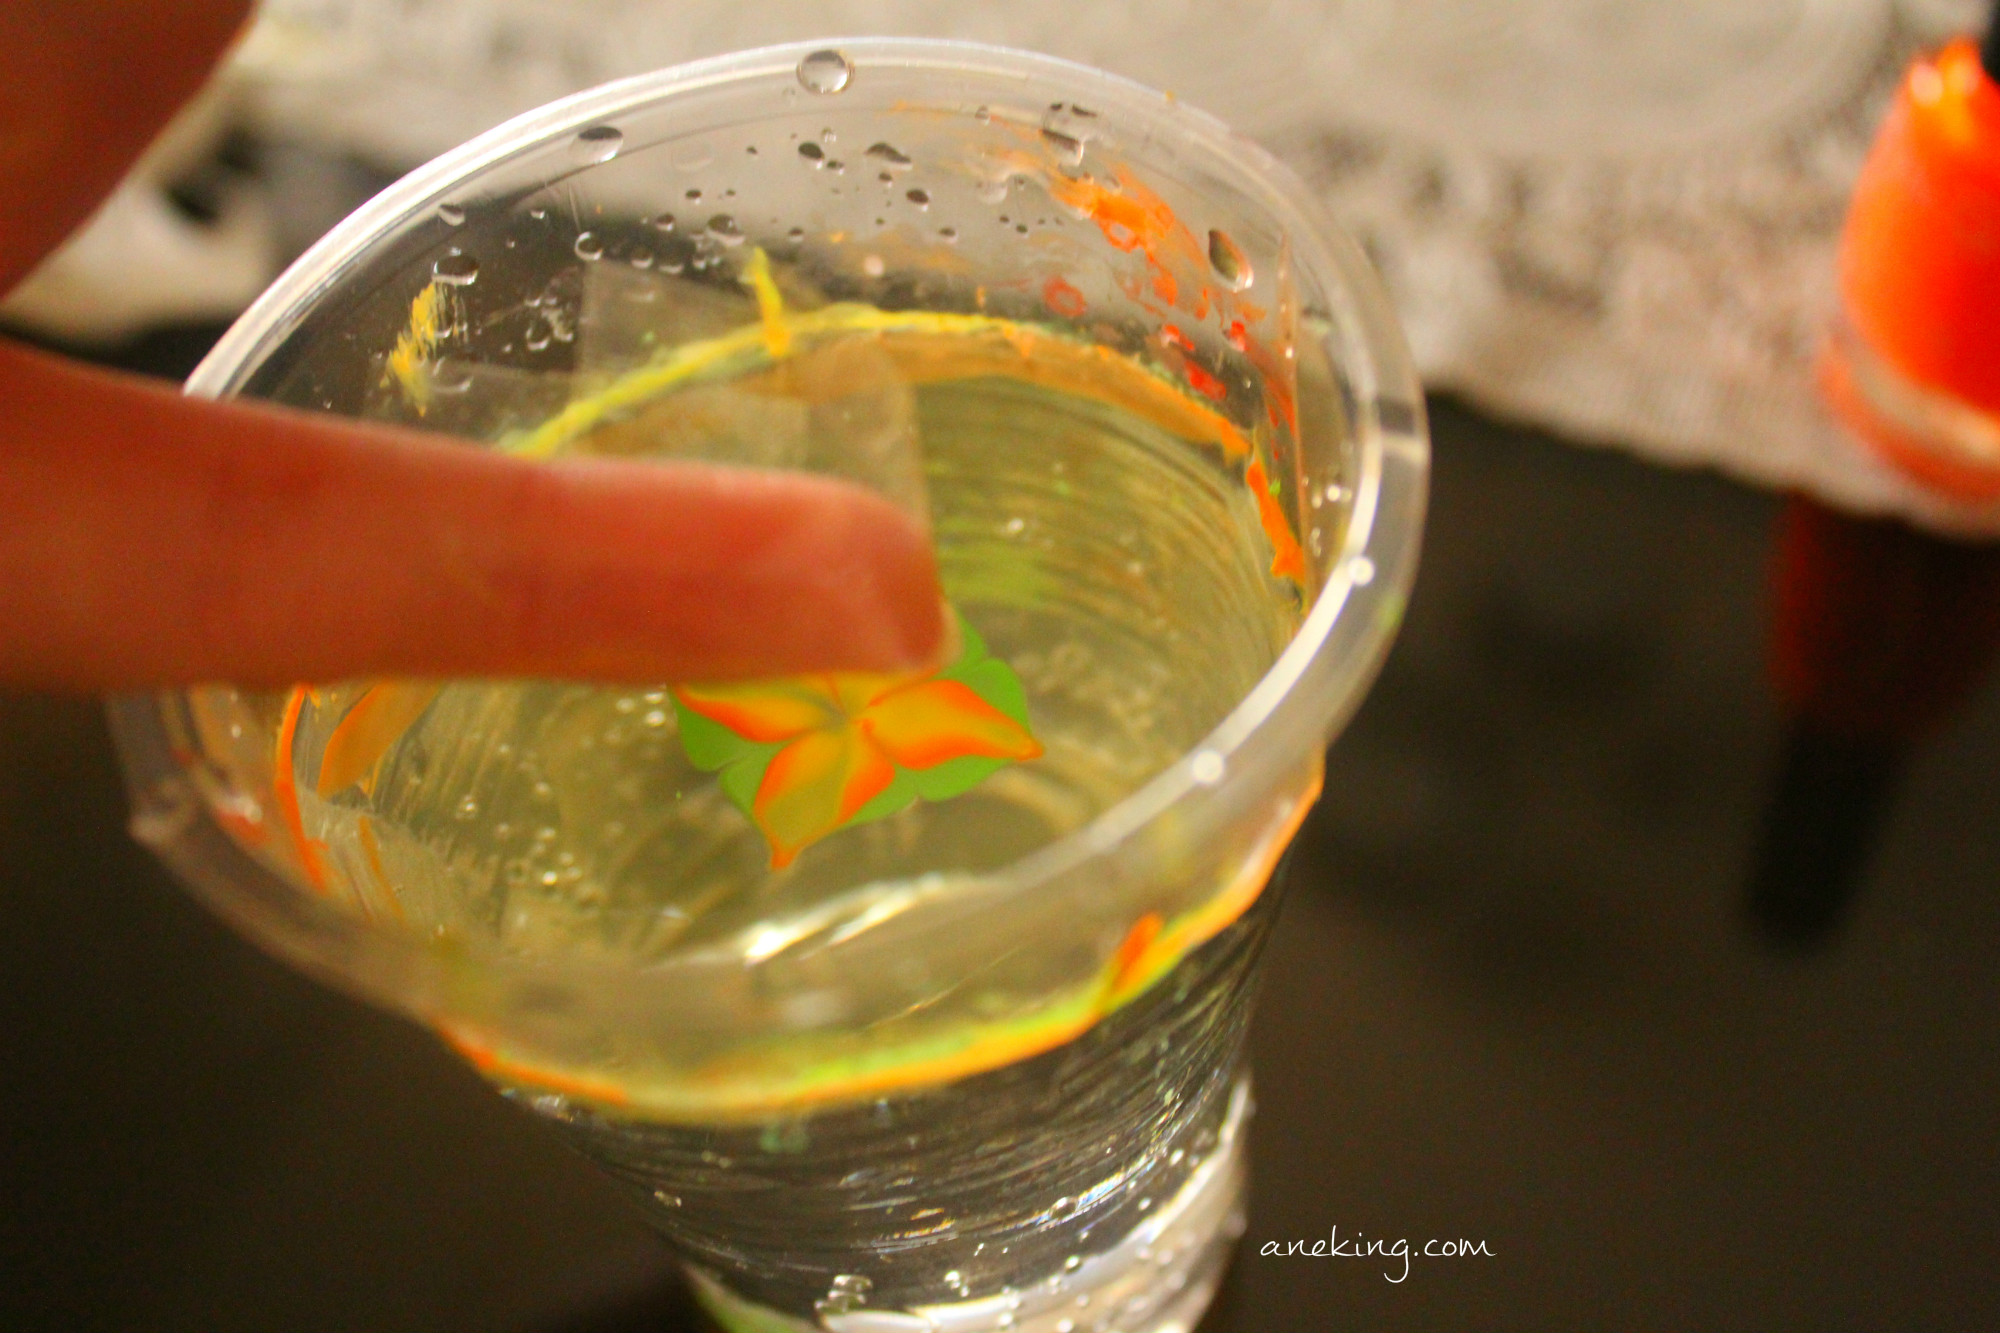
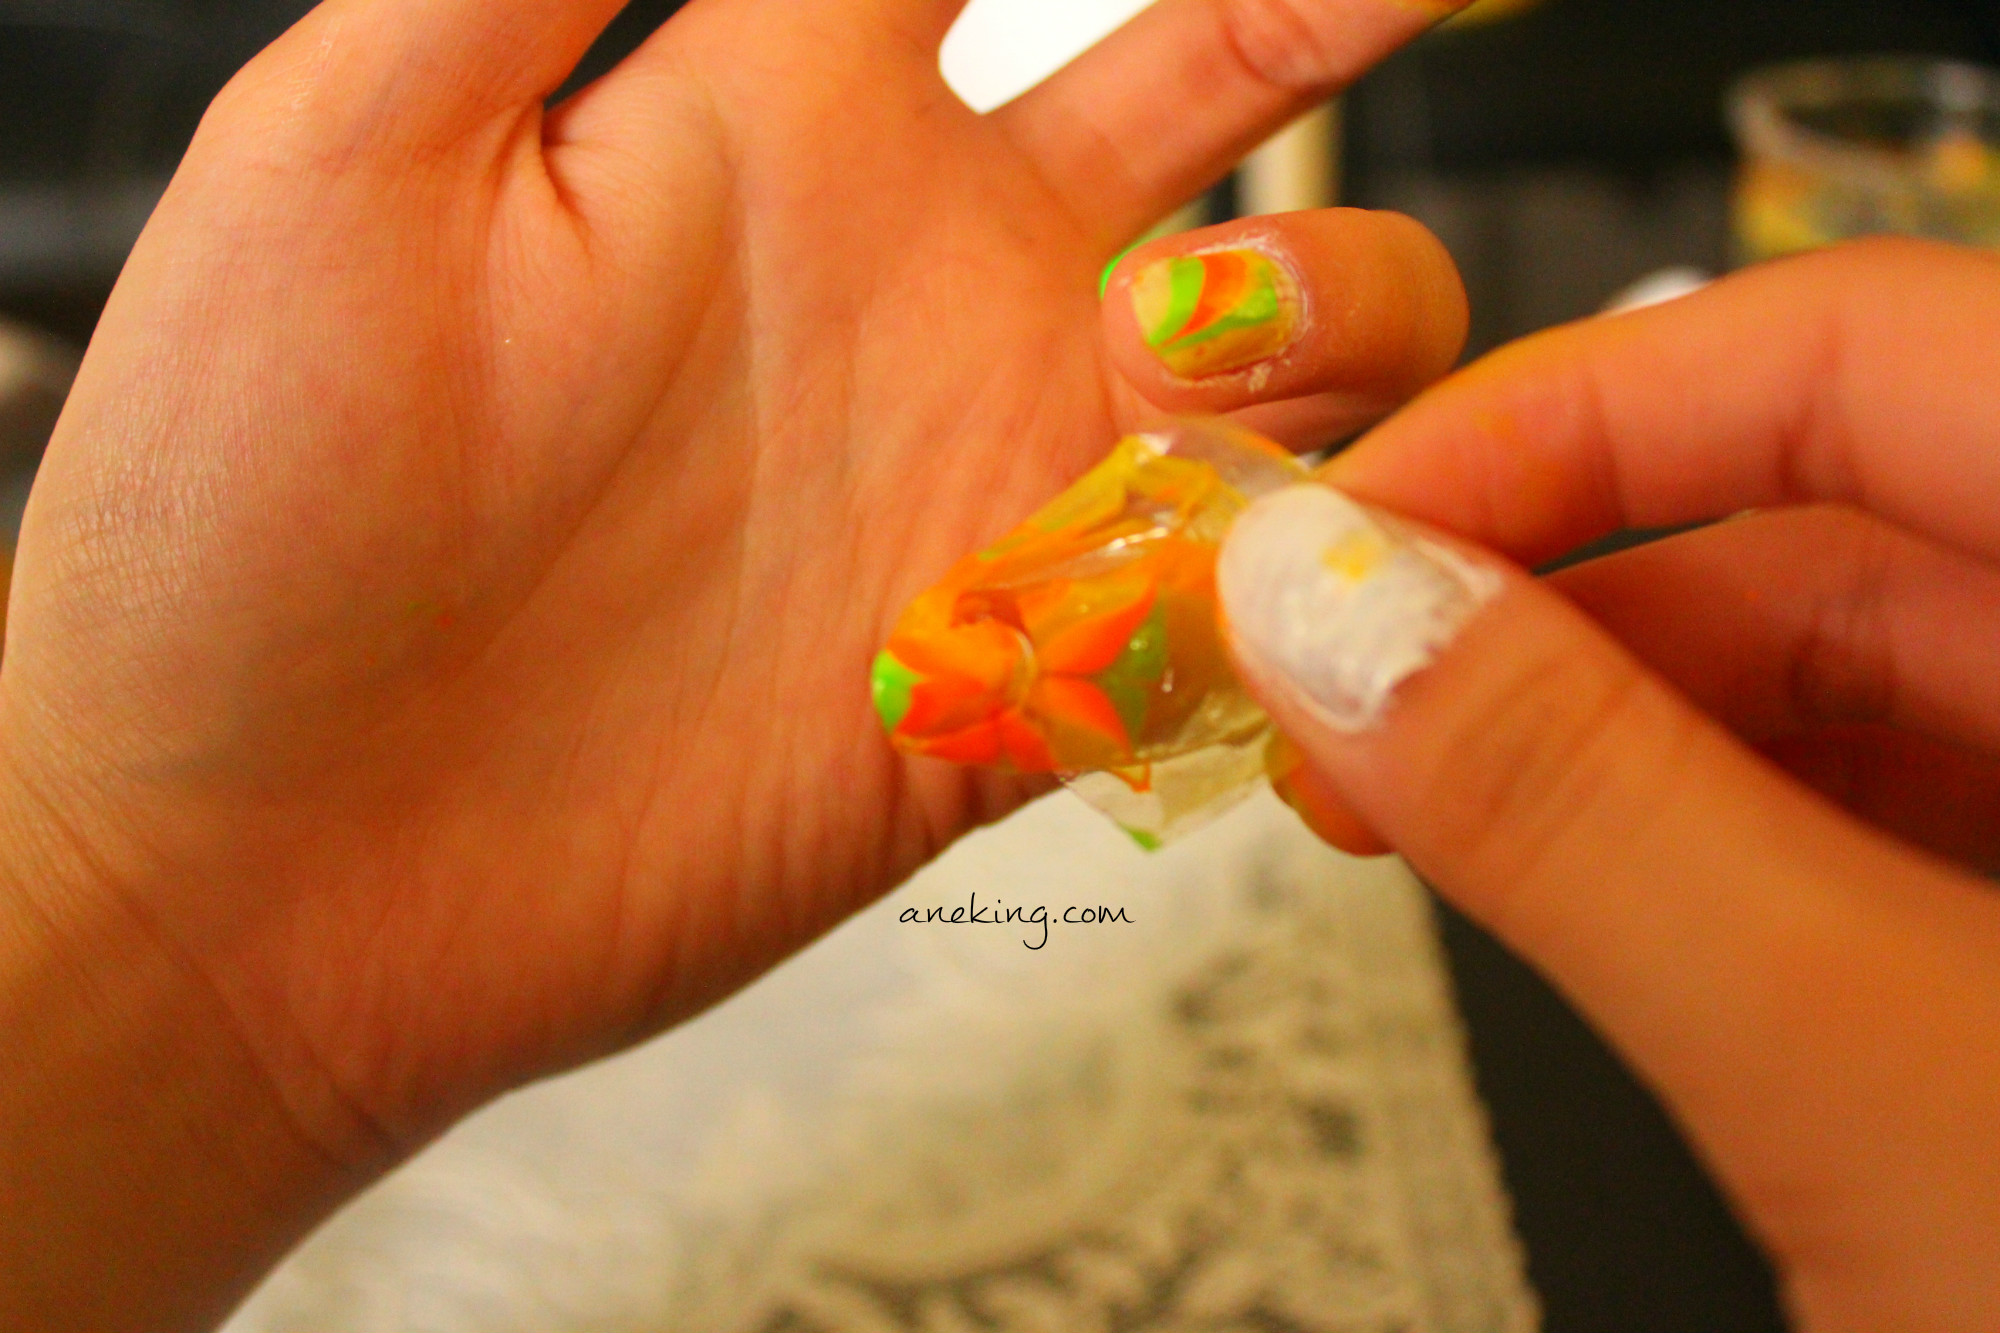
10. Once done, dip your nail facing the surface of the water.
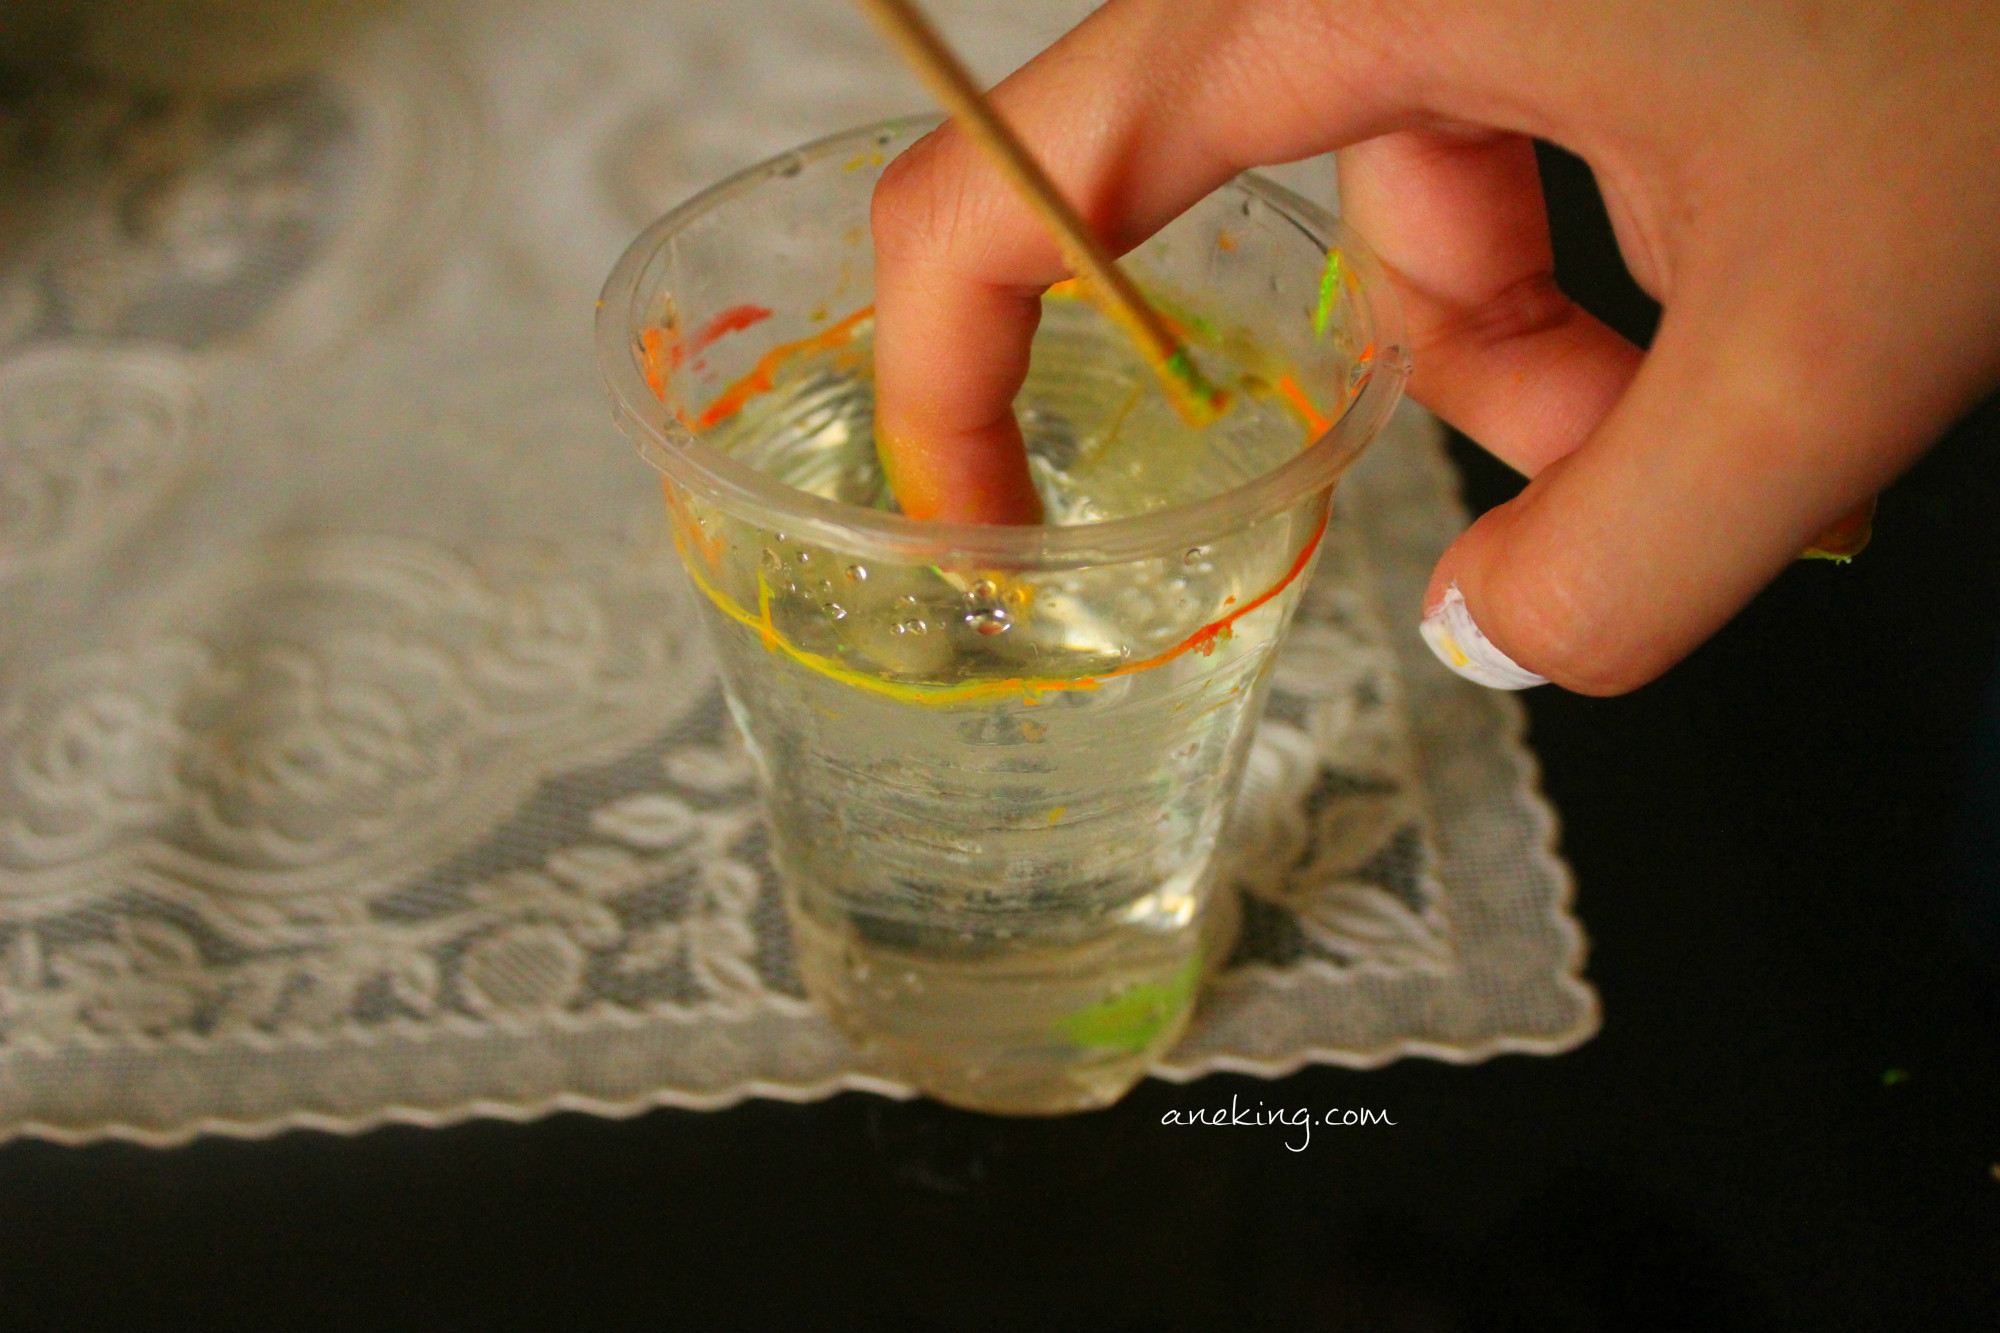
11. While your nail is dipped, clean the nail polish in the cup using a cotton bud.
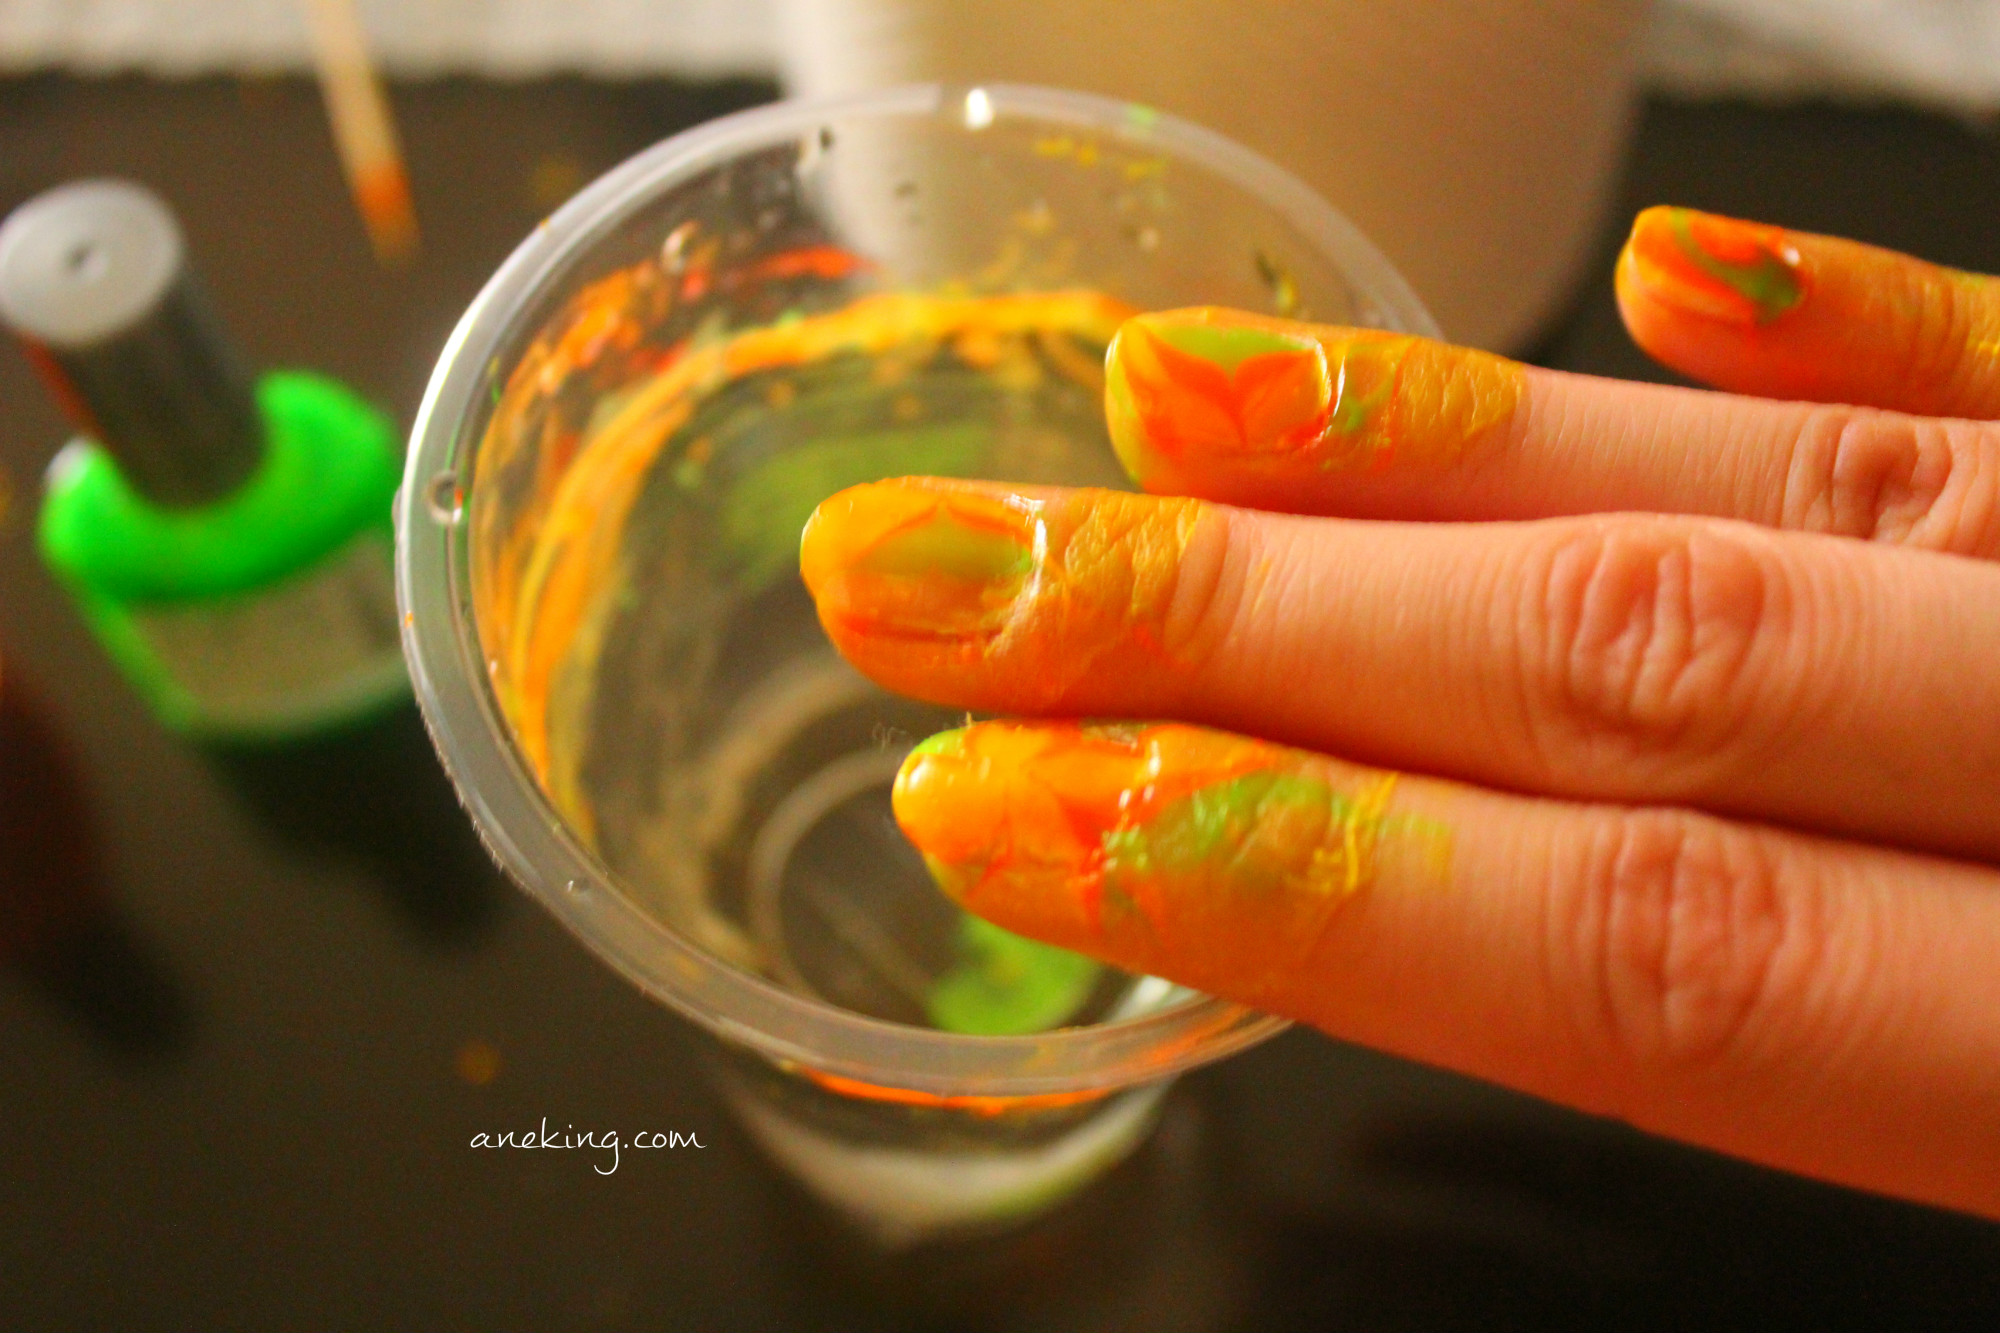
12. Take your nail out of the water and let it dry.
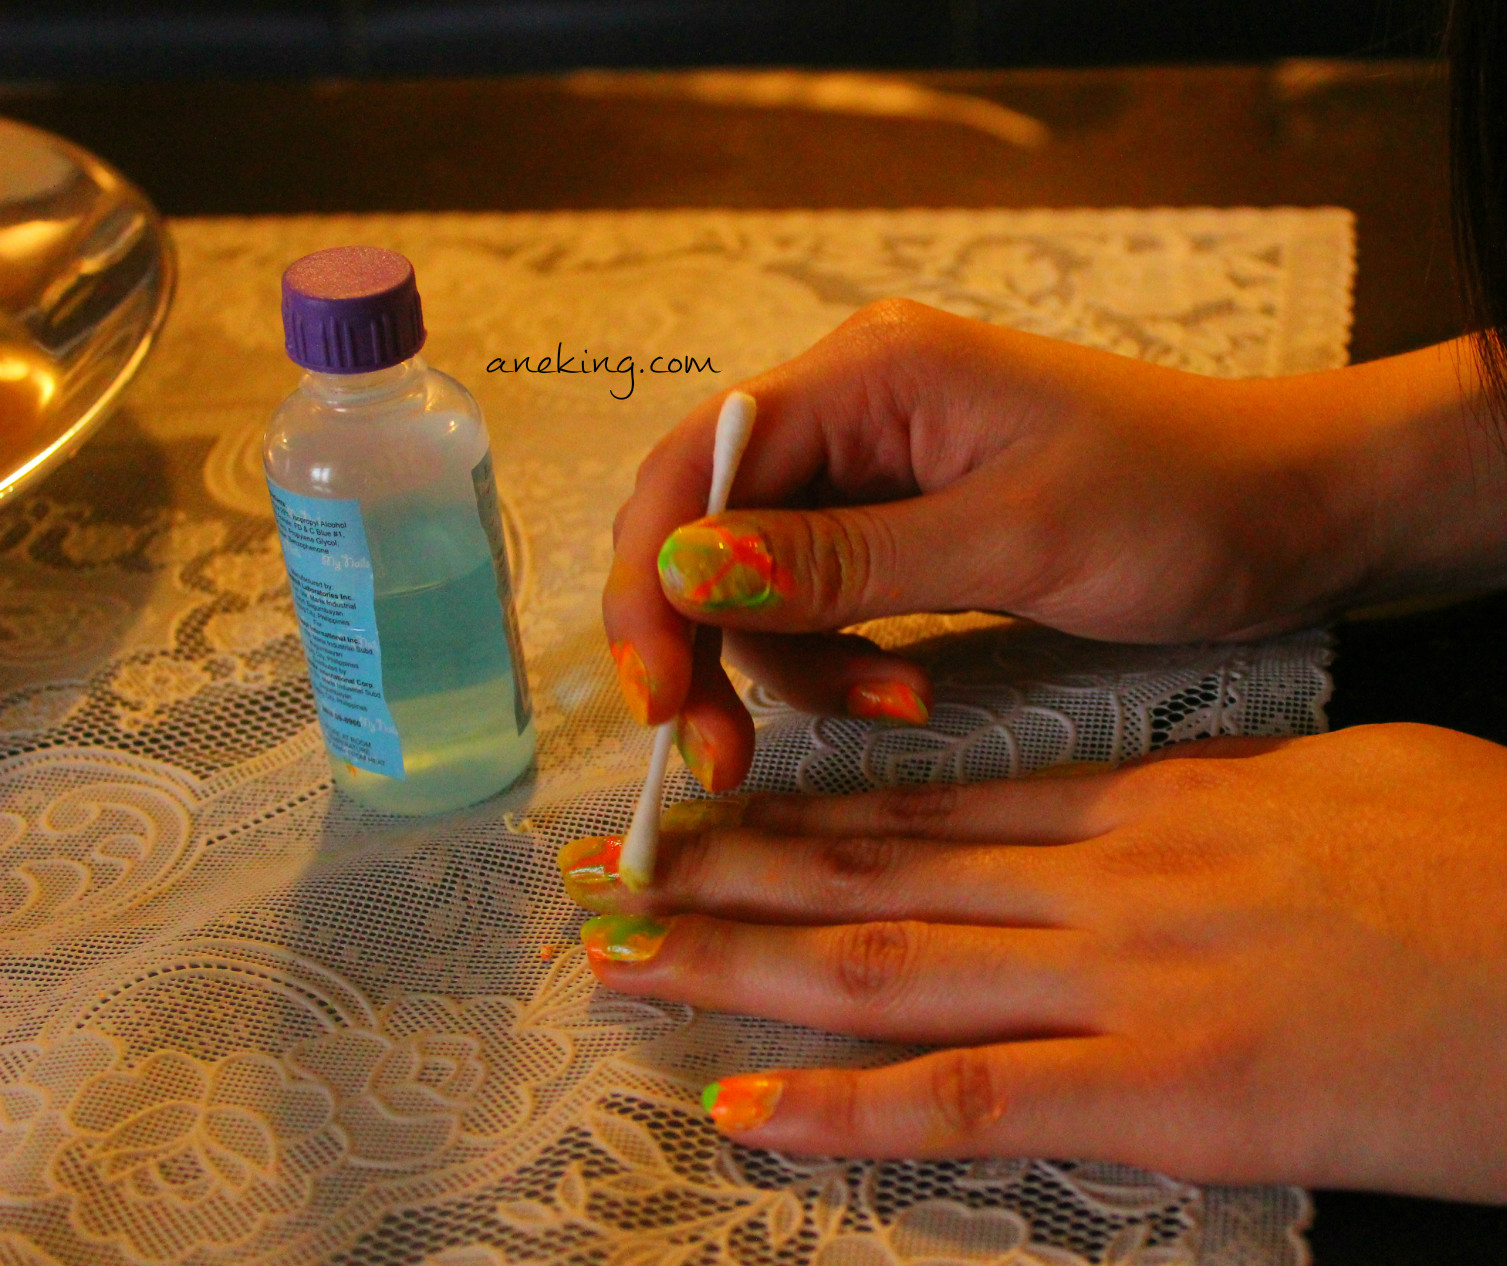
13. Remove the tape around your nails.
14. Clean the sides of your nail using cotton buds and nail polish remover.
15. End your nail art with a top coat.
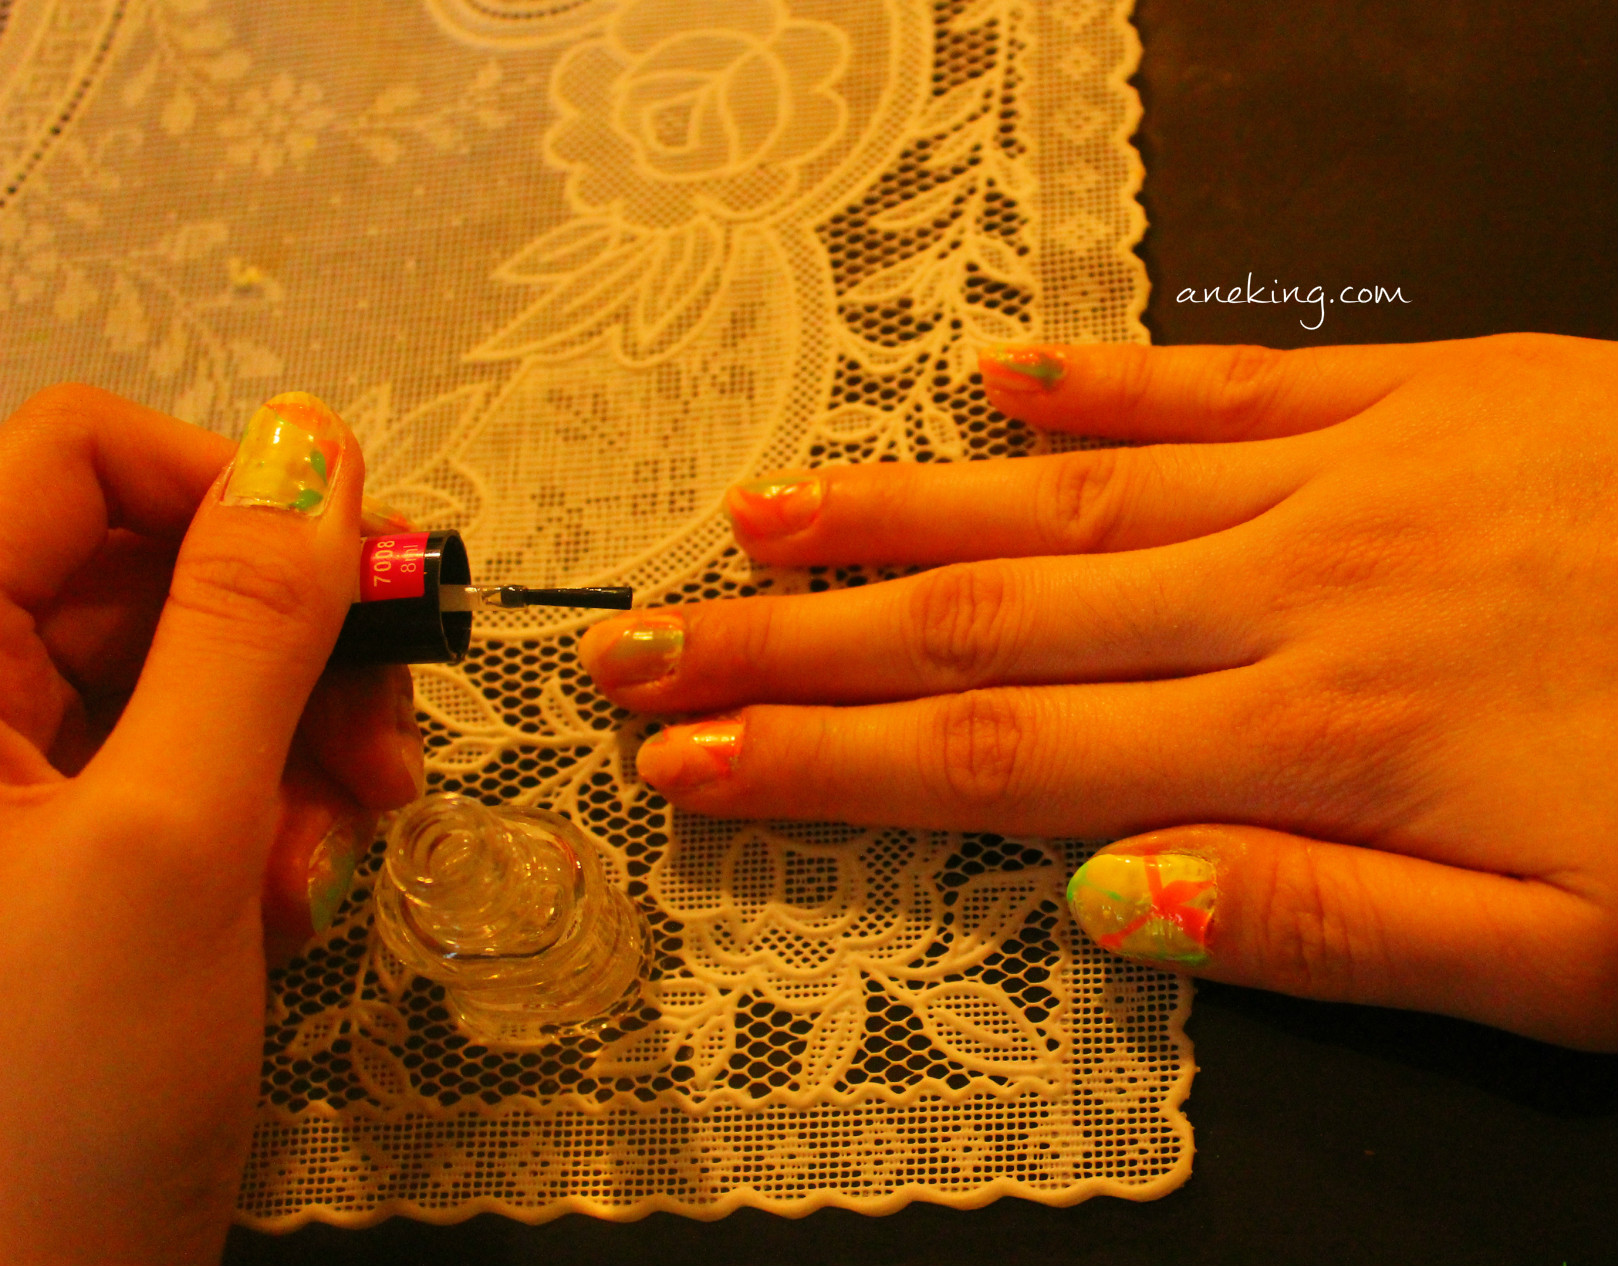
16. Enjoy the new swirly look of your nails.